
Electron Lamp
For our final project, we had to create an object using multiple machines. I decided to create a shadow-box style lamp based on electron shells. This project involved 3 machines: the CNC machine, the lathe, and the 4-axis mill. My thought process was to cutout rings on the CNC and stack them to make a hollow cylinder. Then turn a faceplate and baseplate for the cylinder on the lathe to ensure a snug fit. Then machine the holes on the 4-axis, and finish by sanding on the lathe.
The material I used was the 1” plywood that I bought for my LED clock.
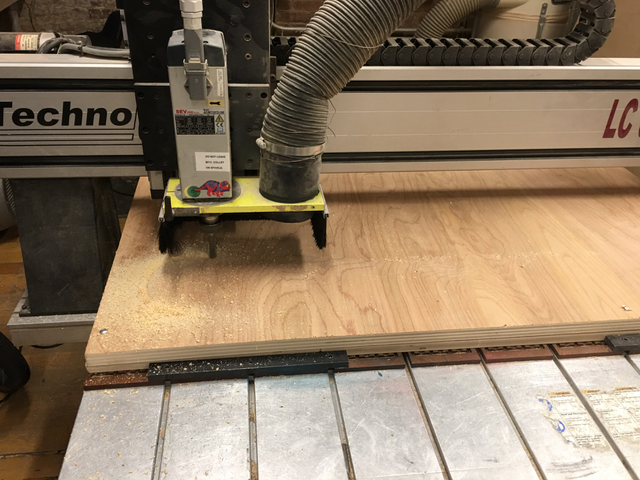
The CNC process started with making four 1/4” pockets per ring for the dowels. This was so that the rings would line up properly and be supported during the glue up. After testing two rings to make sure it worked, I drilled all the pockets for each ring to minimize bit changes.

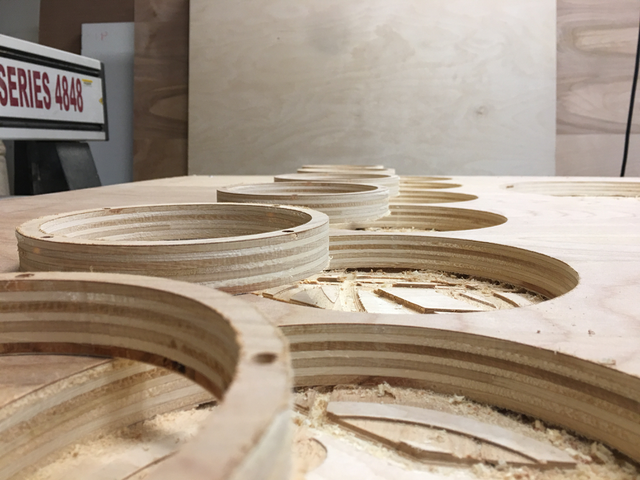
I then cut all the inner contours for the rings, removed the waste material, and finally cut the outer contours to separate them from the material.
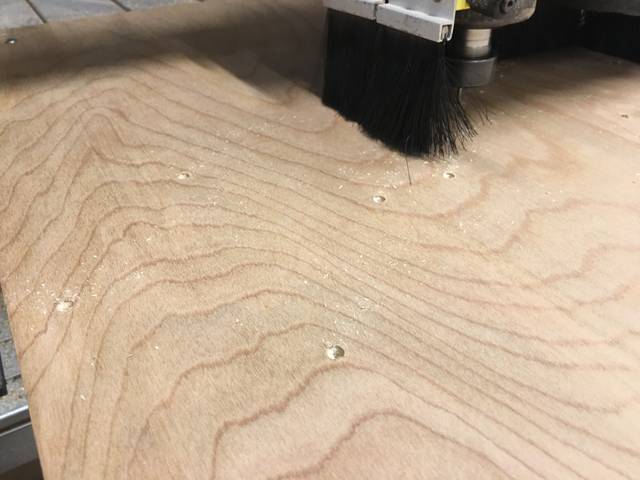
Close-up shot.
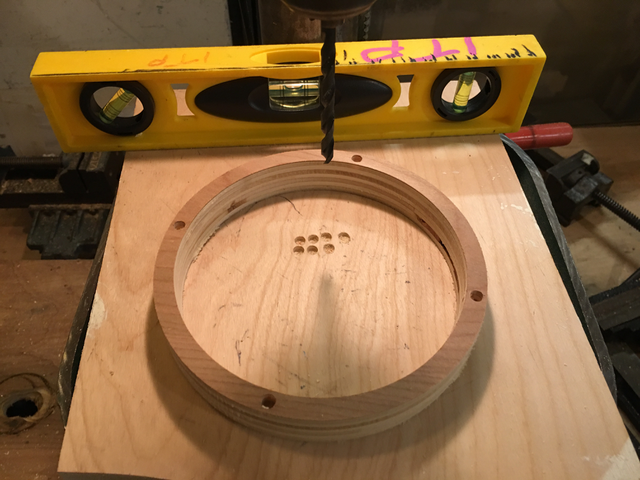
Unfortunately, my 1/8” bit wasn’t long enough to pocket all the way through. So I had to take the rings over to the drill press to finish them. I used my own piece of scrap board to ensure minimum blowout on the bottom, and used a level to make sure the holes were straight.
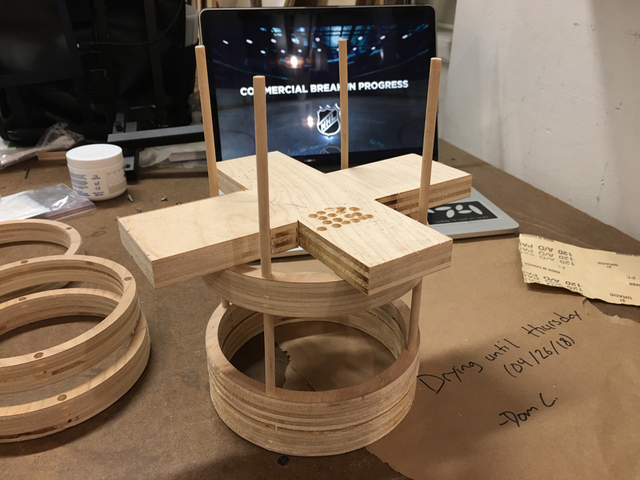
Now that I had the rings completed, I put dowels in each of the holes of one ring. I then used a mallet and this cross-shaped piece of wood to hammer the rings towards each other. Once they were close, I applied glued and then finished hammering until they were touching.
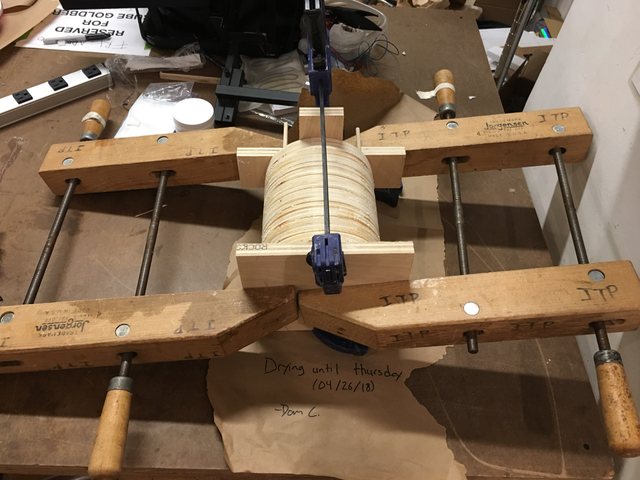
Finally, I clamped them all up.
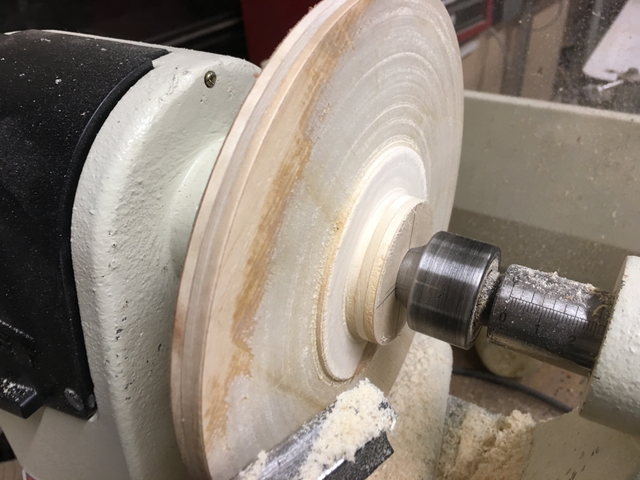
While the rings were drying, I turned a piece of wood on the lathe to roughly the same size of the rings. I turned the end towards the live center so that it could fit in the chuck.
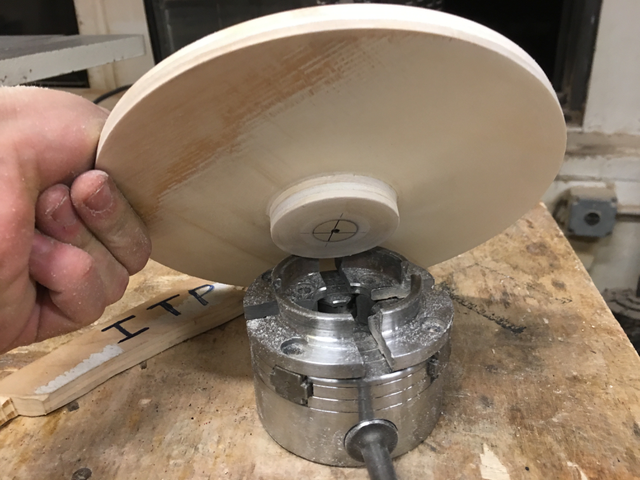
It fits!
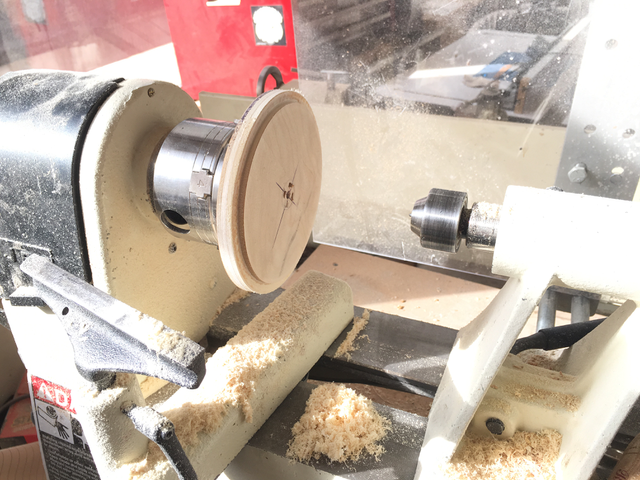
I then chucked it up on the lathe and created a lip on the other side so that it would fit inside the rings.
 |
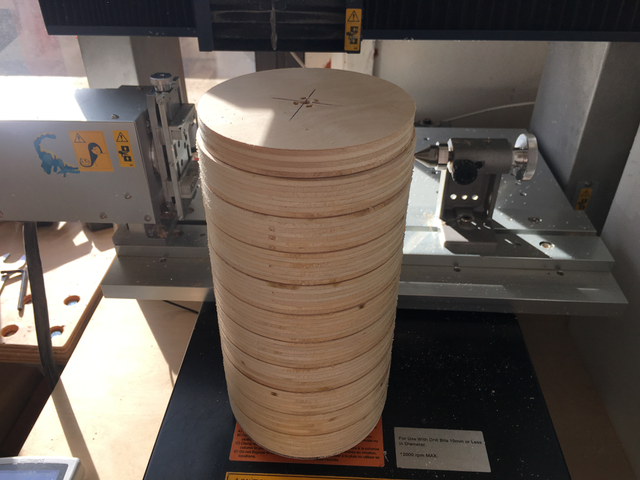 |
Here is the faceplate and baseplate in the stacked rings.
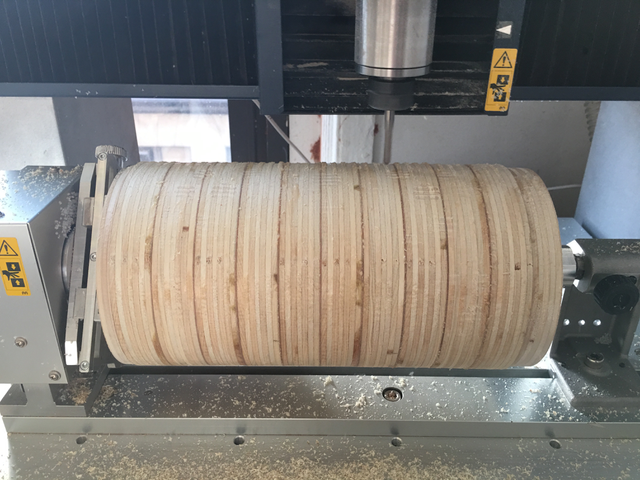
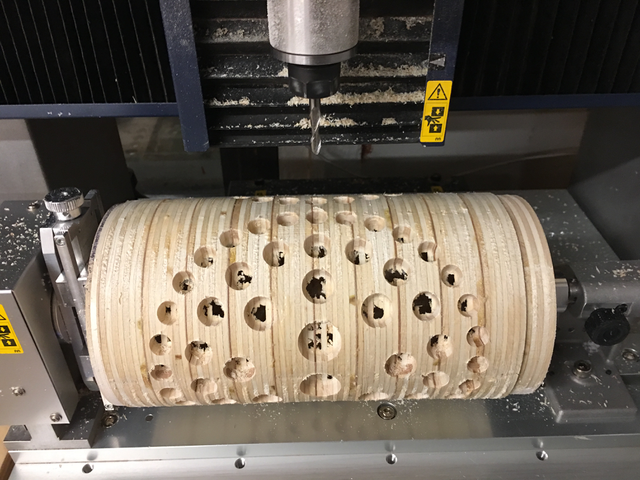
And here it is chucked up on the 4-axis. Unfortunately, I didn’t look at the maximum model sizes properly, so the machine wouldn’t accept this job. I went back to my drawings, scaled everything down and repeated all of the above.

Here is the model of the lamp. This was made in Vectorworks by created a rectangle whose width was half of the circumference of the rings (if measured from the center of the rings). I then clipped the circles from the rectangle so that it looked like swiss chese. I then extruded the rectangle to the thickness of the rings, and performed a 180º symmetrical deform. This created half of the cylinder, and then I simply duplicated, rotated, and added them to create a perfect cylinder. This was done this was as a 360º deform throws errors in Vectorworks.
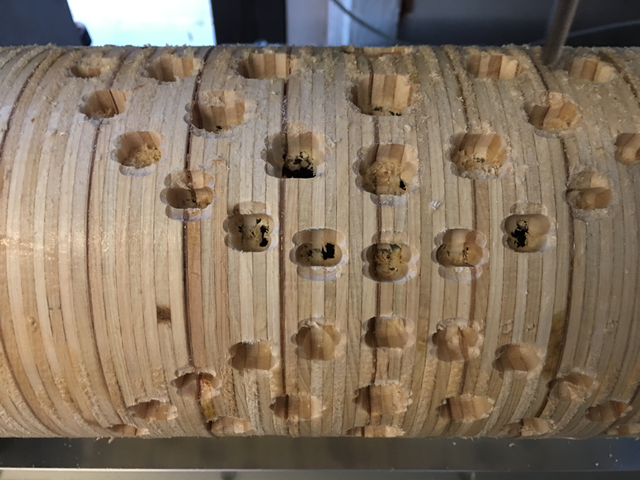
Here is the rough pass. The job was initially slated for 4.5 hours, but Ben helped me change the setting to ignore the surface and just work on the holes. This got the time down to 2.5 hours.
So there was some issues with it not drilling all the way through. This was in part due to the cyliner being slightly off-axis, and to my model not having enough depth. The glue on the inside also added additional thickness, and helped hold the last thin layers of wood in place.
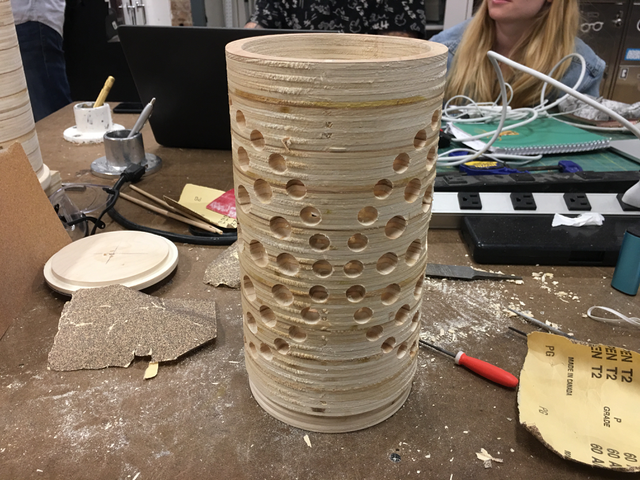
So I had to file out the holes by hand and sand the inside, which was time consuming but not so bad.
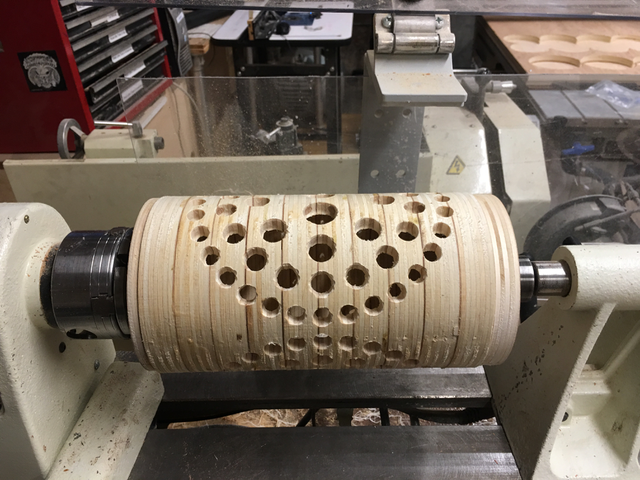
I then got it back on the lathe, for a quick sanding pass.
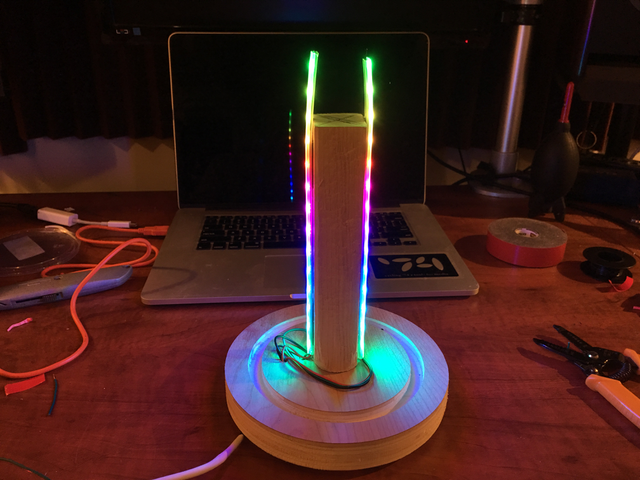
I missed getting pictures of this, but to make the stand I went to the CNC to make a pocket in the shape of the ring, so that the piece could sit in the pocket and also be rotated. I then cut it out of the material and drilled a 1” hole in the center. The square piece of wood was then turned on the lather so that the bottom would be 1” round to friction fit into the center hole of the stand. The rest was left square so the LEDs could be more easily mounted.
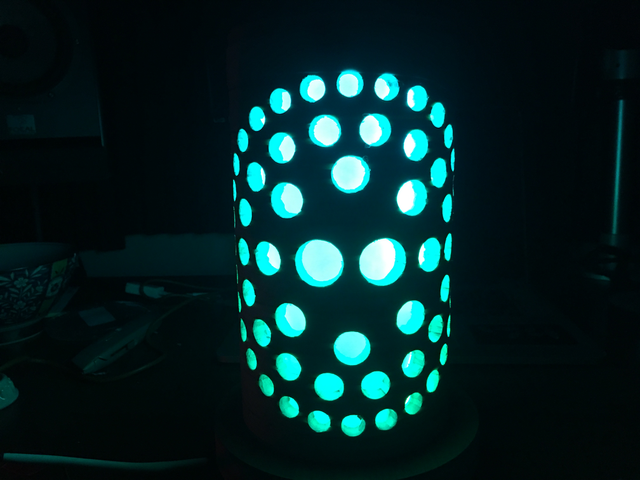
Two RGB LED strips were attached and an Arduino uno was used for power and data.
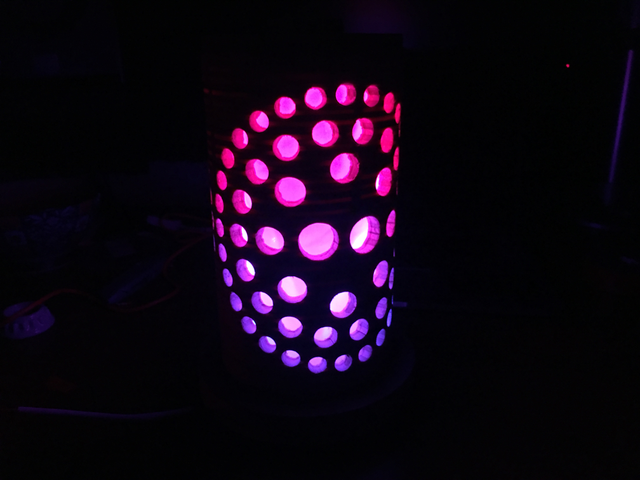
I wanted to test a more diffused look as well, so I put a piece of white lycra to demonstrate it.
All in all, I’m happy with how it turned out for a first try. I’m going to keep working on this idea / process over the summer and see what else comes out of it.