
Flashlight
I’ve been trying to use as many recycled or scrap parts in my projects. Before we met last week, I had salvaged two pieces of plywood and a piece of aluminum tubing from the junk shelf. I wanted to practice on the bandsaw and scroll saw, so I used the bandsaw to cut the plywood into two discs. Then I drilled a starter hole in the center of each disc and used the scroll saw to cut a circle that the aluminum tubing could fit in. I cut the holes slightly too large, so I used tape to increase the the thickness of the piping. Unfortunately, I didn’t get any documentation of this as I wasn’t expecting to necessarily use those pieces in a project, but once I’d assembled the pieces and we met for class, I realized I could use the body for the flashlight.

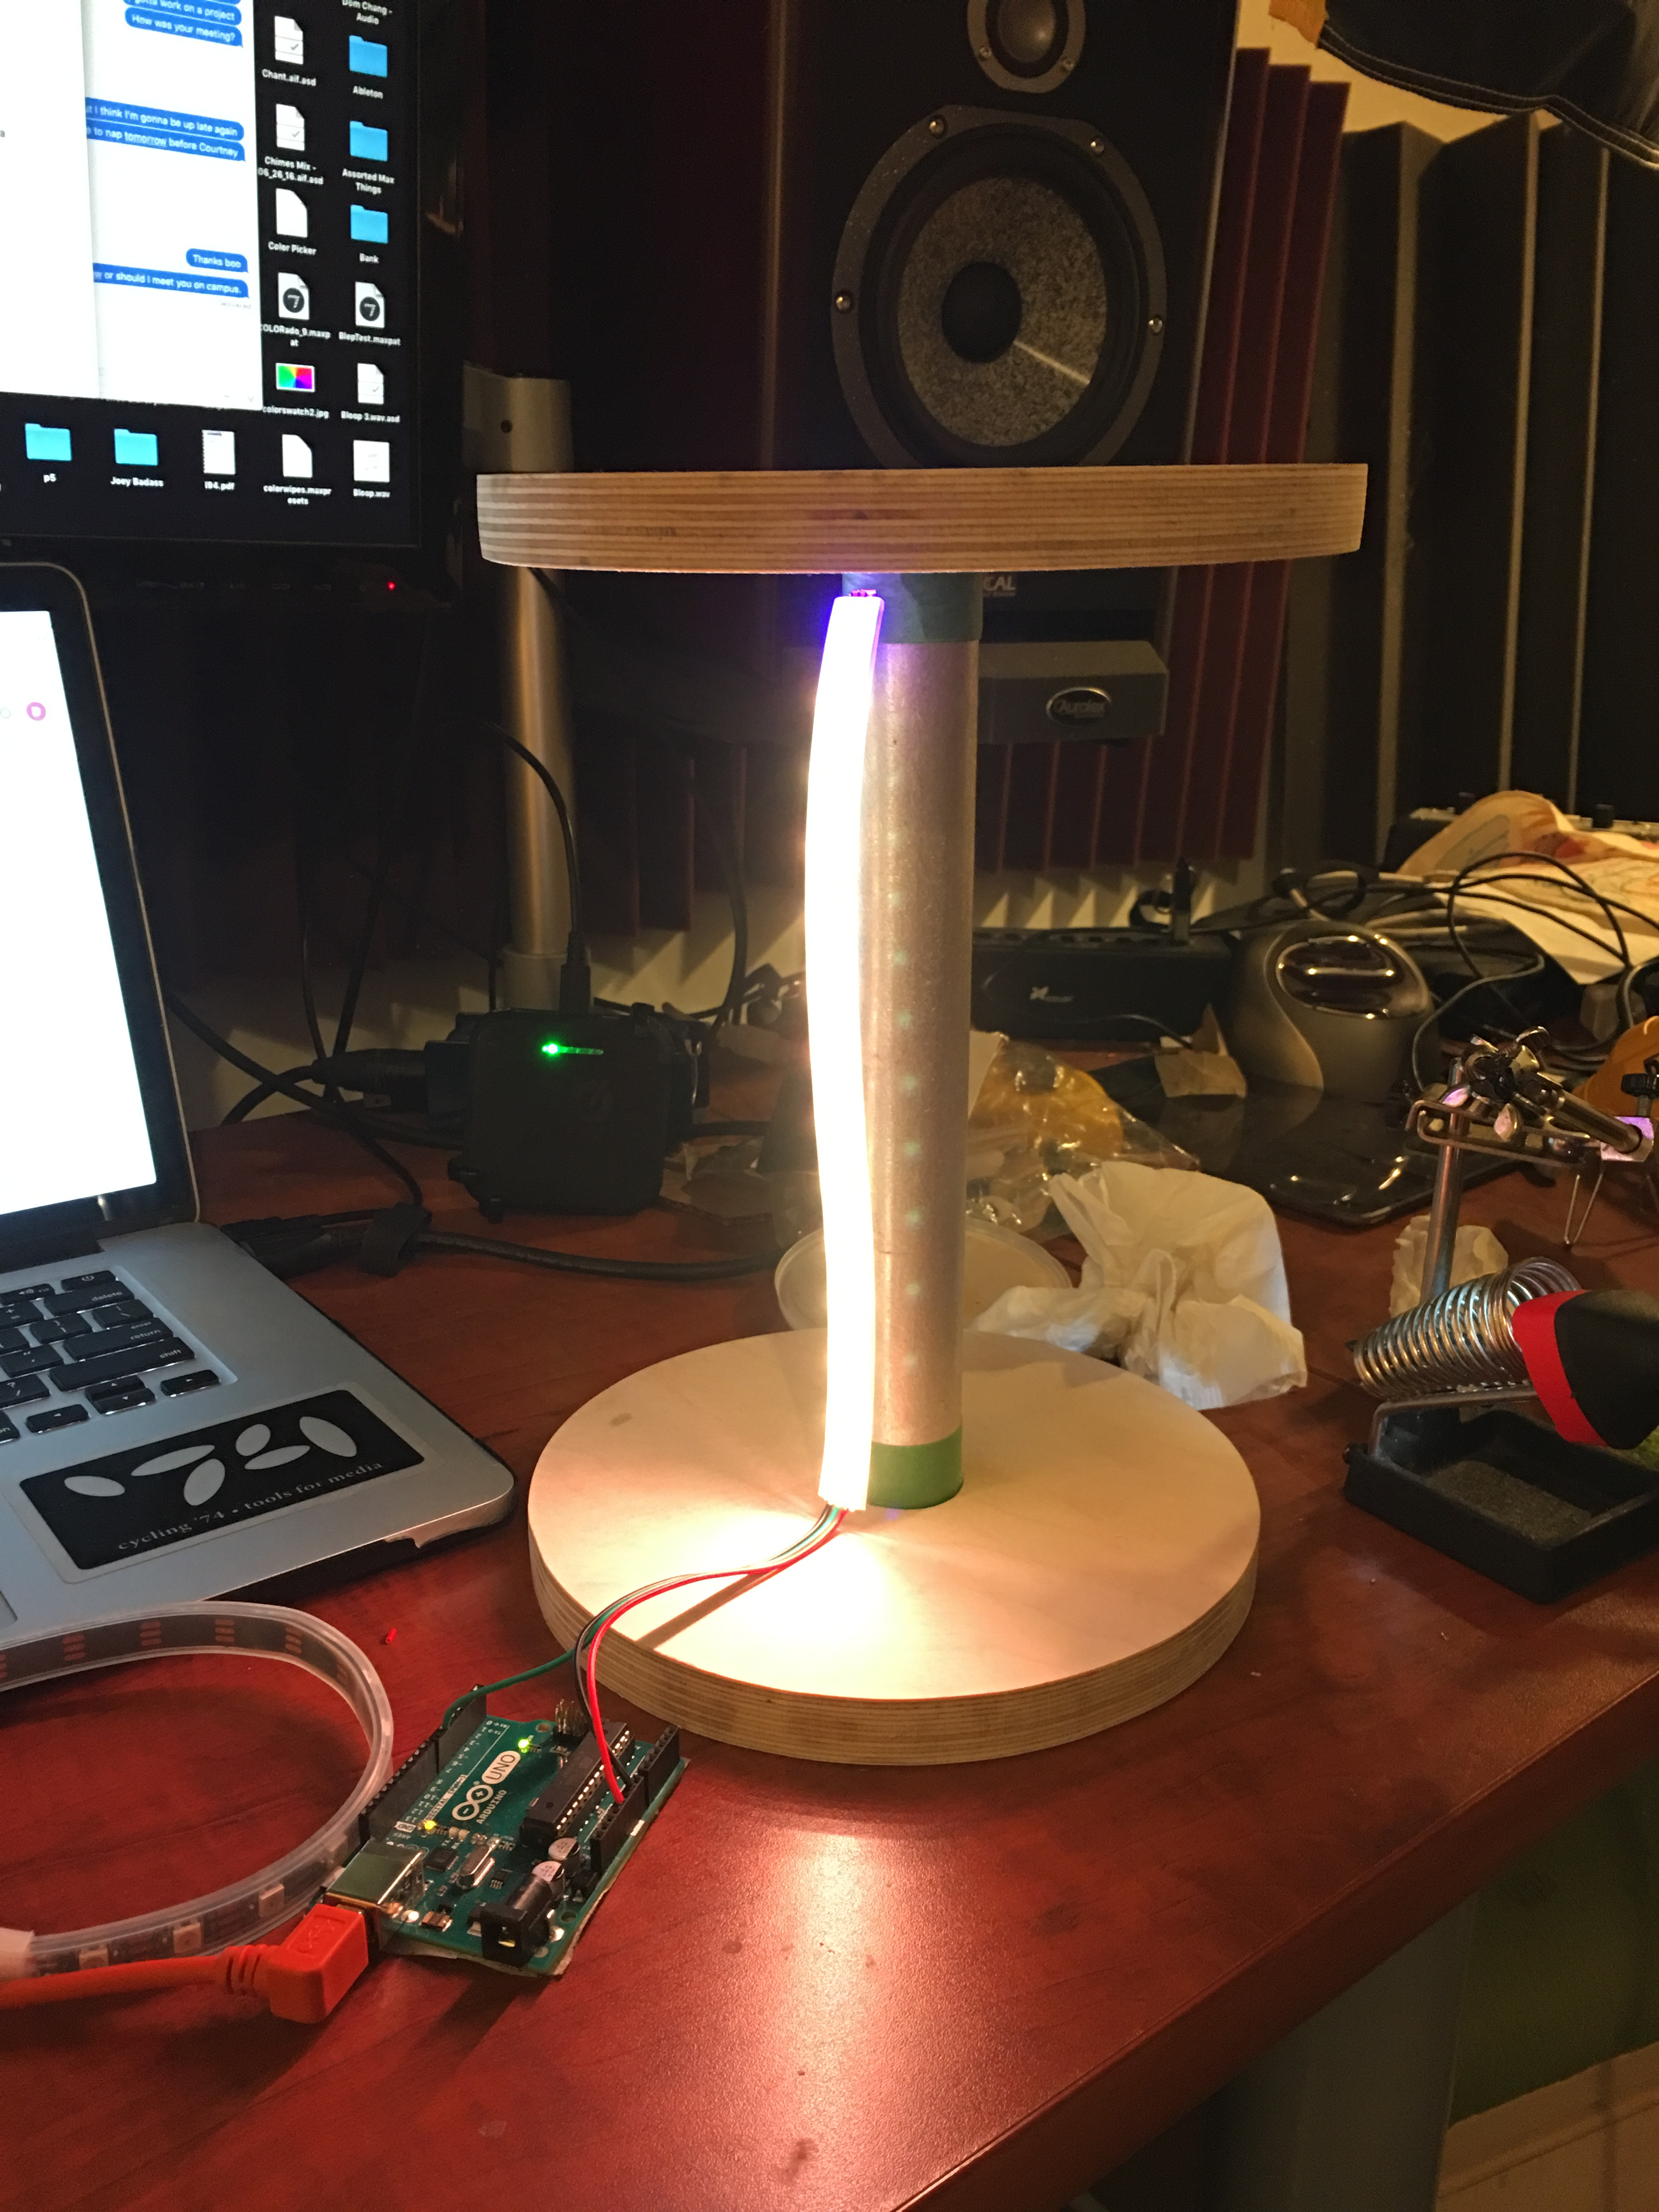
Instead of making a traditional flashlight, I wanted to experiment with the idea of creating an LED hourglass. I had originally thought of using an accelerometer, but simplified it to a tilt switch. My original idea was to have the light resting on the bottom of the lamp until it was flipped over, then the light would slowly start moving from the top of the lamp down to the bottom. I was having some issues with the code for this, in that I couldn’t get it to respond as immediately as I would have liked, so I simplified the interaction. Here’s a GIF of the pixel animation test and the tilt test.
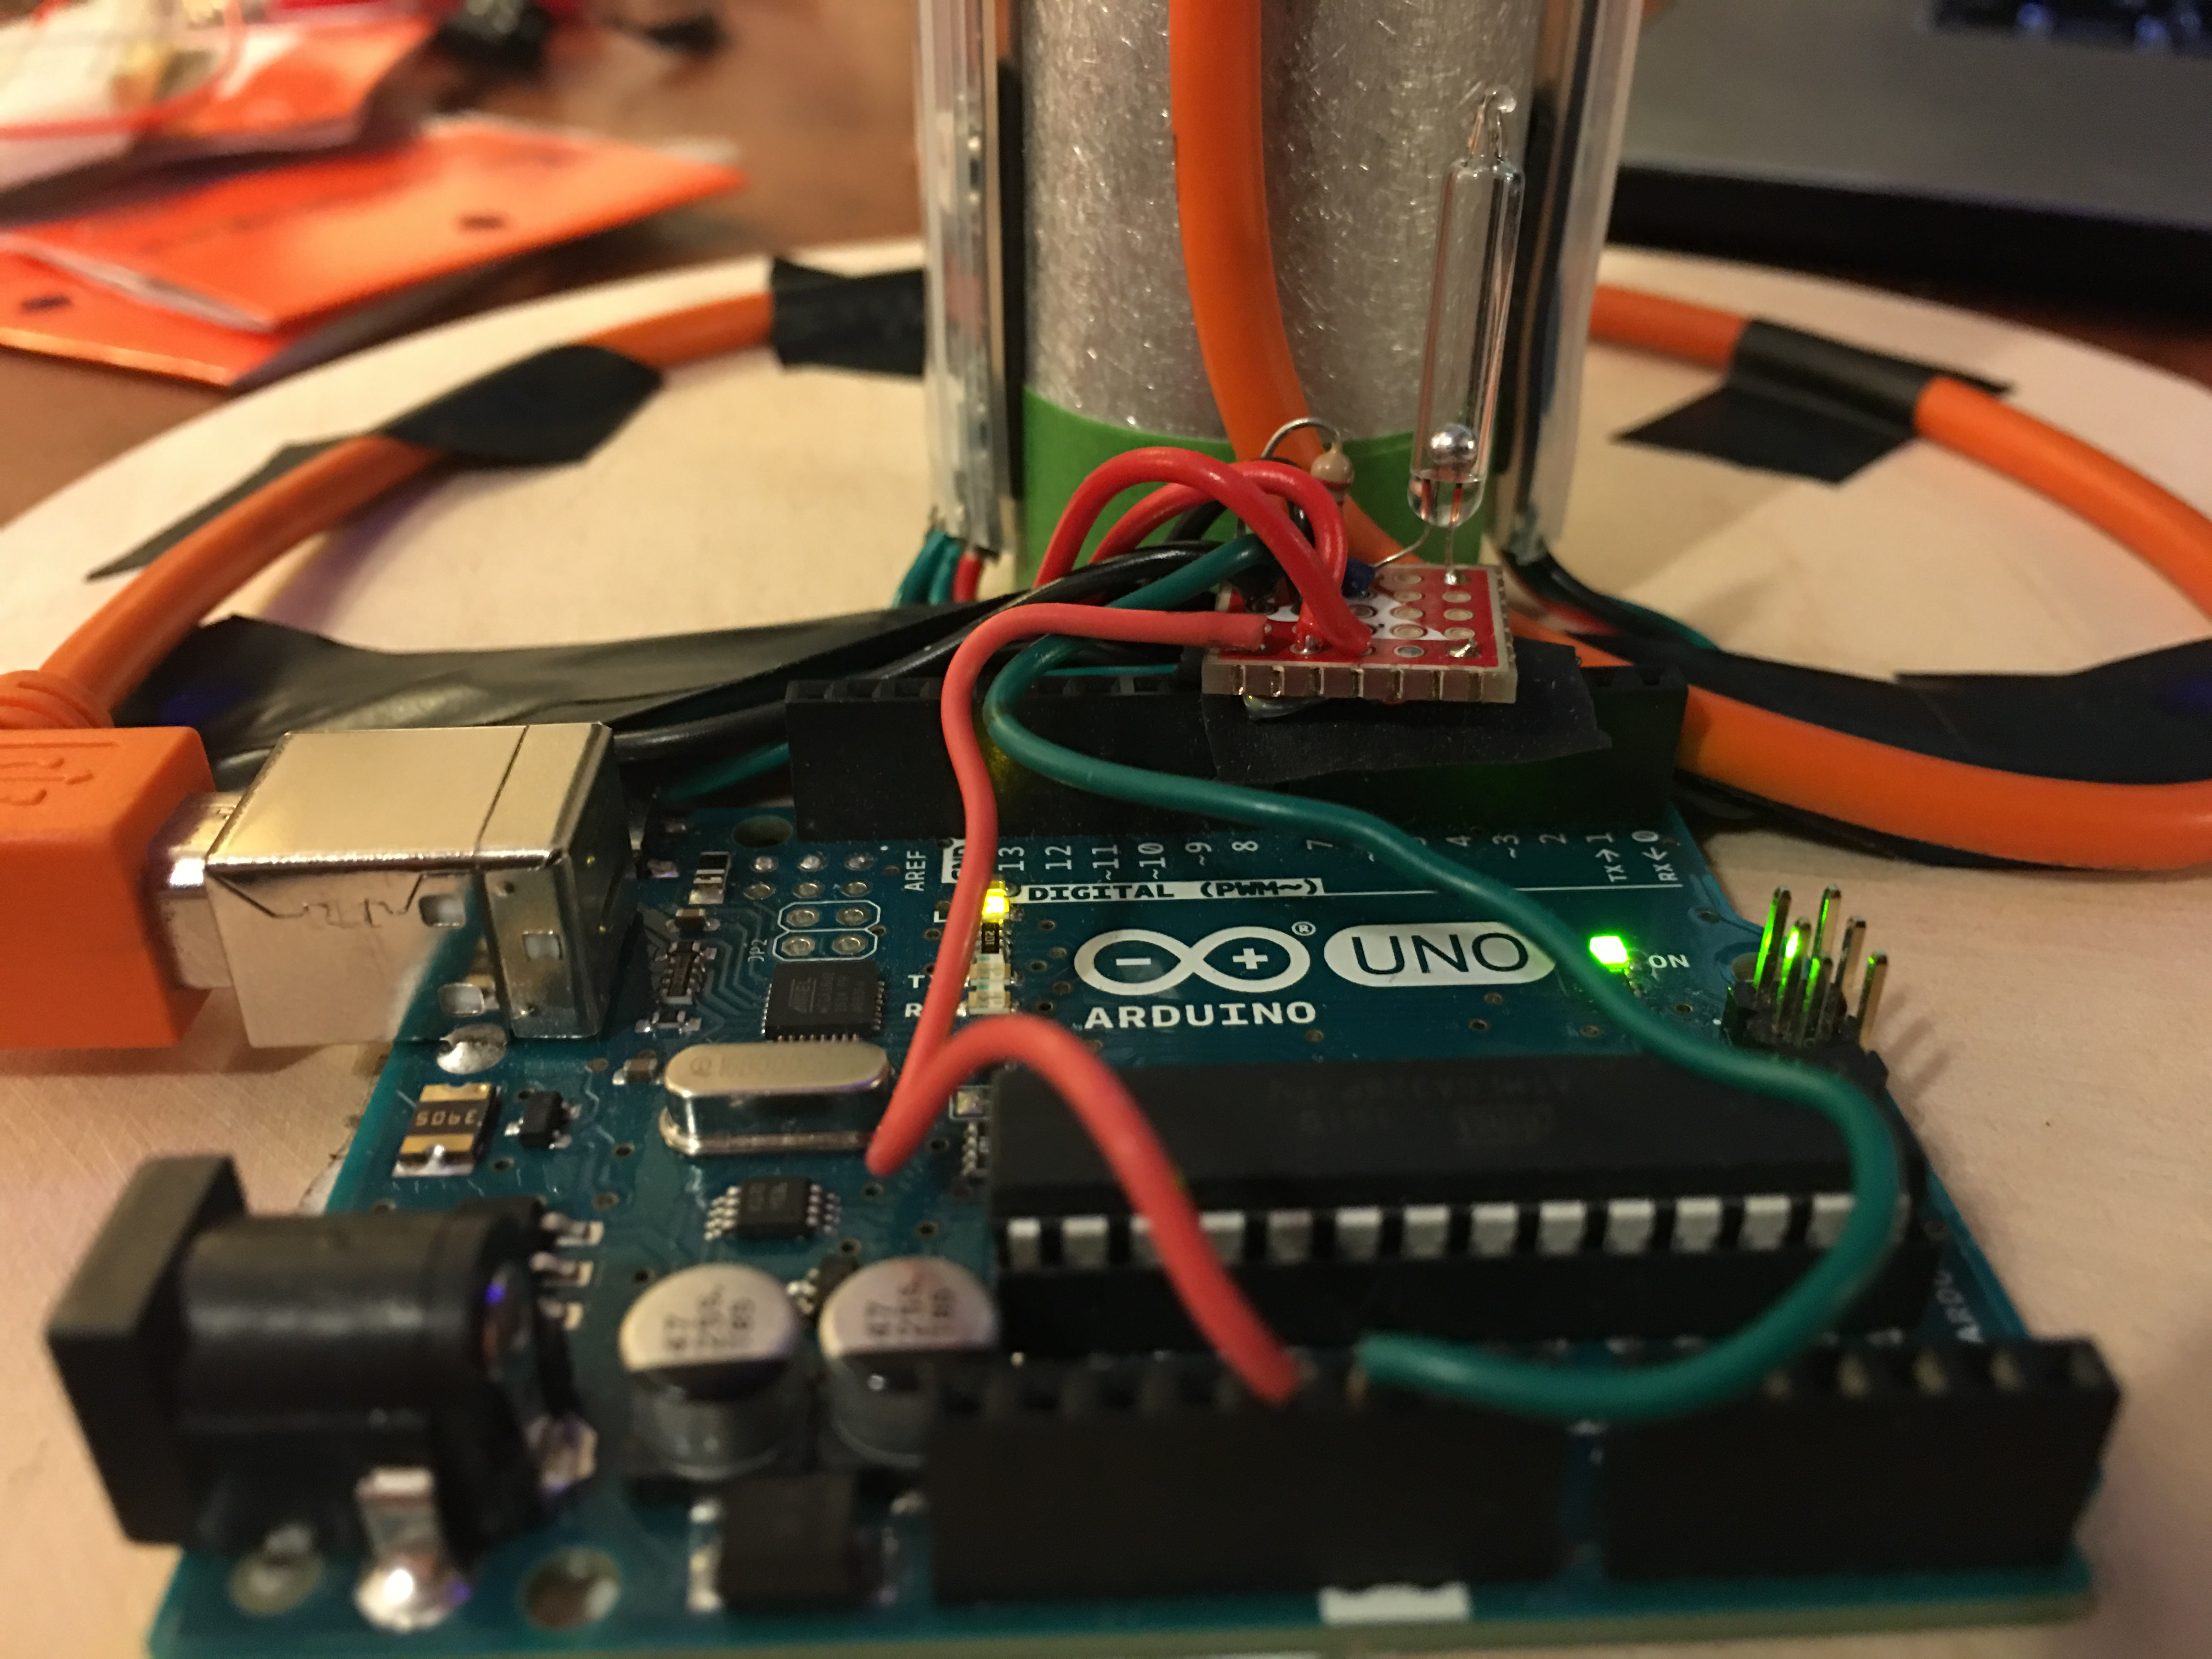
Once I got the pixel animation and the tilt switch working, I soldered the tilt switch and some other components to a perfboard, then mounted the second LED strip, Arduino, and power supply to the inside of the discs. I finalized the color scheme as red and blue, and had the animation only change to the new one once it had finished the previous cycle.
The last part was simply stretching some lycra fabric (also salvaged) across the two discs and glueing it while taut. This gave the fixture some diffusion, while also allowing for access to the electronics inside.
I want to work on another iteration of this with a cleaner enclosure and smoother code, but I think this is a good conceptualization of my initial idea. Bonus GIF of flashlight with a table in my room:
And lastly, here is the Arduino code:
#include <Adafruit_NeoPixel.h>
#ifdef __AVR__
  #include <avr/power.h>
#endif

#define PIN 6
int flag;
int lastflag;

// Parameter 1 = number of pixels in strip
// Parameter 2 = Arduino pin number (most are valid)
// Parameter 3 = pixel type flags, add together as needed:
//   NEO_KHZ800  800 KHz bitstream (most NeoPixel products w/WS2812 LEDs)
//   NEO_KHZ400  400 KHz (classic 'v1' (not v2) FLORA pixels, WS2811 drivers)
//   NEO_GRB     Pixels are wired for GRB bitstream (most NeoPixel products)
//   NEO_RGB     Pixels are wired for RGB bitstream (v1 FLORA pixels, not v2)
//   NEO_RGBW    Pixels are wired for RGBW bitstream (NeoPixel RGBW products)
Adafruit_NeoPixel strip = Adafruit_NeoPixel(14, PIN, NEO_GRB + NEO_KHZ800);

// IMPORTANT: To reduce NeoPixel burnout risk, add 1000 uF capacitor across
// pixel power leads, add 300 - 500 Ohm resistor on first pixel's data input
// and minimize distance between Arduino and first pixel.  Avoid connecting
// on a live circuit...if you must, connect GND first.

void setup() {
  pinMode(2, INPUT);
  strip.begin();
  strip.show(); // Initialize all pixels to 'off'
  flag = digitalRead(2);
}

void loop() {
  // Some example procedures showing how to display to the pixels:
  flag = digitalRead(2);

  if (flag == HIGH){
  colorWiper(3); // Red
  }
  if (flag == LOW) {
  colorWipe(3); // Red
  }
}

// Fill the dots one after the other with a color
void colorWipe(uint32_t wait) {
  for(uint16_t i=0; i<strip.numPixels(); i++) {
    for(uint16_t j=0; j< 255; j++){
          strip.setPixelColor(i, j, 0, 0);
           strip.show();
            delay(1);
      }
    for(uint16_t j=255; j < -1; j--){
    strip.setPixelColor(i, j, 0, 0);
    strip.show();
    delay(1);
    }
    delay(wait);
  }
  }

void colorWiper(uint32_t wait) {
  for(uint16_t i=strip.numPixels(); i < -1; i--) {
    for(uint16_t j=0; j< 255; j++){
          strip.setPixelColor(i, 0, 0, j);
           strip.show();
            delay(1);
      }
    for(uint16_t j=255; j < -1; j--){
    strip.setPixelColor(i, 0, 01, j);
    strip.show();
    delay(1);
    }
    delay(wait);
  }
}