
LED Clock
For our CNC midterm, I decided to make an LED clock using a NeoPixel strip and a piece of 1” plywood. The NeoPixel LEDs come at 60 pixels per meter, so that was really convenient. The thickness of the plywood was to allow for a deep channel for the LEDs.
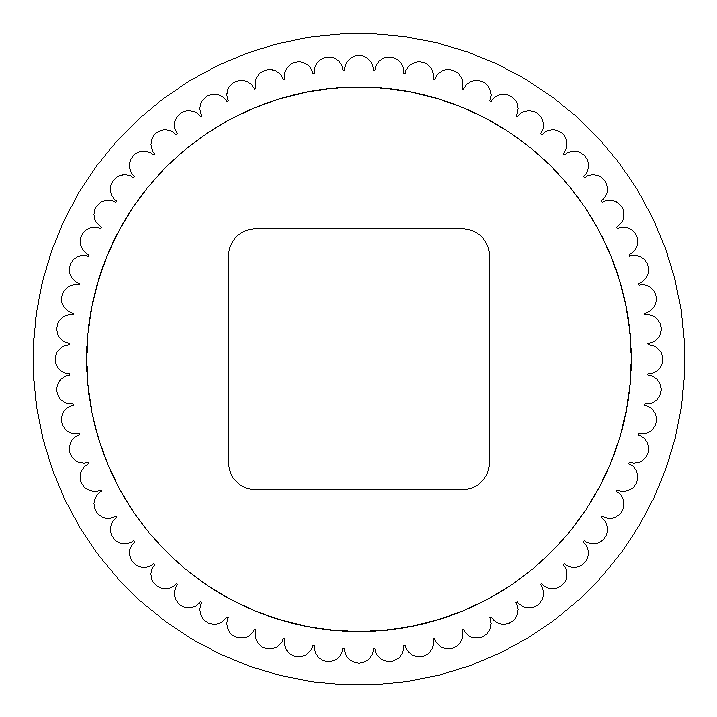
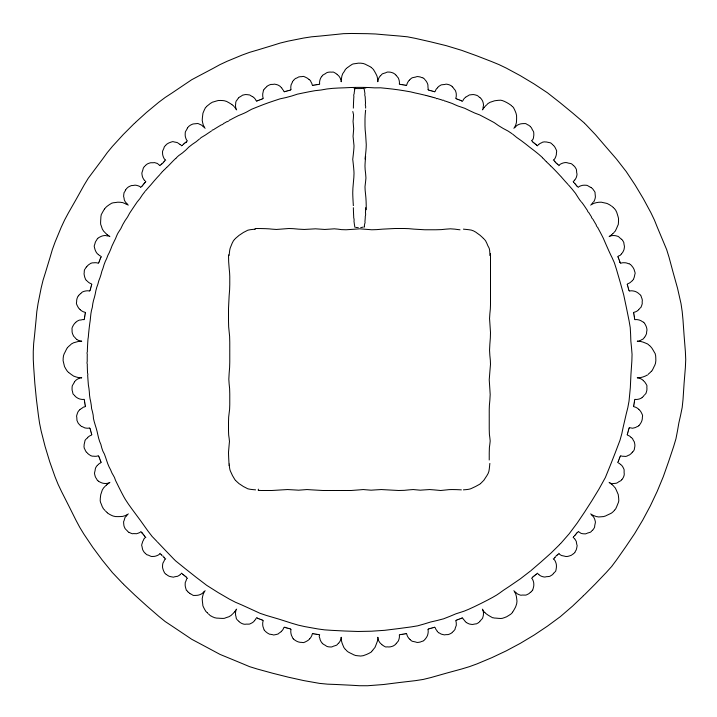
The initial design had two pockets and one countour cut. The middle pocket was for the Arduino and the other pocket was for the LEDs and the minute indicators. I created the minute indicators by duplicating a circle 60 times along the path of another circle. However, in requesting 60 duplicates, I errantly created 61 circles and didn’t realize until too late. The following three pictures show this initial design.

Here is the middle cut for the Arduino in progress.
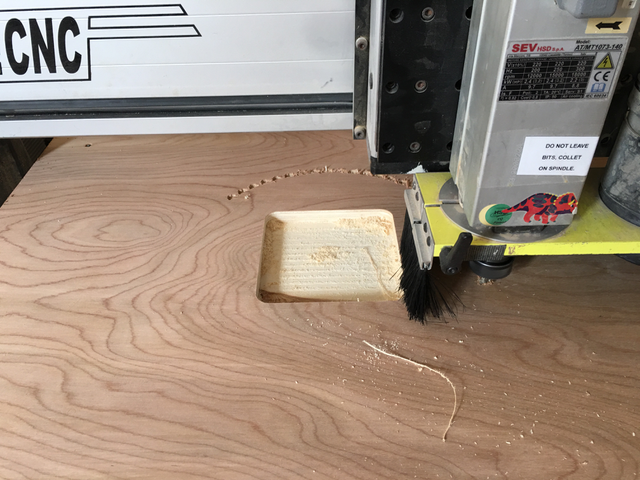
Some beginning cuts for the LED pocket.
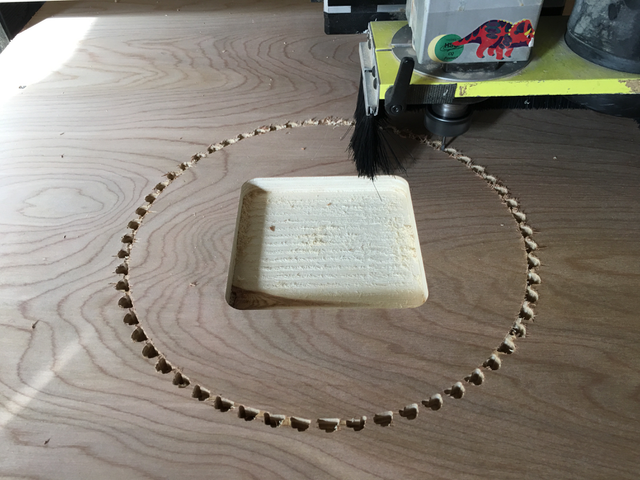
And both pockets finished.
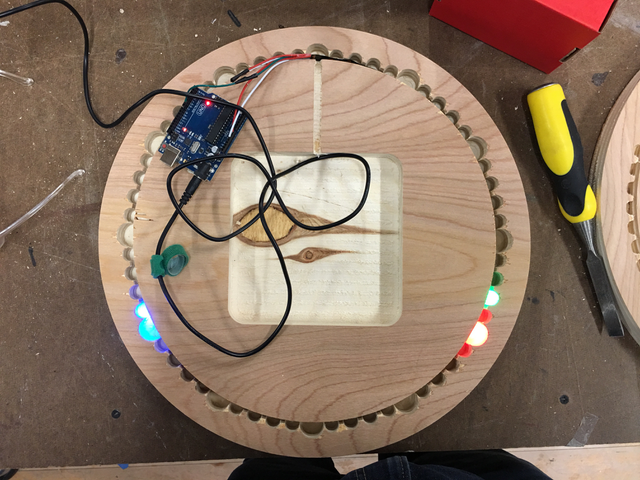
Once the circle was cut out and I placed the LEDs in the channel, I quickly realized my mistake, as the LEDs didn’t line up properly with the notches. I also realized that it was difficult to read the time without having larger hour indicators. So I went back to Vectorworks and made some adjustments.
This new design had larger notches for the hours and the correct number of minute indicators. It also added a small channel for the wiring to sit in.
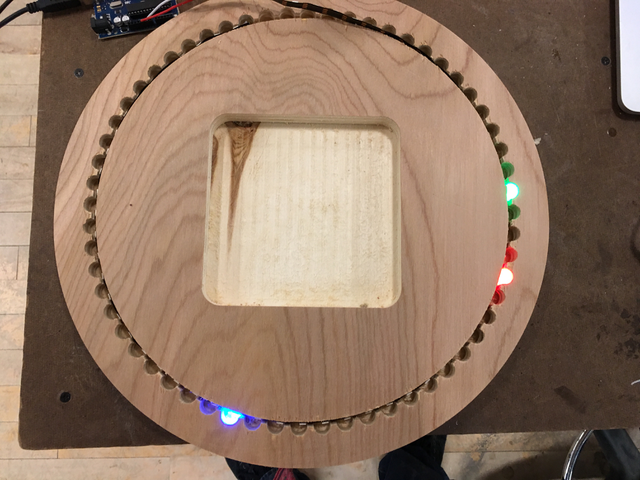
Since the process was relatively the same, I jumped right to the testing phase here.
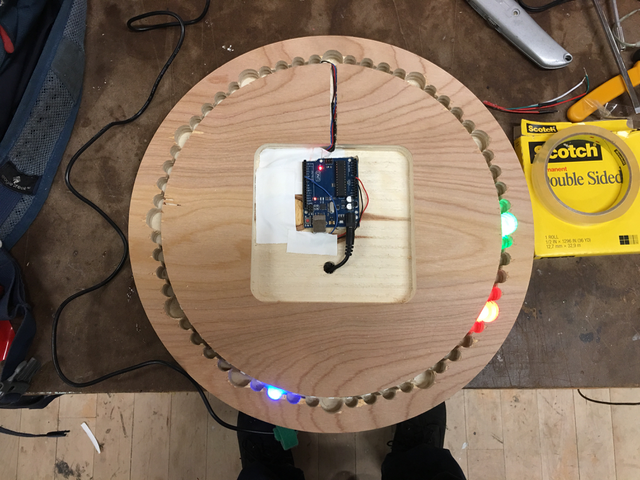
Here it is with the Arduino and wiring in place.
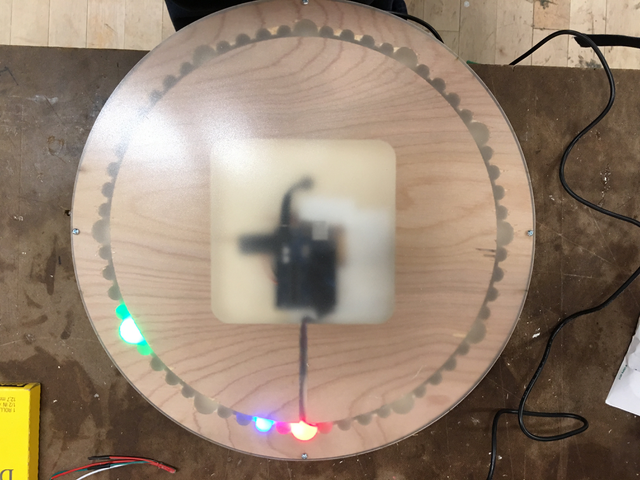
The final step was to add the plexiglass. The plexiglass that I ordered wasn’t as frosted as I would’ve liked, so another iteration of this would use a more diffused piece of plexiglass in addition to making the notch on the back for the Arduino. I’d also like to create an interface to easily set the time.
Here is a quick video showing it working, I added an animation for when the seconds reset back to zero.