
Lathe 101
For our lathe skill builder, we were tasked with spindle turning a handle for a chisel. I decided to mostly do it freeform, only measuring dimensions for the part where the chisel would be attached. The only ornamentation was the three center peaks, designed to provide an ergonomic grip.
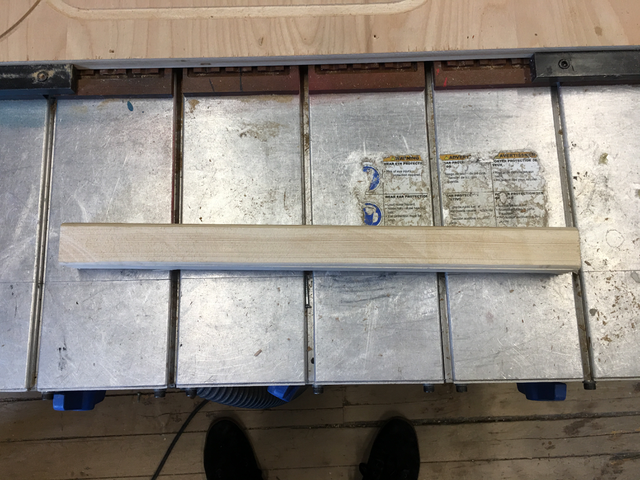
I was lucky enough to stumble upon the woodshops garbage bins, and found some scrap pieces that would be good material to practice on.
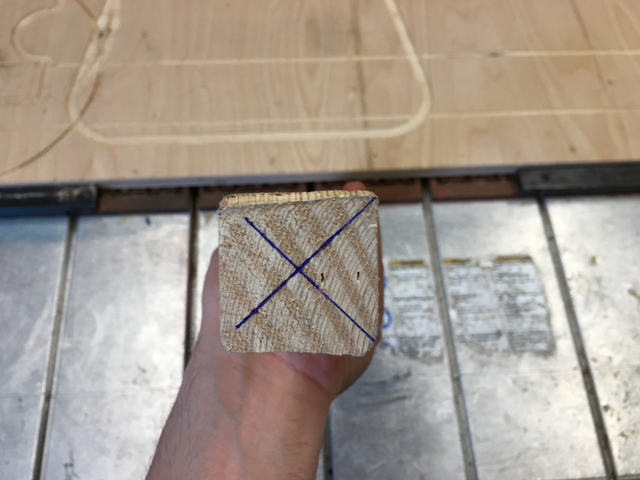
X marks the spot.
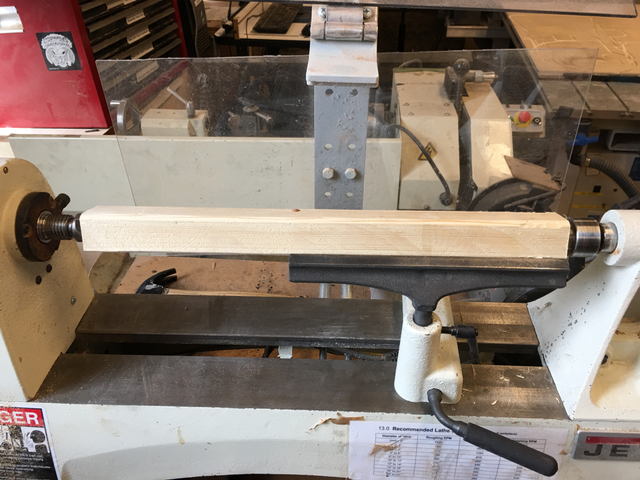
This spindle setup used the drive center and the live center.
 |
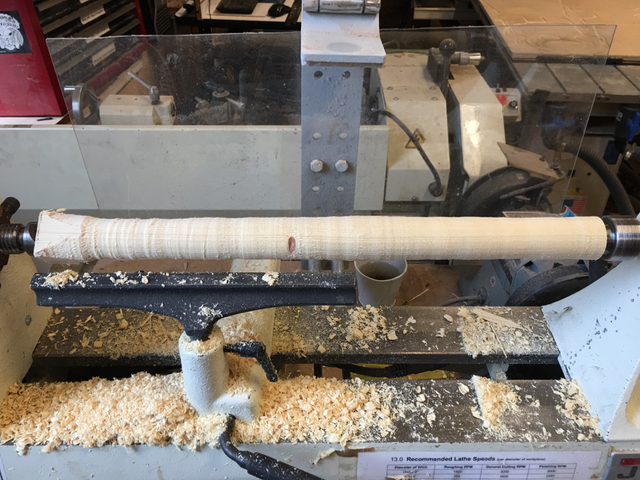 |
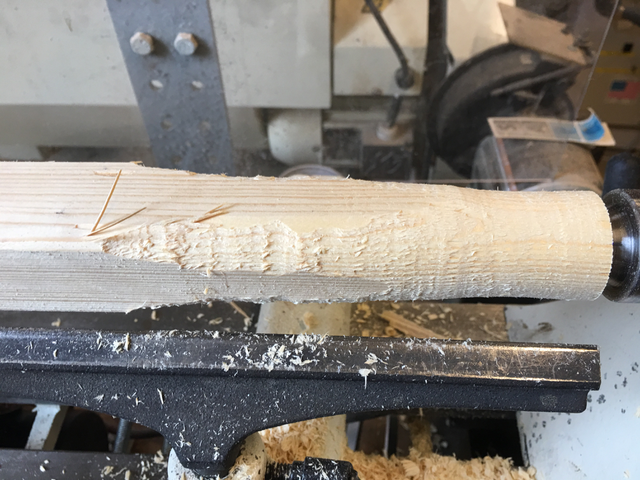
Got it as round as possible using the roughing tool and the round nose before turning further.
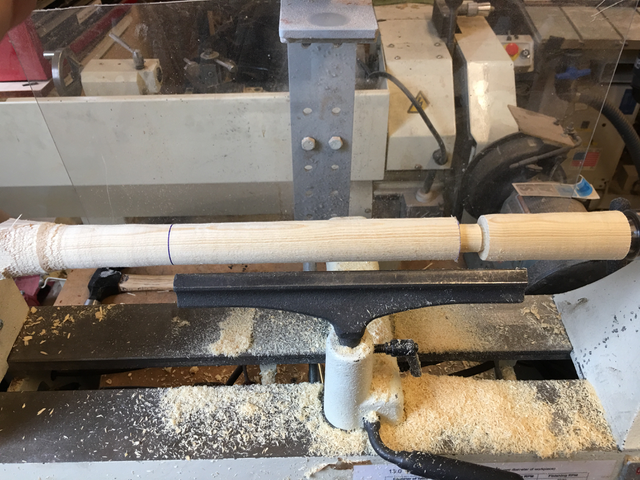
I then used a pen to mark the ends of the handle. The parting tool was used to get to the appropriate diameter for where the chisel would be attached.
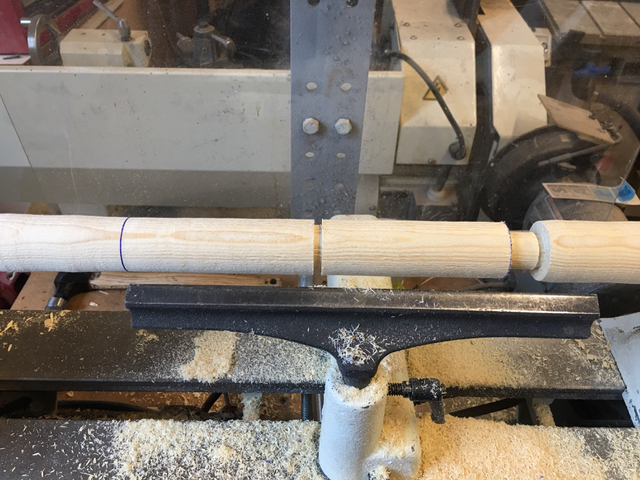
I continued using the parting tool to create four parts at the approximate spacing of my fingers.

Connected the low and high points as smoothly as possible using the round nose, not exactly as I had imagined, but I like how it turned out.
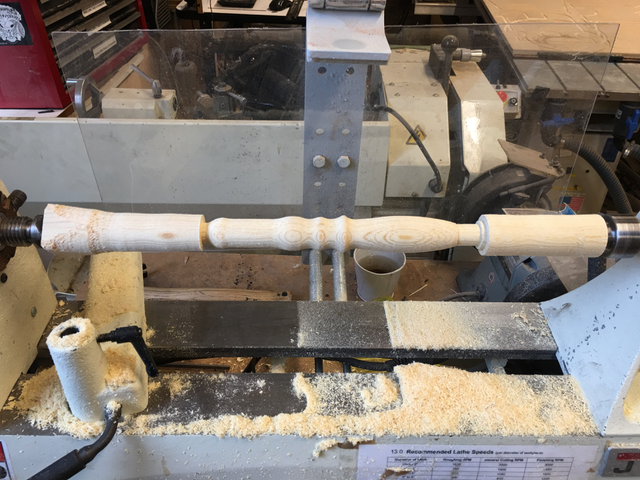
Again, the parting tool was used to get the end of the handle to an appropriate depth, and the the round nose was used to smooth it out. I also created a curve tapering down to the chisel attachement. I then sanded on the lathe.
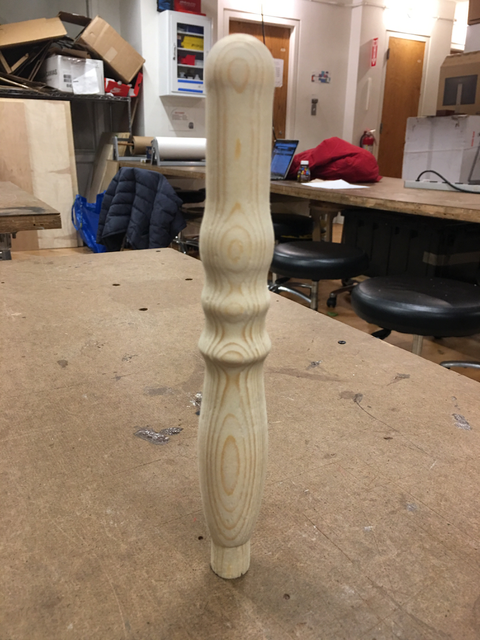
I cut the excess pieces off with the bandsaw and finished with some hand sanding.