Paper Towel Holders
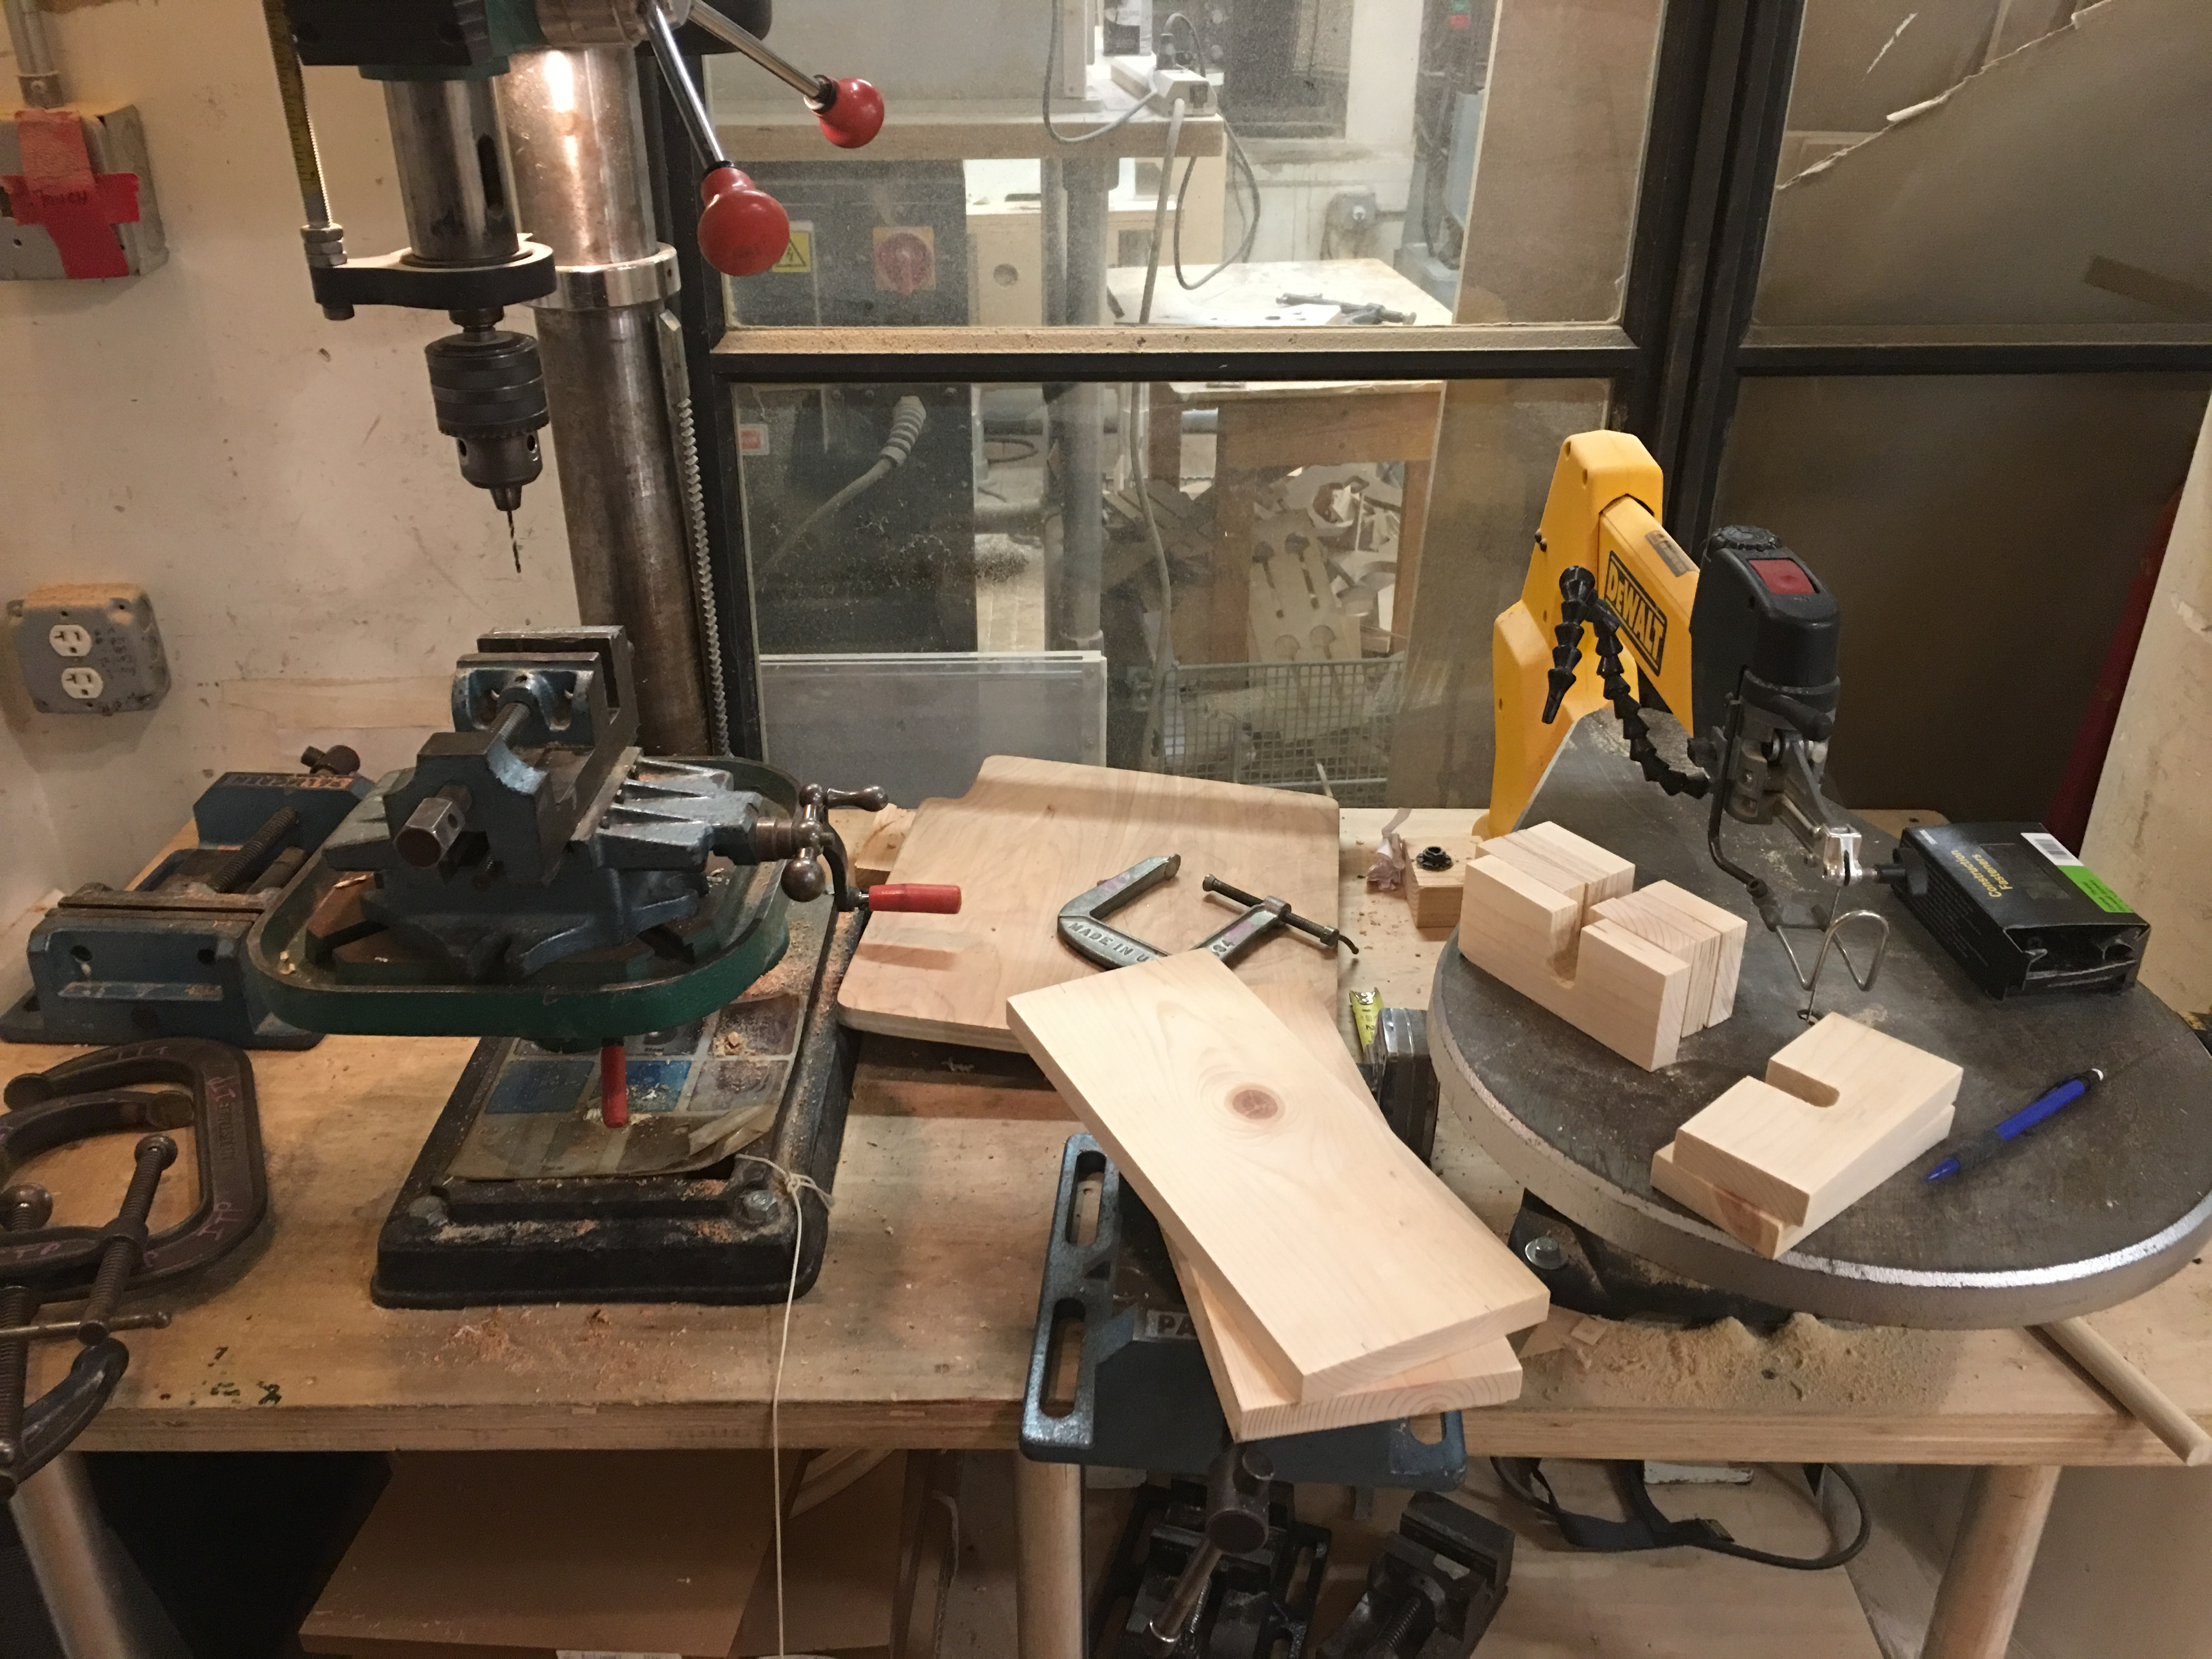
For our assignment on repeatability, I decided to make five wall-mounted paper towel holders using wood and screws. The materials used for this project consisted of two 4’ x 6” pieces of woods, two 4’ dowels, some drywall screws, and a random piece of ply I needed because I didn’t buy enough wood to account for mistakes.
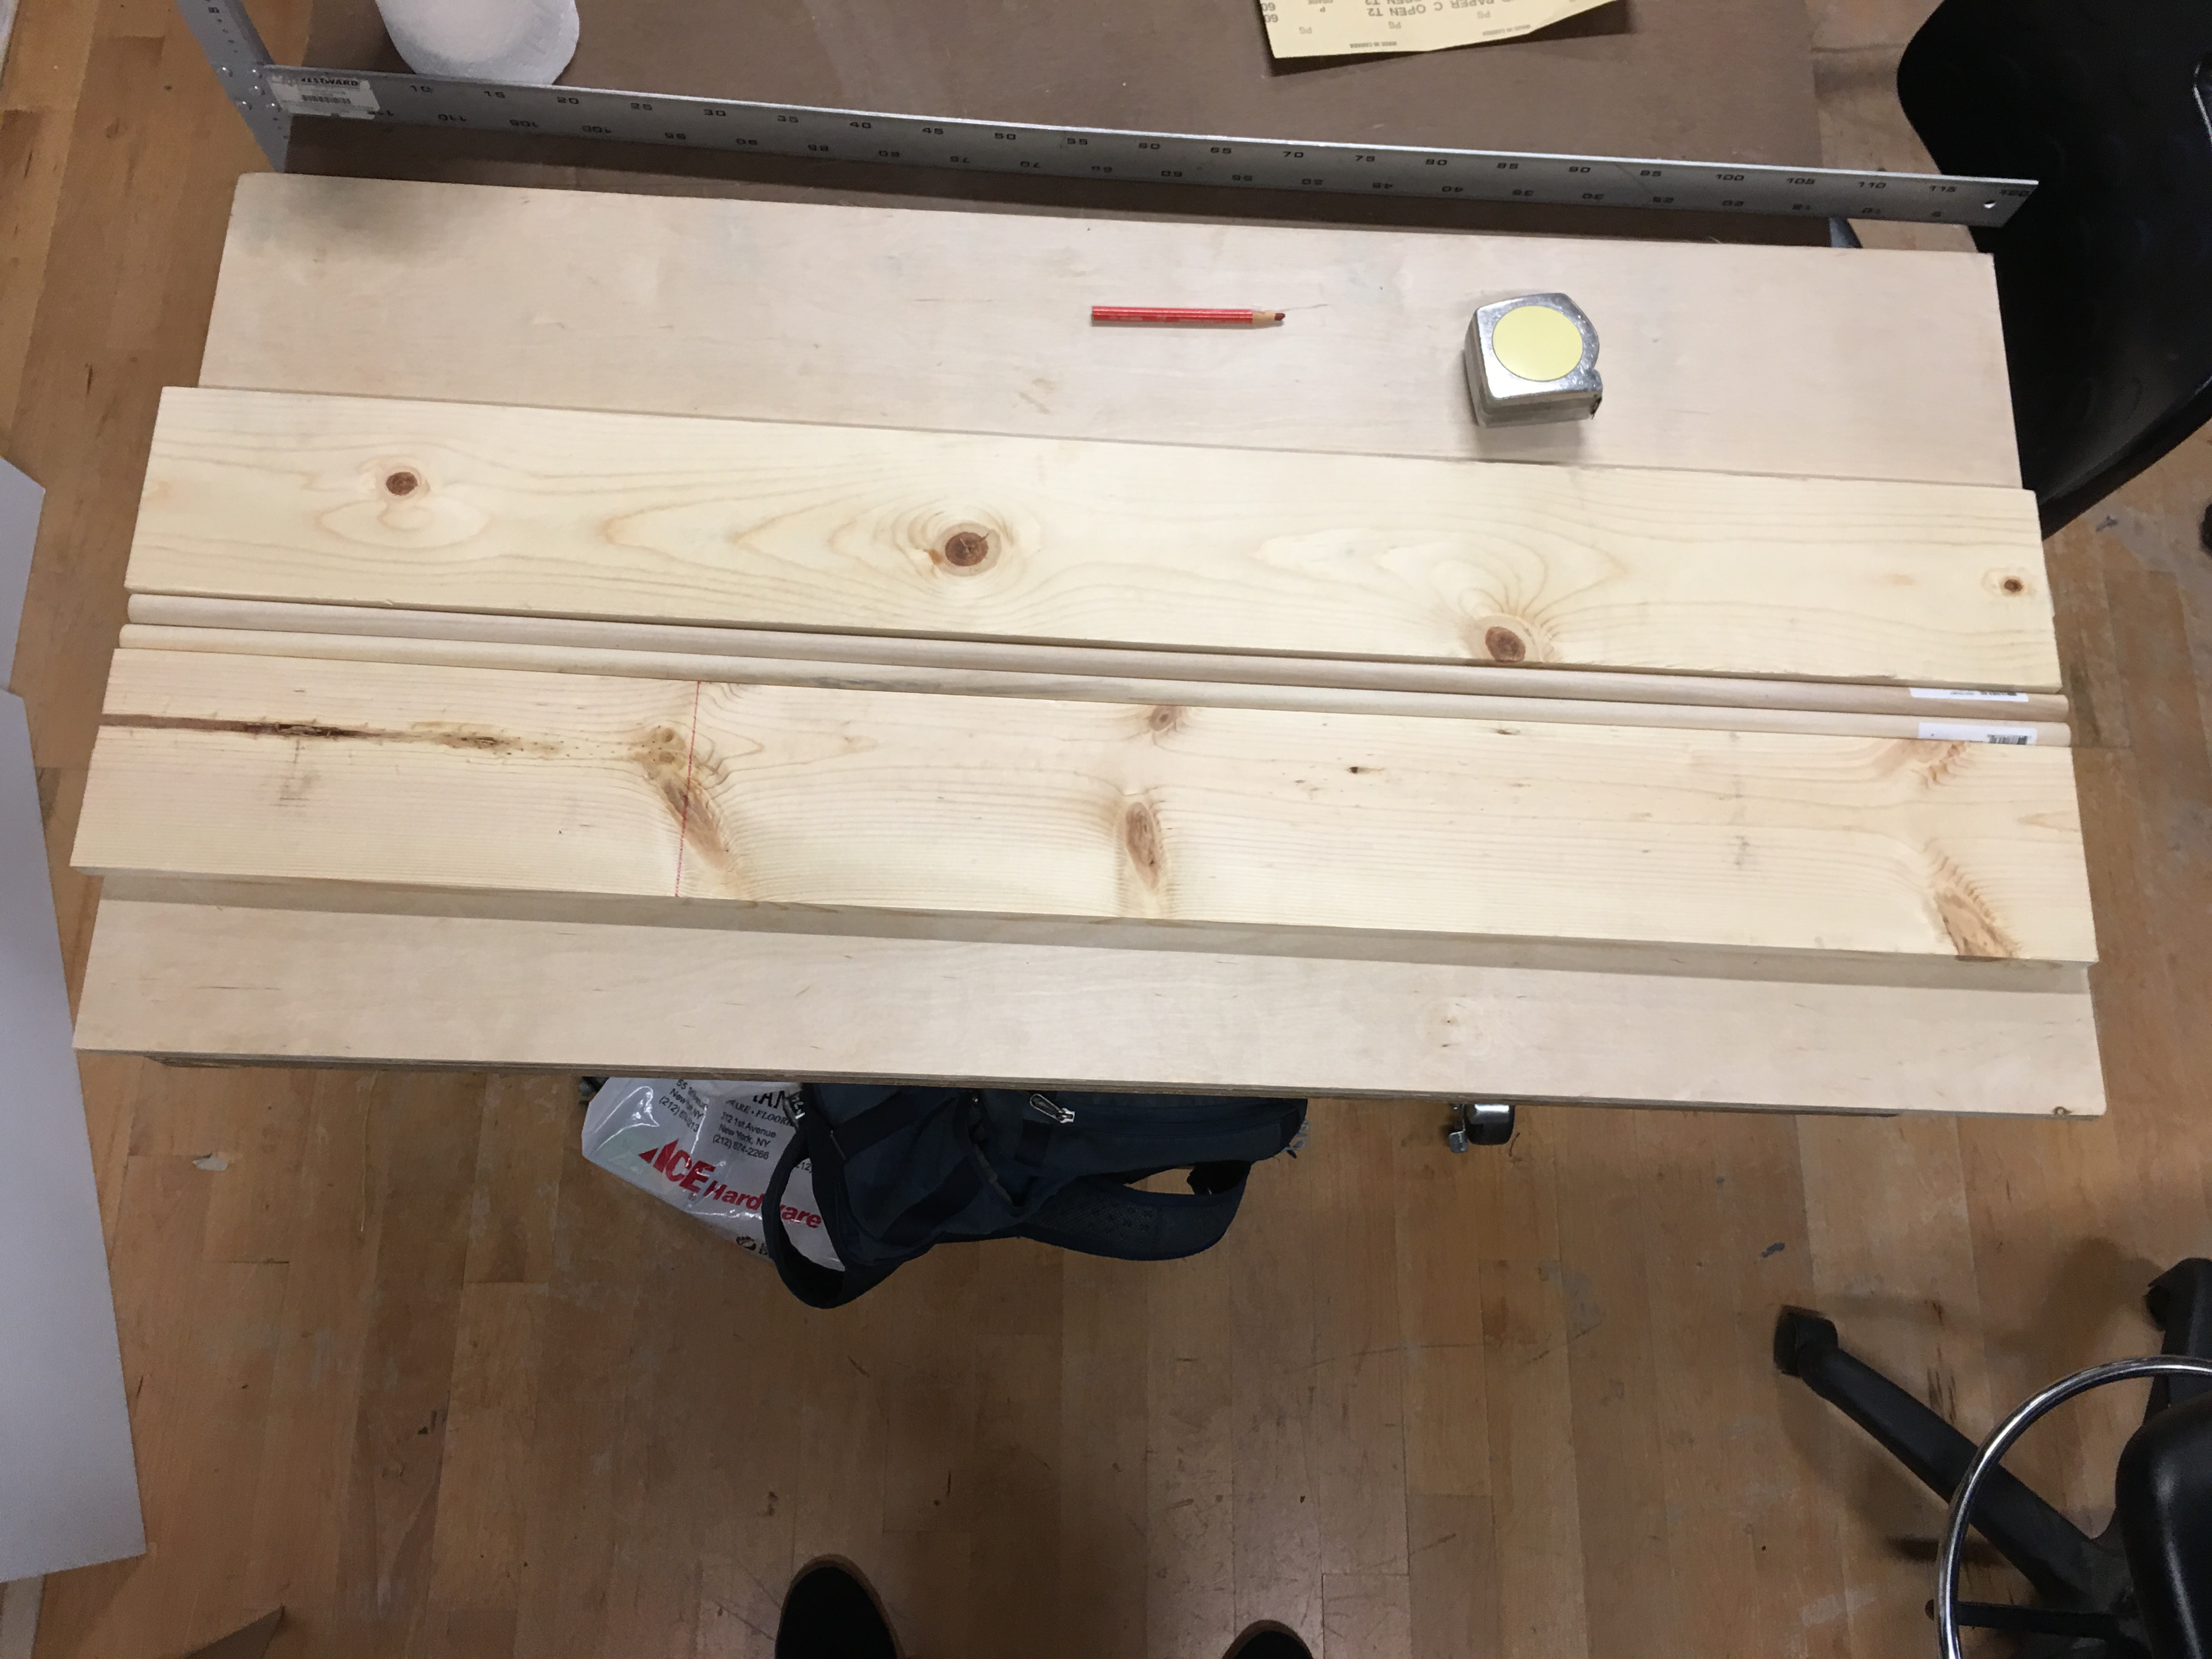
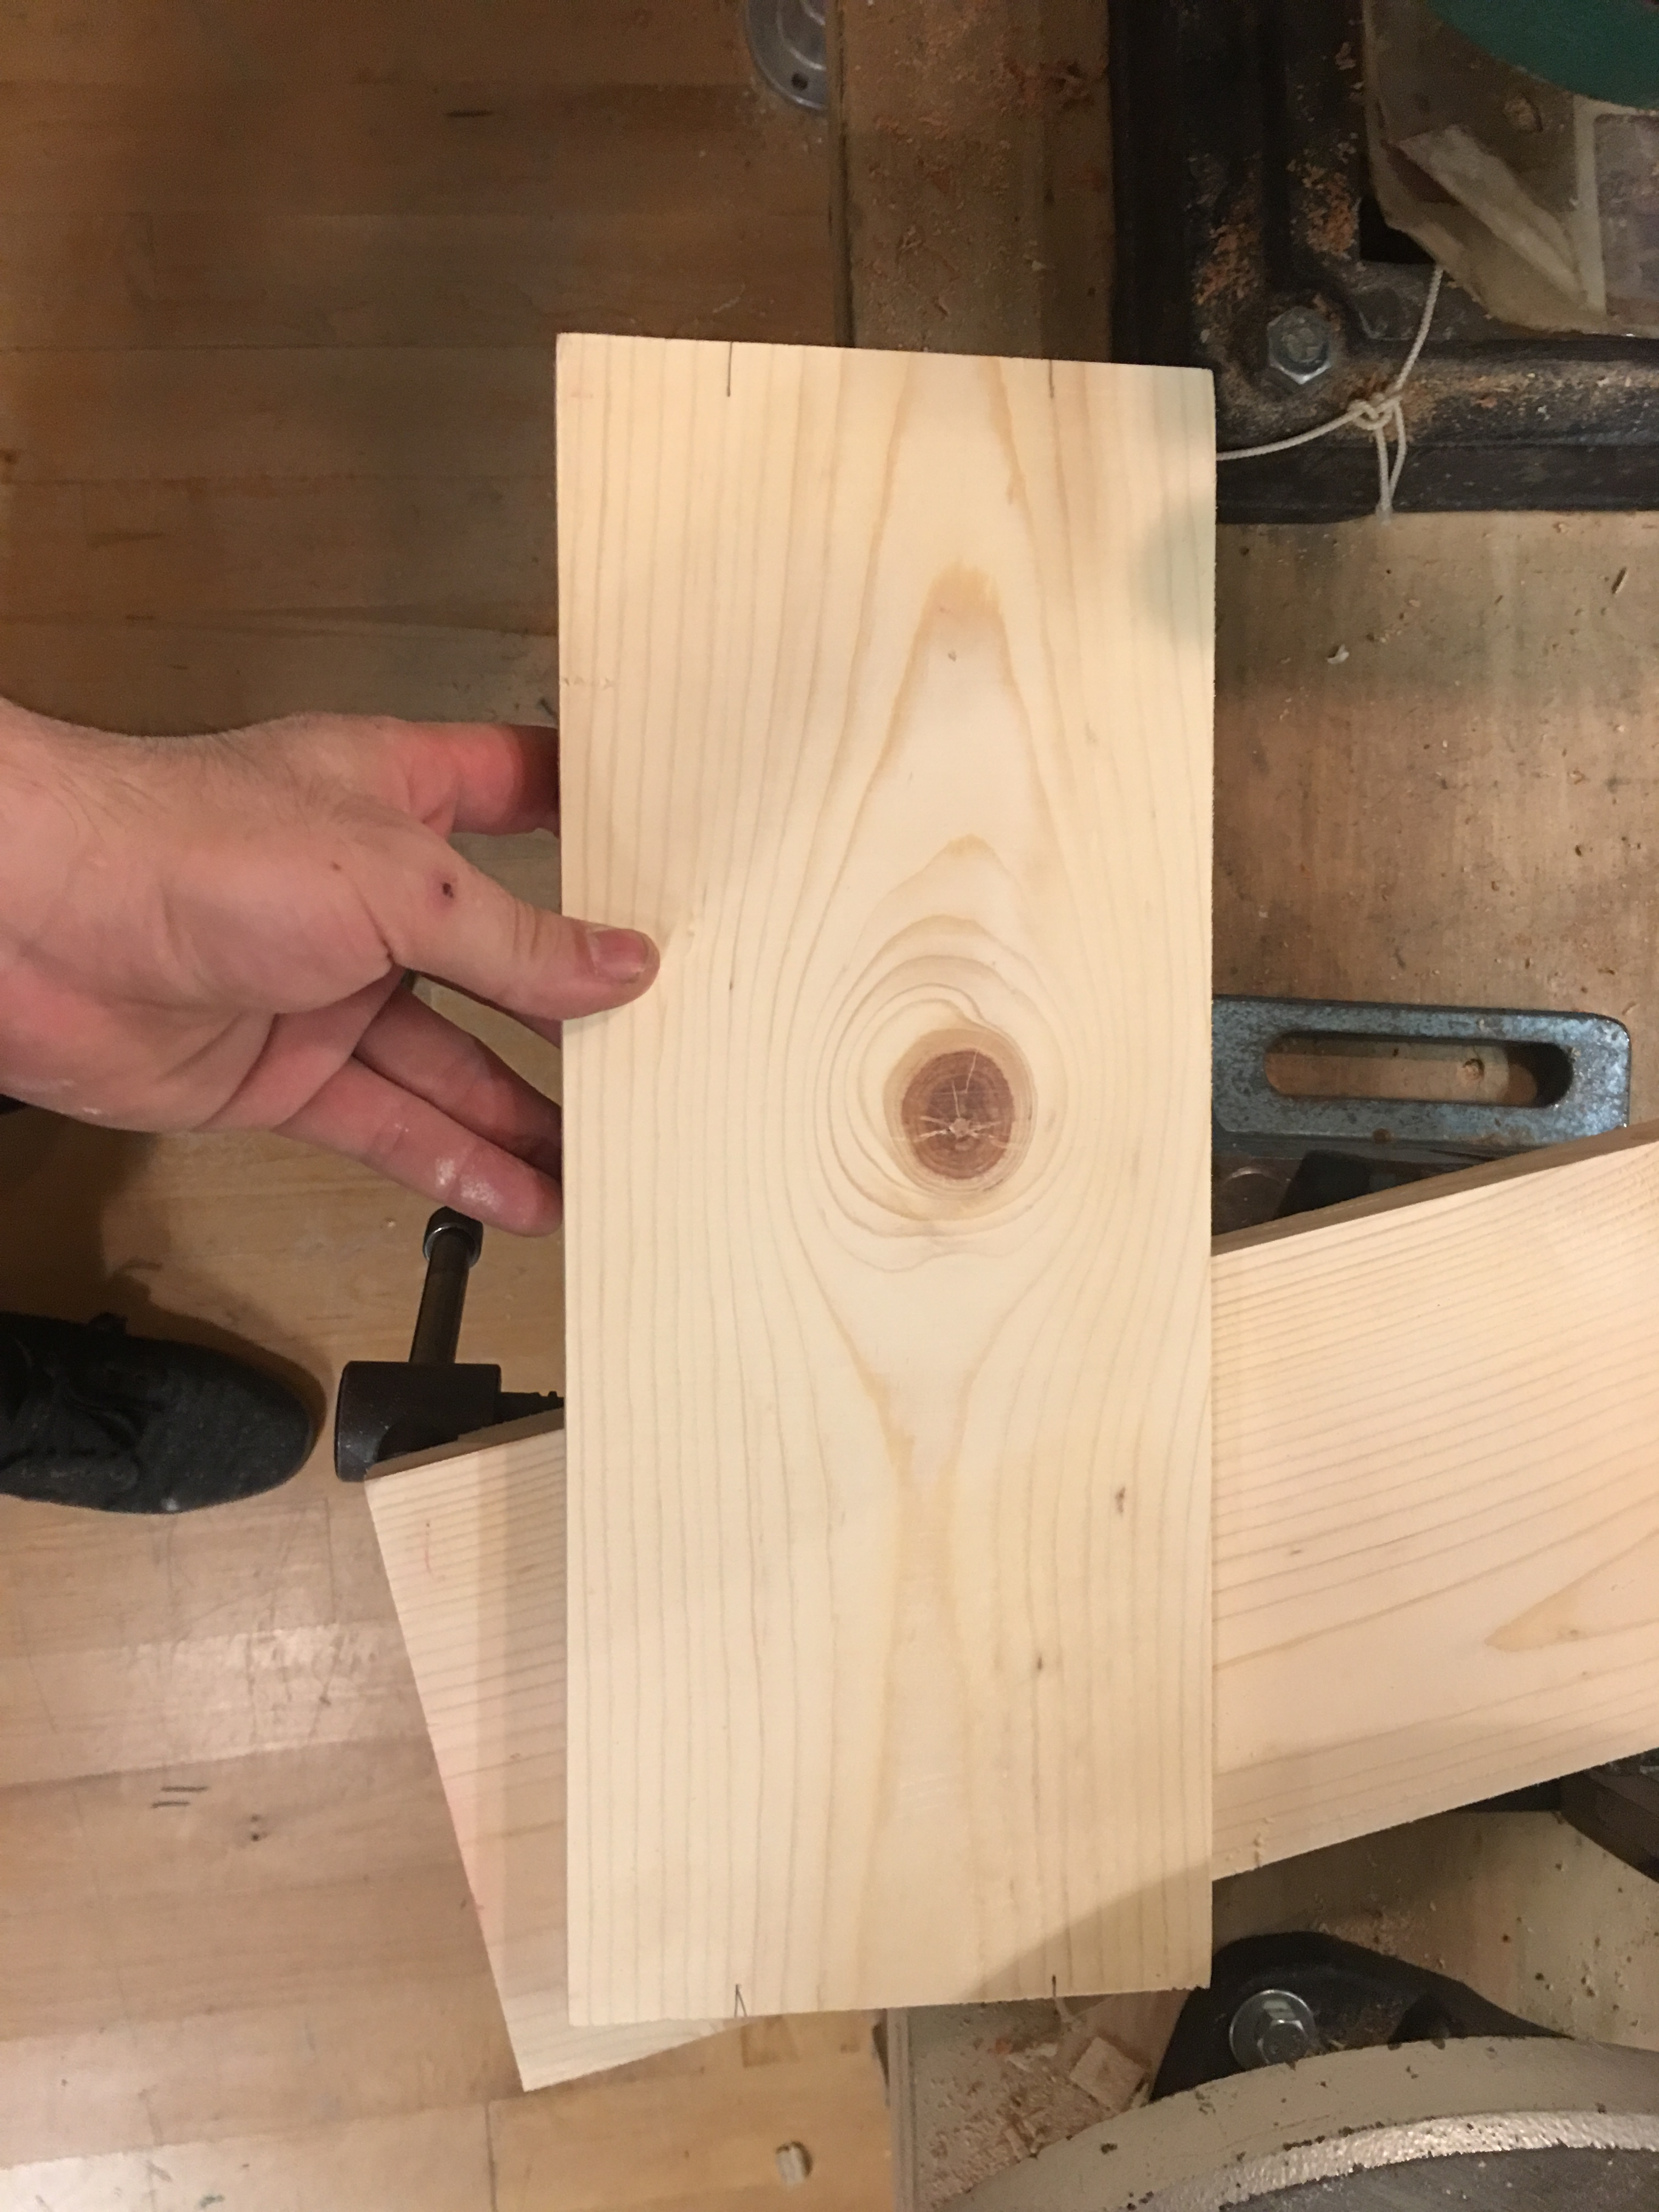
I found the average length of a paper towel roll to be 11”, so I decided to make the pieces 14” long. In retrospect, I should’ve made the cuts at 16” to accomodate standard stud spacing, but since the load is so light it could easily be supported by a single stud if attached at the center. I made a single cut and then marked the remaining pieces using the first piece as a guide. I should have used a stop block for this, but I only remembered about them a bit later in the process.
 |
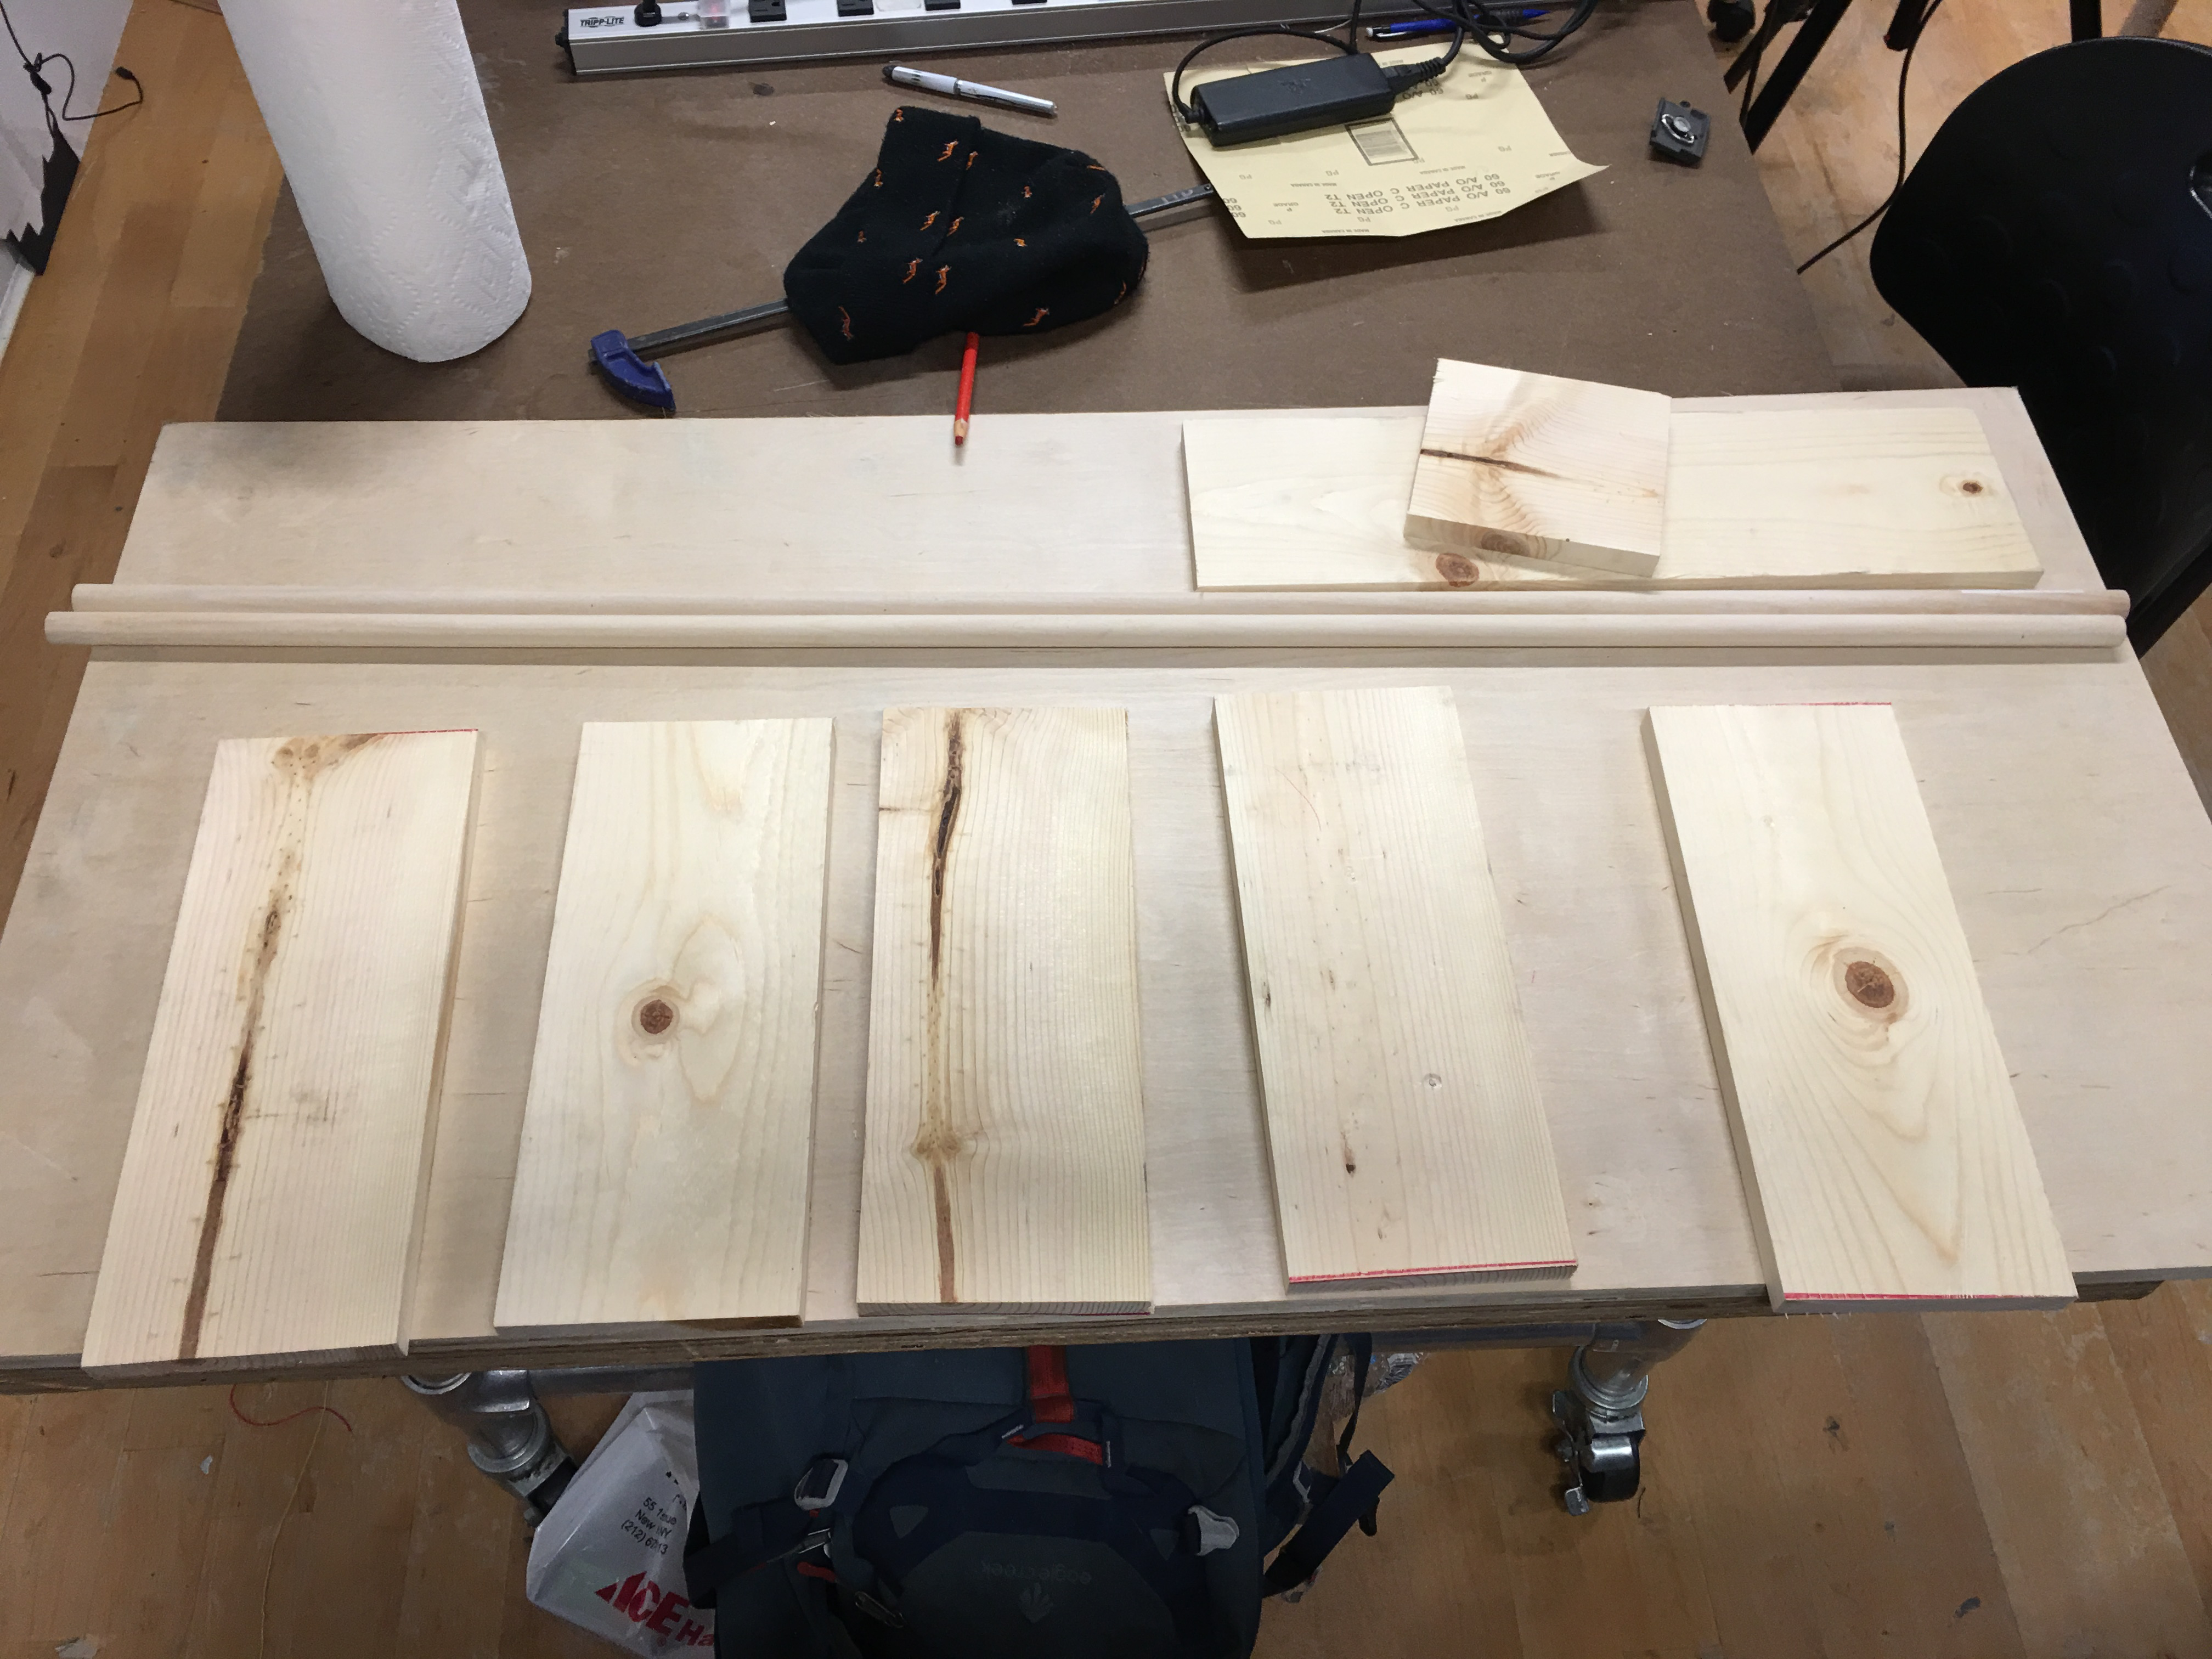 |
After cutting the main pieces, the next step was simply to cut the dowels down to the same 14”. I used the same process as above, measuring and cutting the first piece, and then marking where the remaining cuts needed to happen.
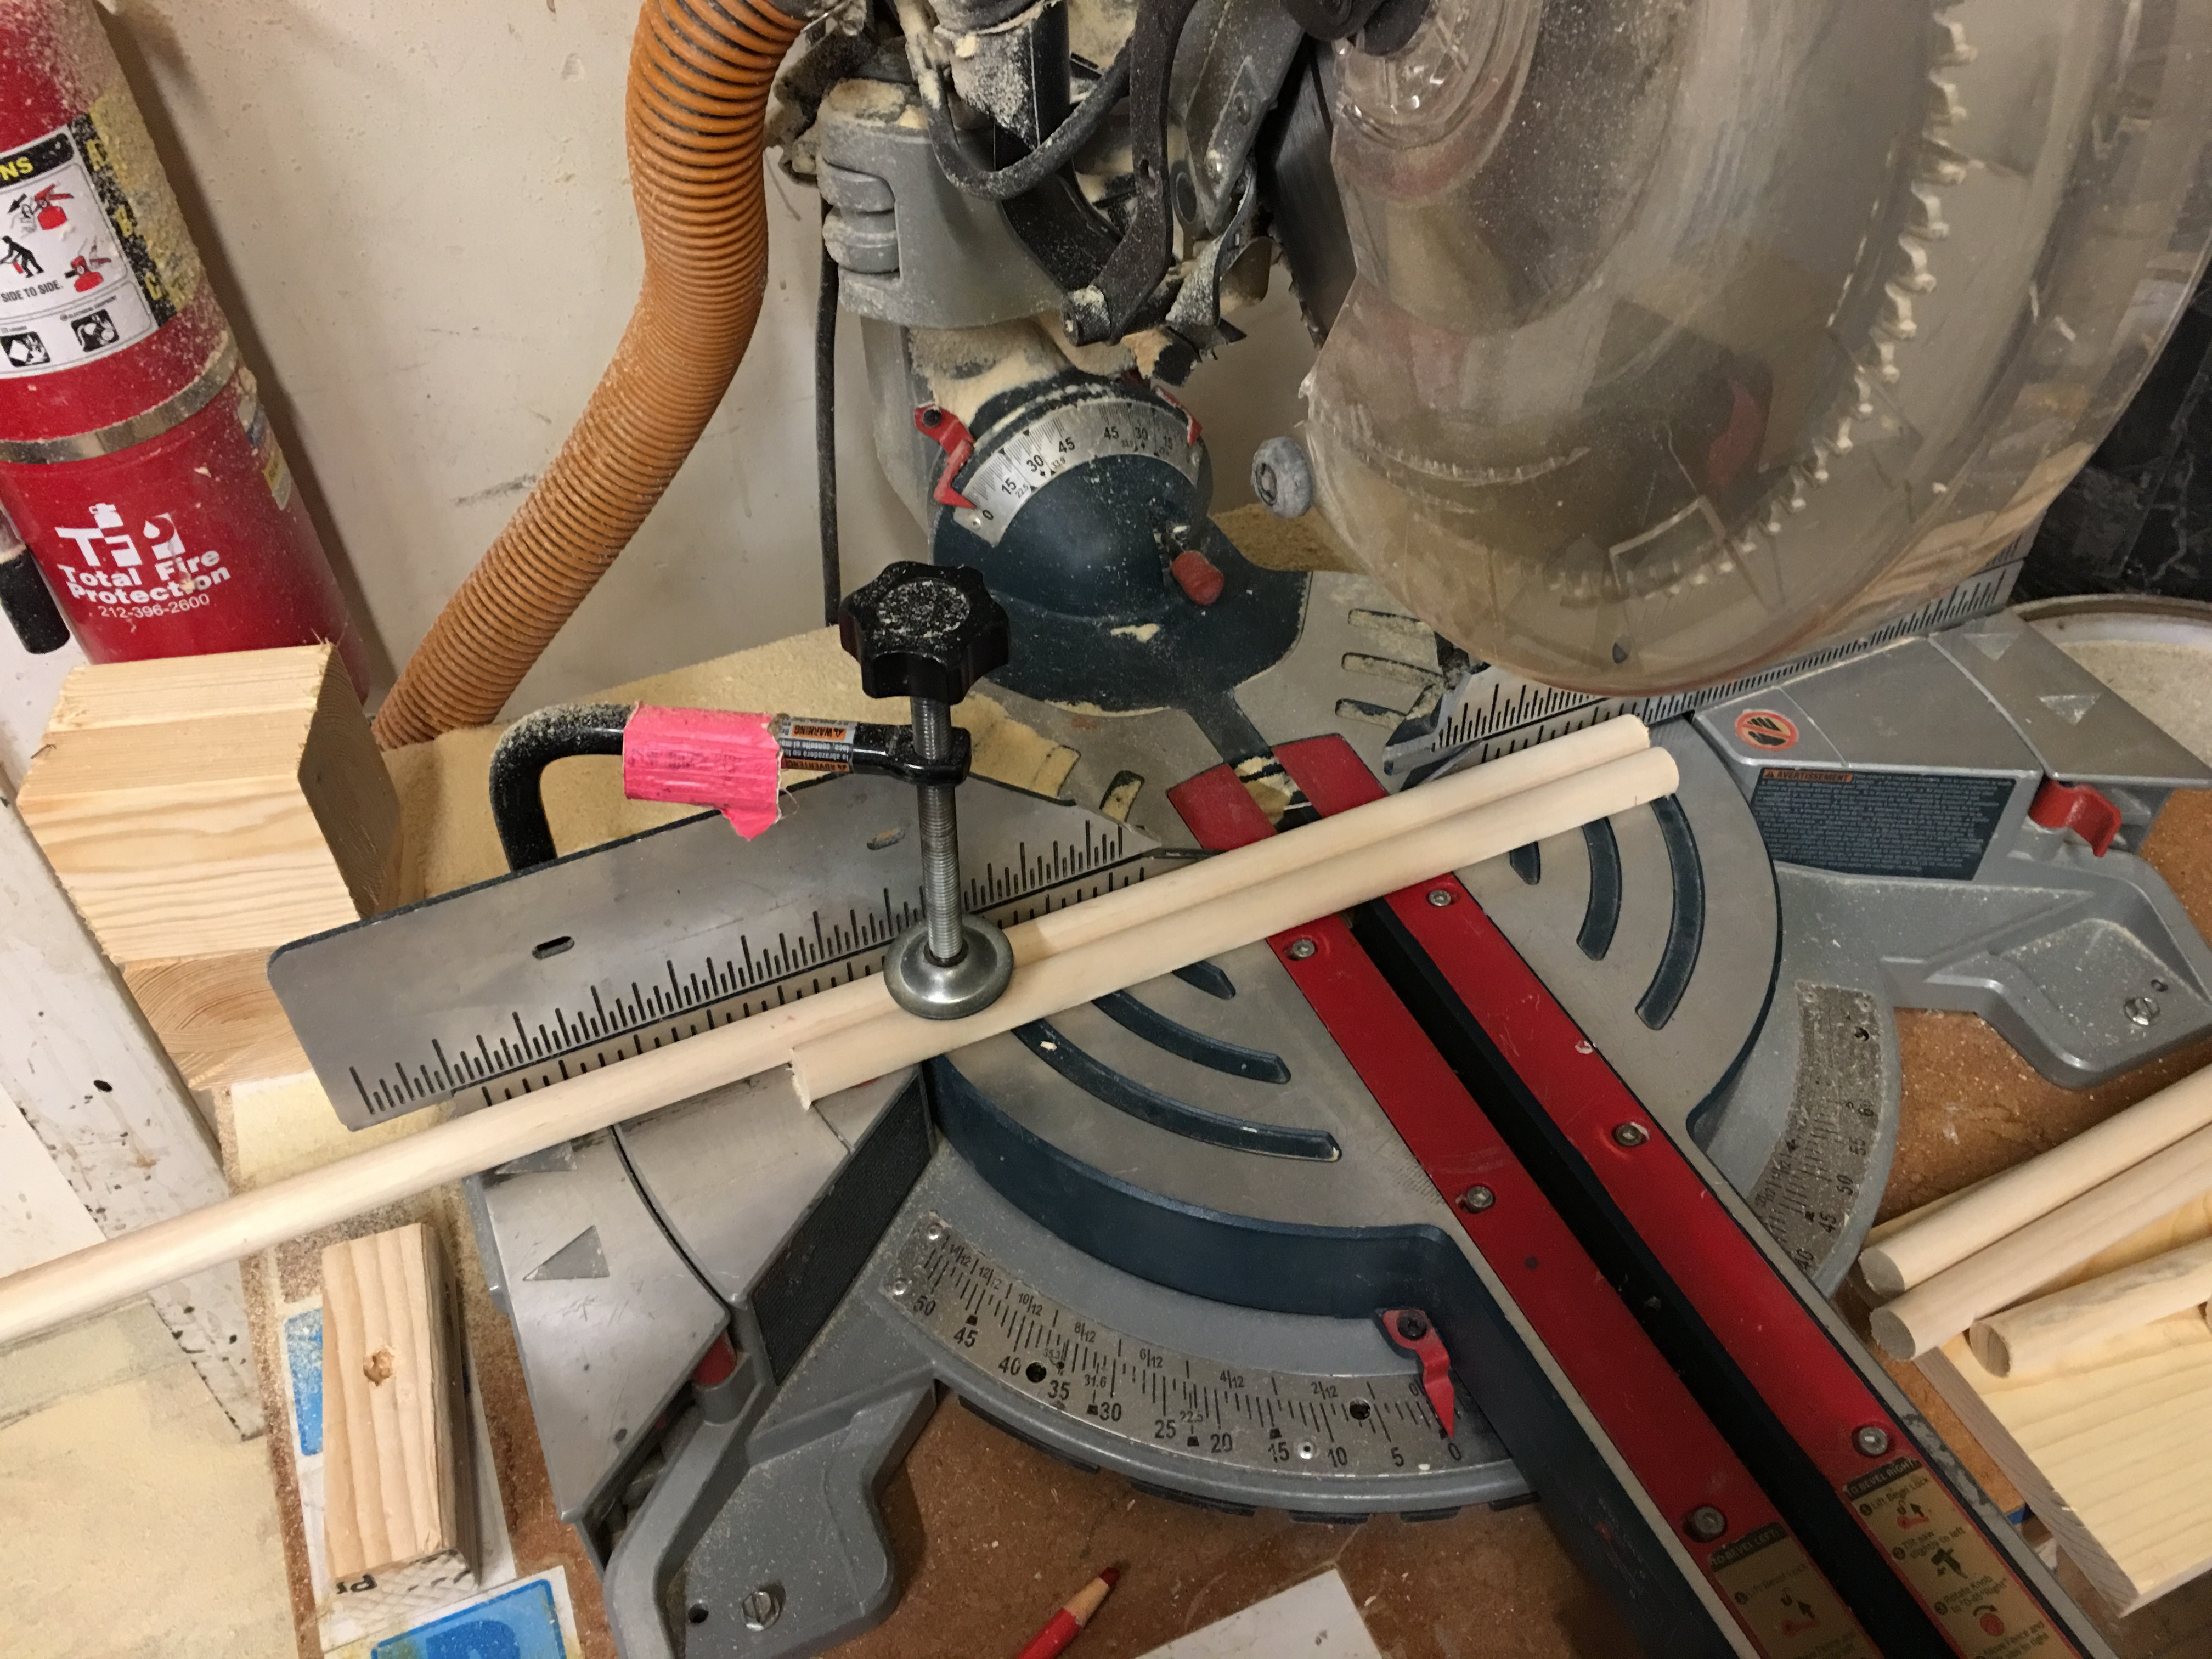
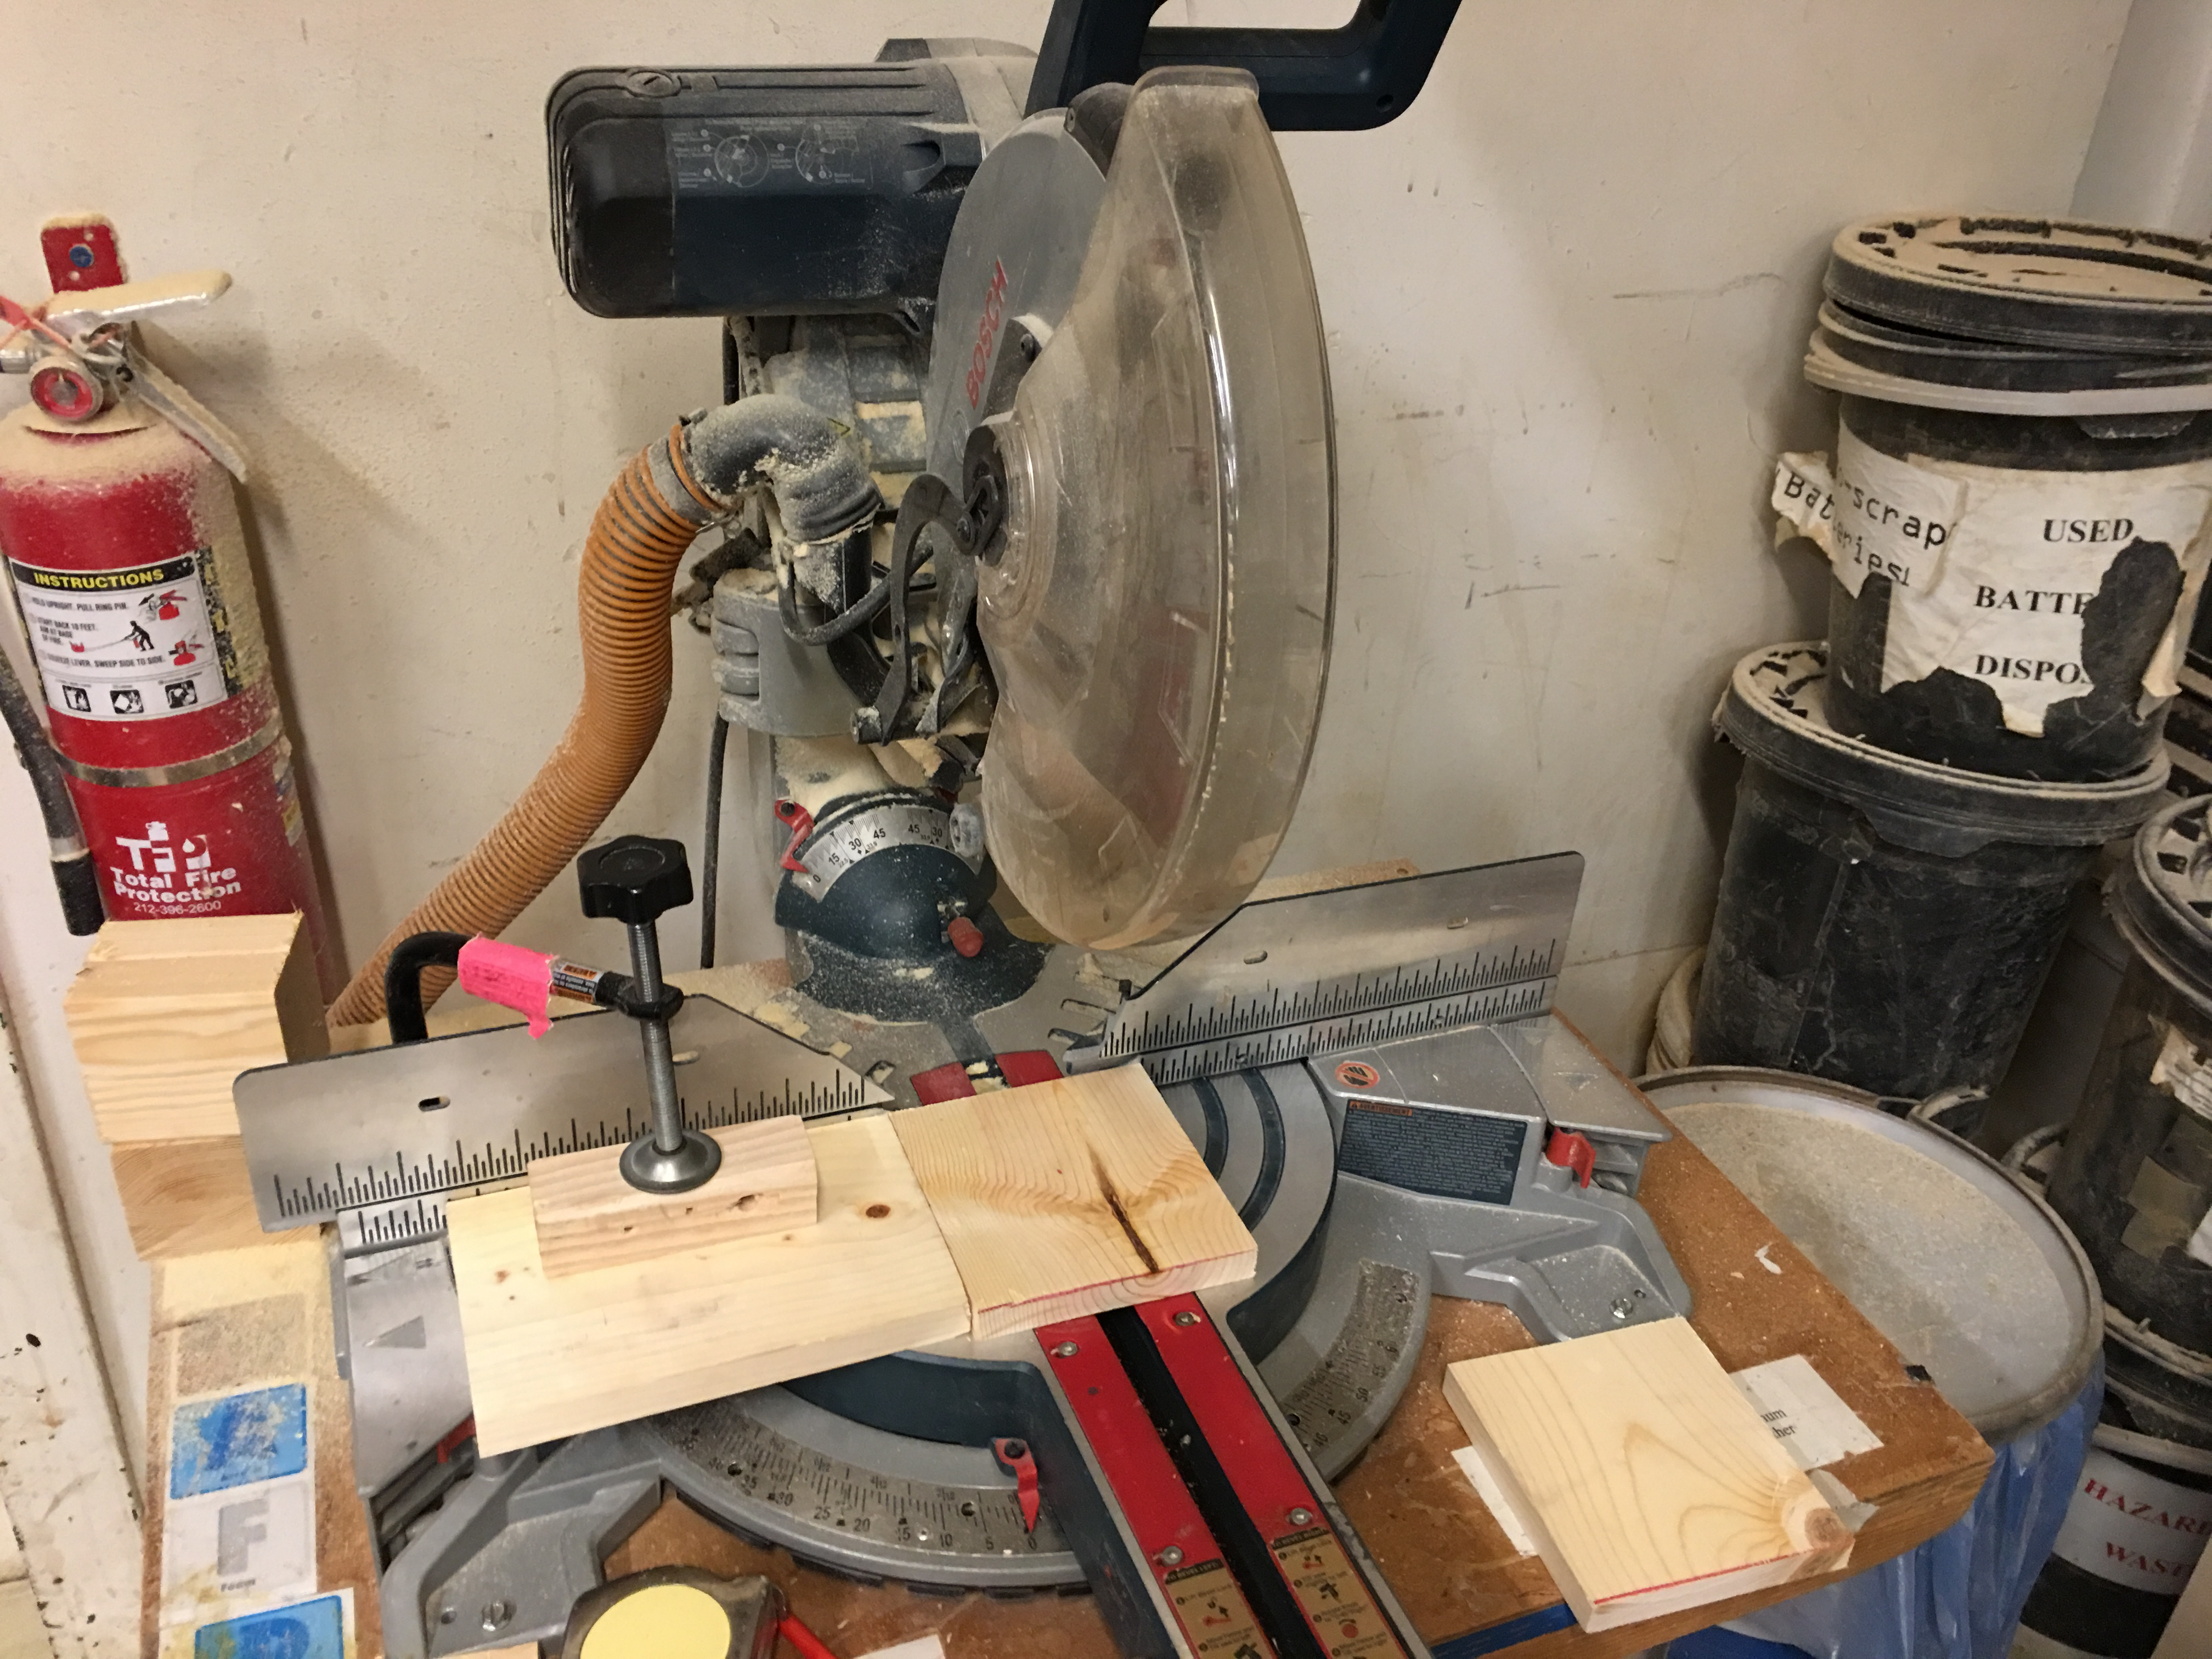
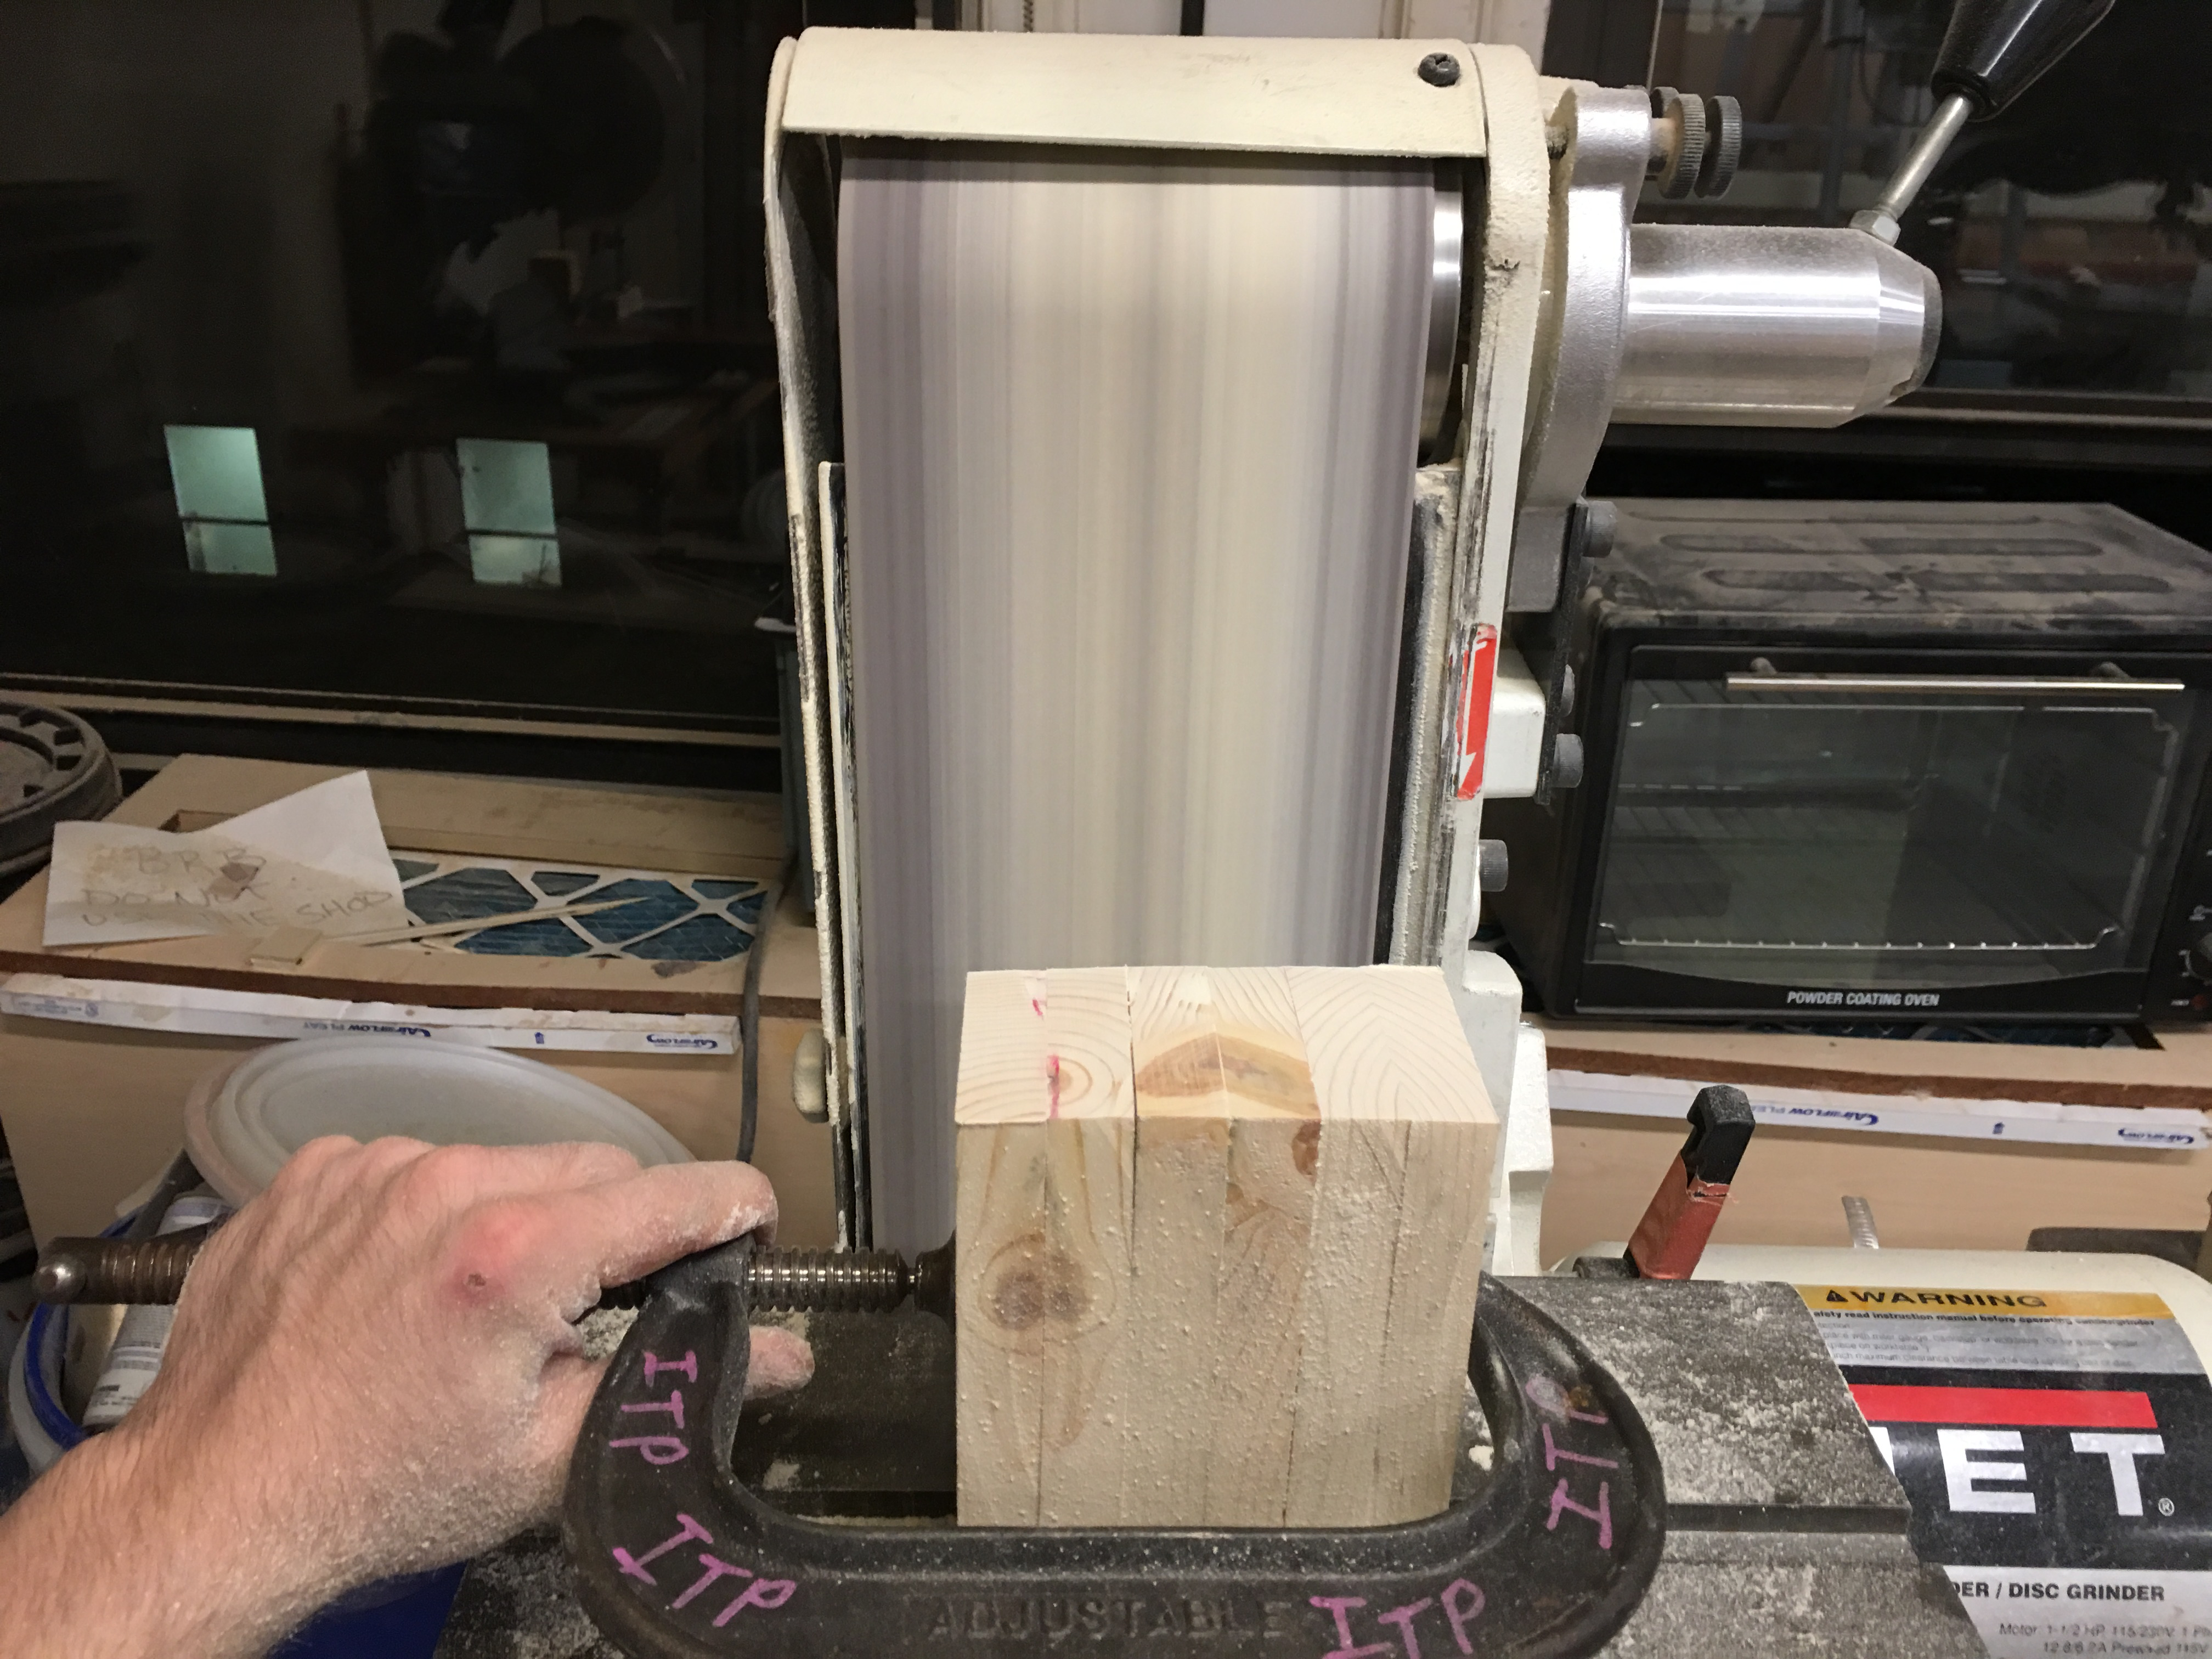
Once the dowels were cut, the last remaining thing on the miter saw was to cut the arms that the dowel would rest on. I then measured the width of the paper towel roll and cut the remaining pieces of the two 4’ planks to accomodate that width so that the paper towel would dispense easily and not drag against any edges. I only had 3 of these pieces at the proper width, and realizing I didn’t need the height, I cut each piece in half to make 6 arms. I then needed to salvage enough wood to make 4 more arms, which was a challenge but ultimately doable. I had to use a stop block for this since the pieces were rather small. I then used a clamp to easily sand multiple pieces at the same time.
 |
 |
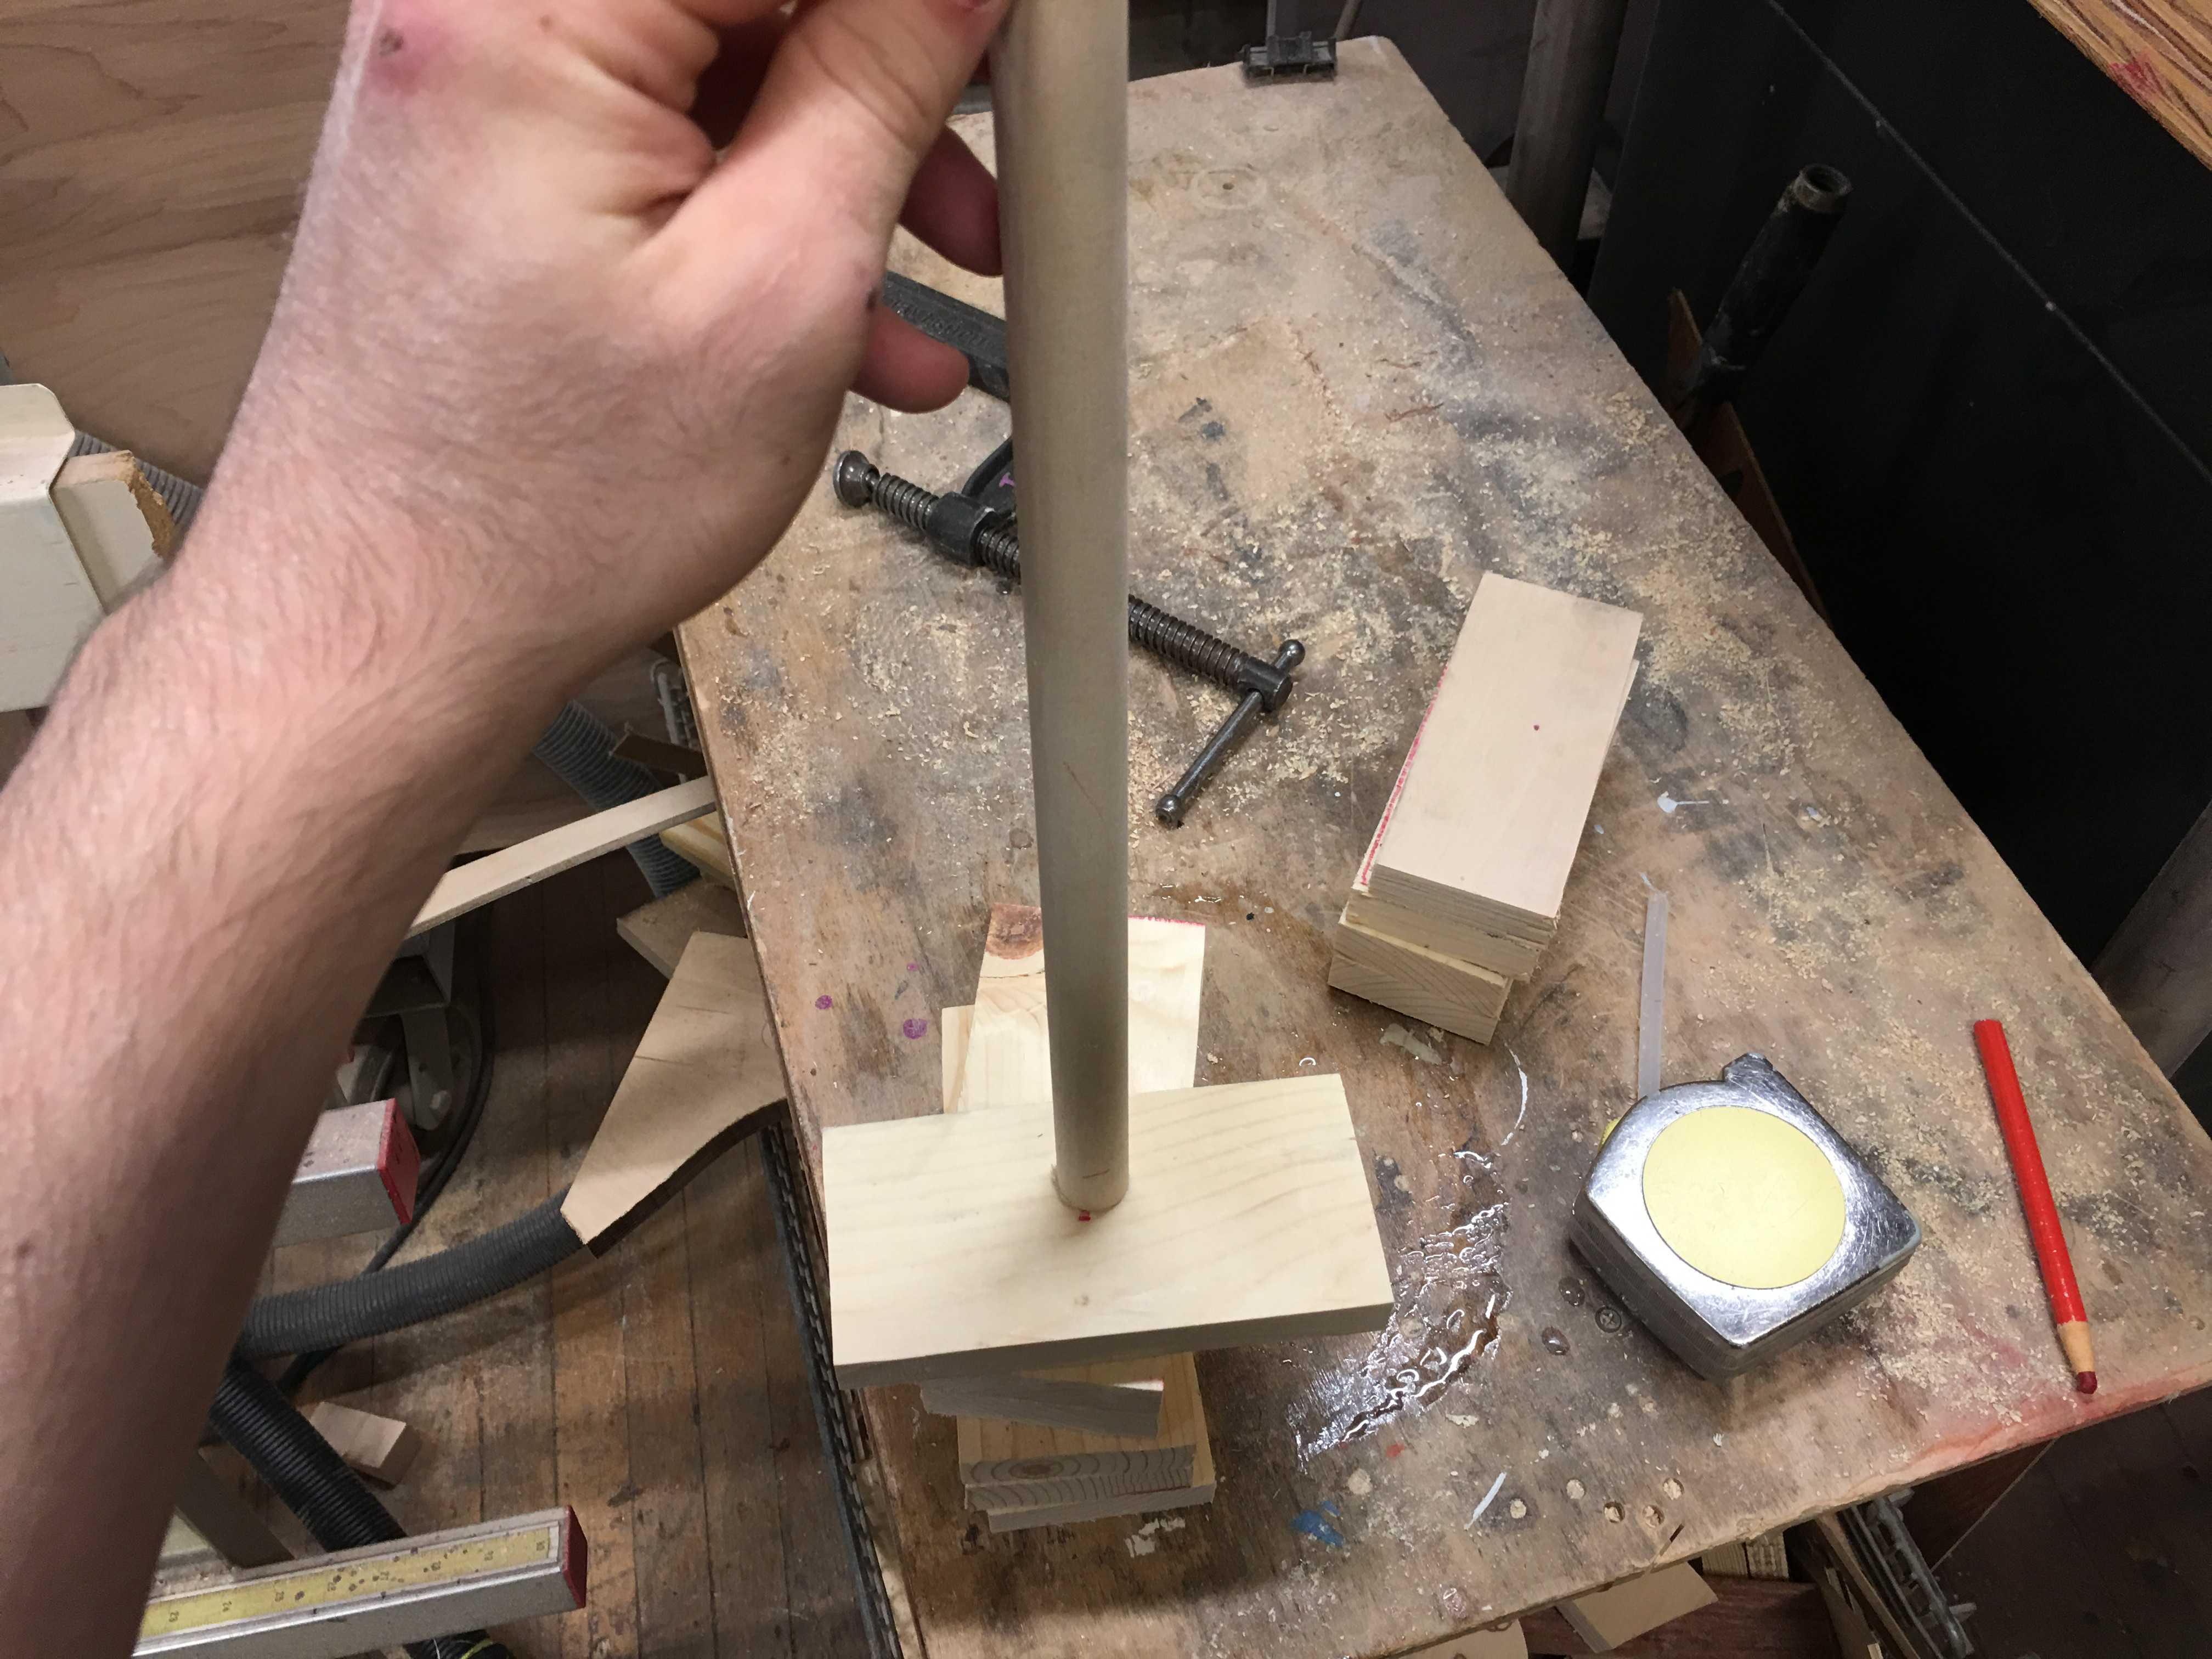
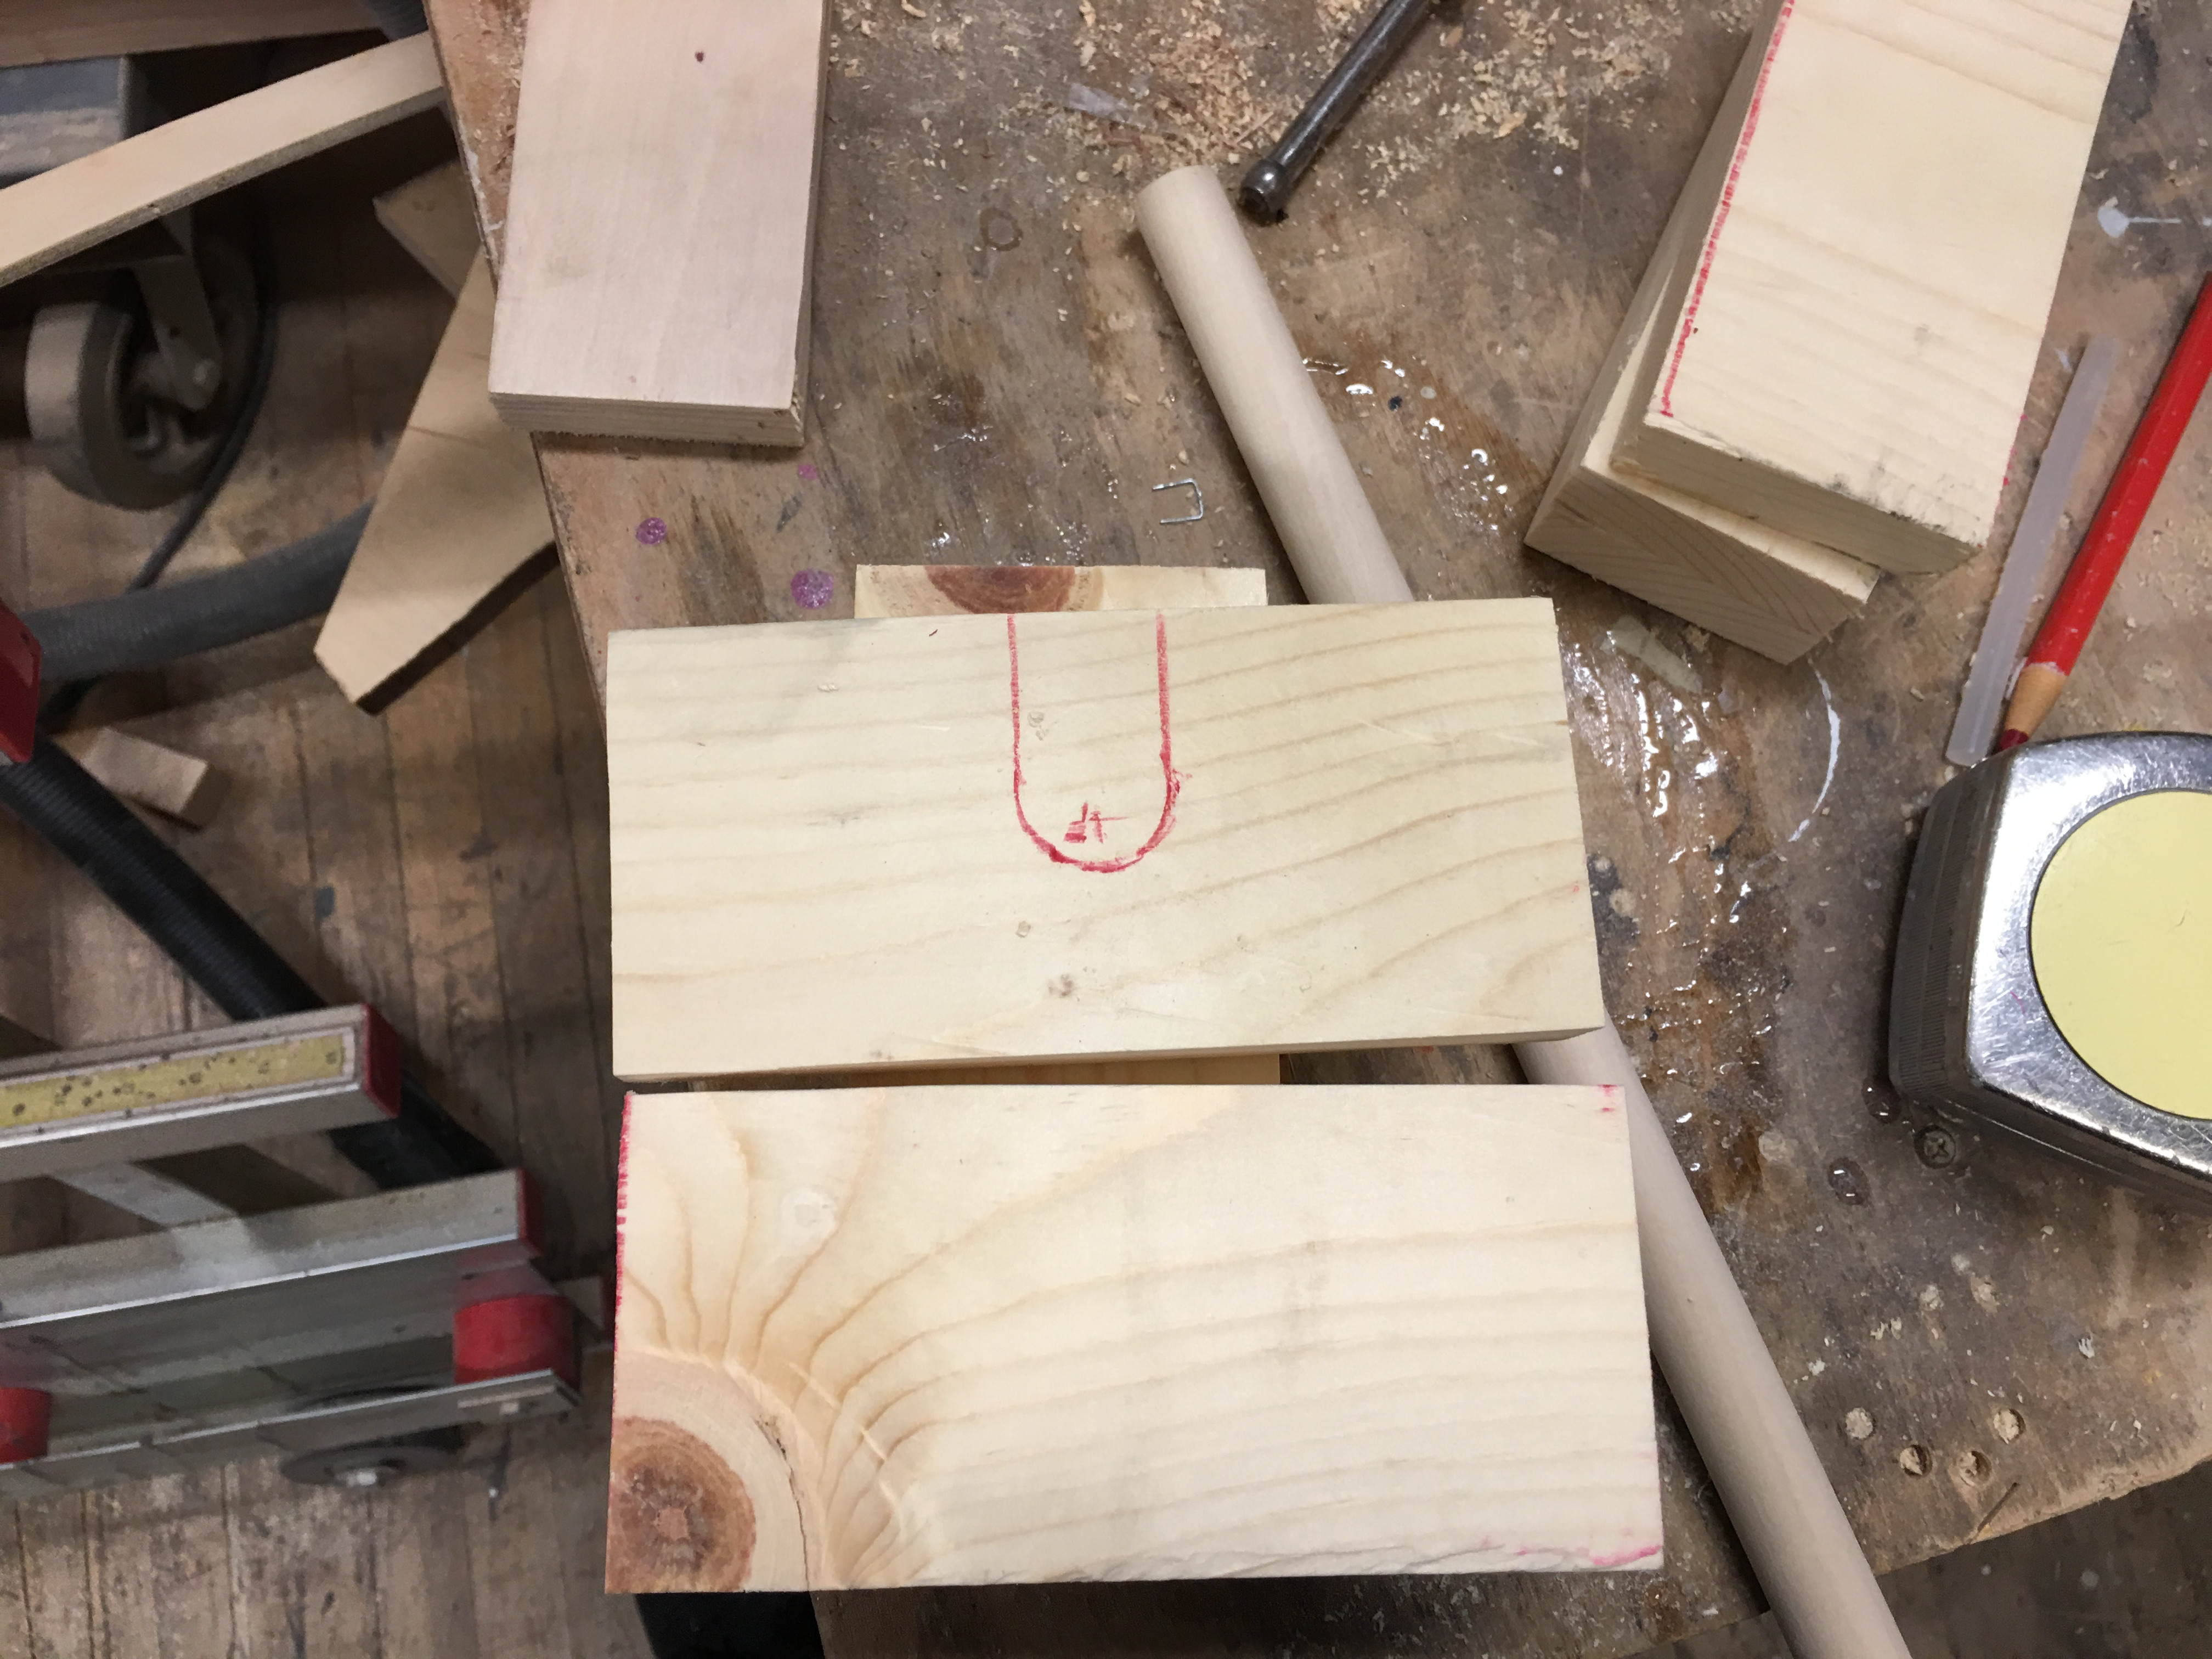
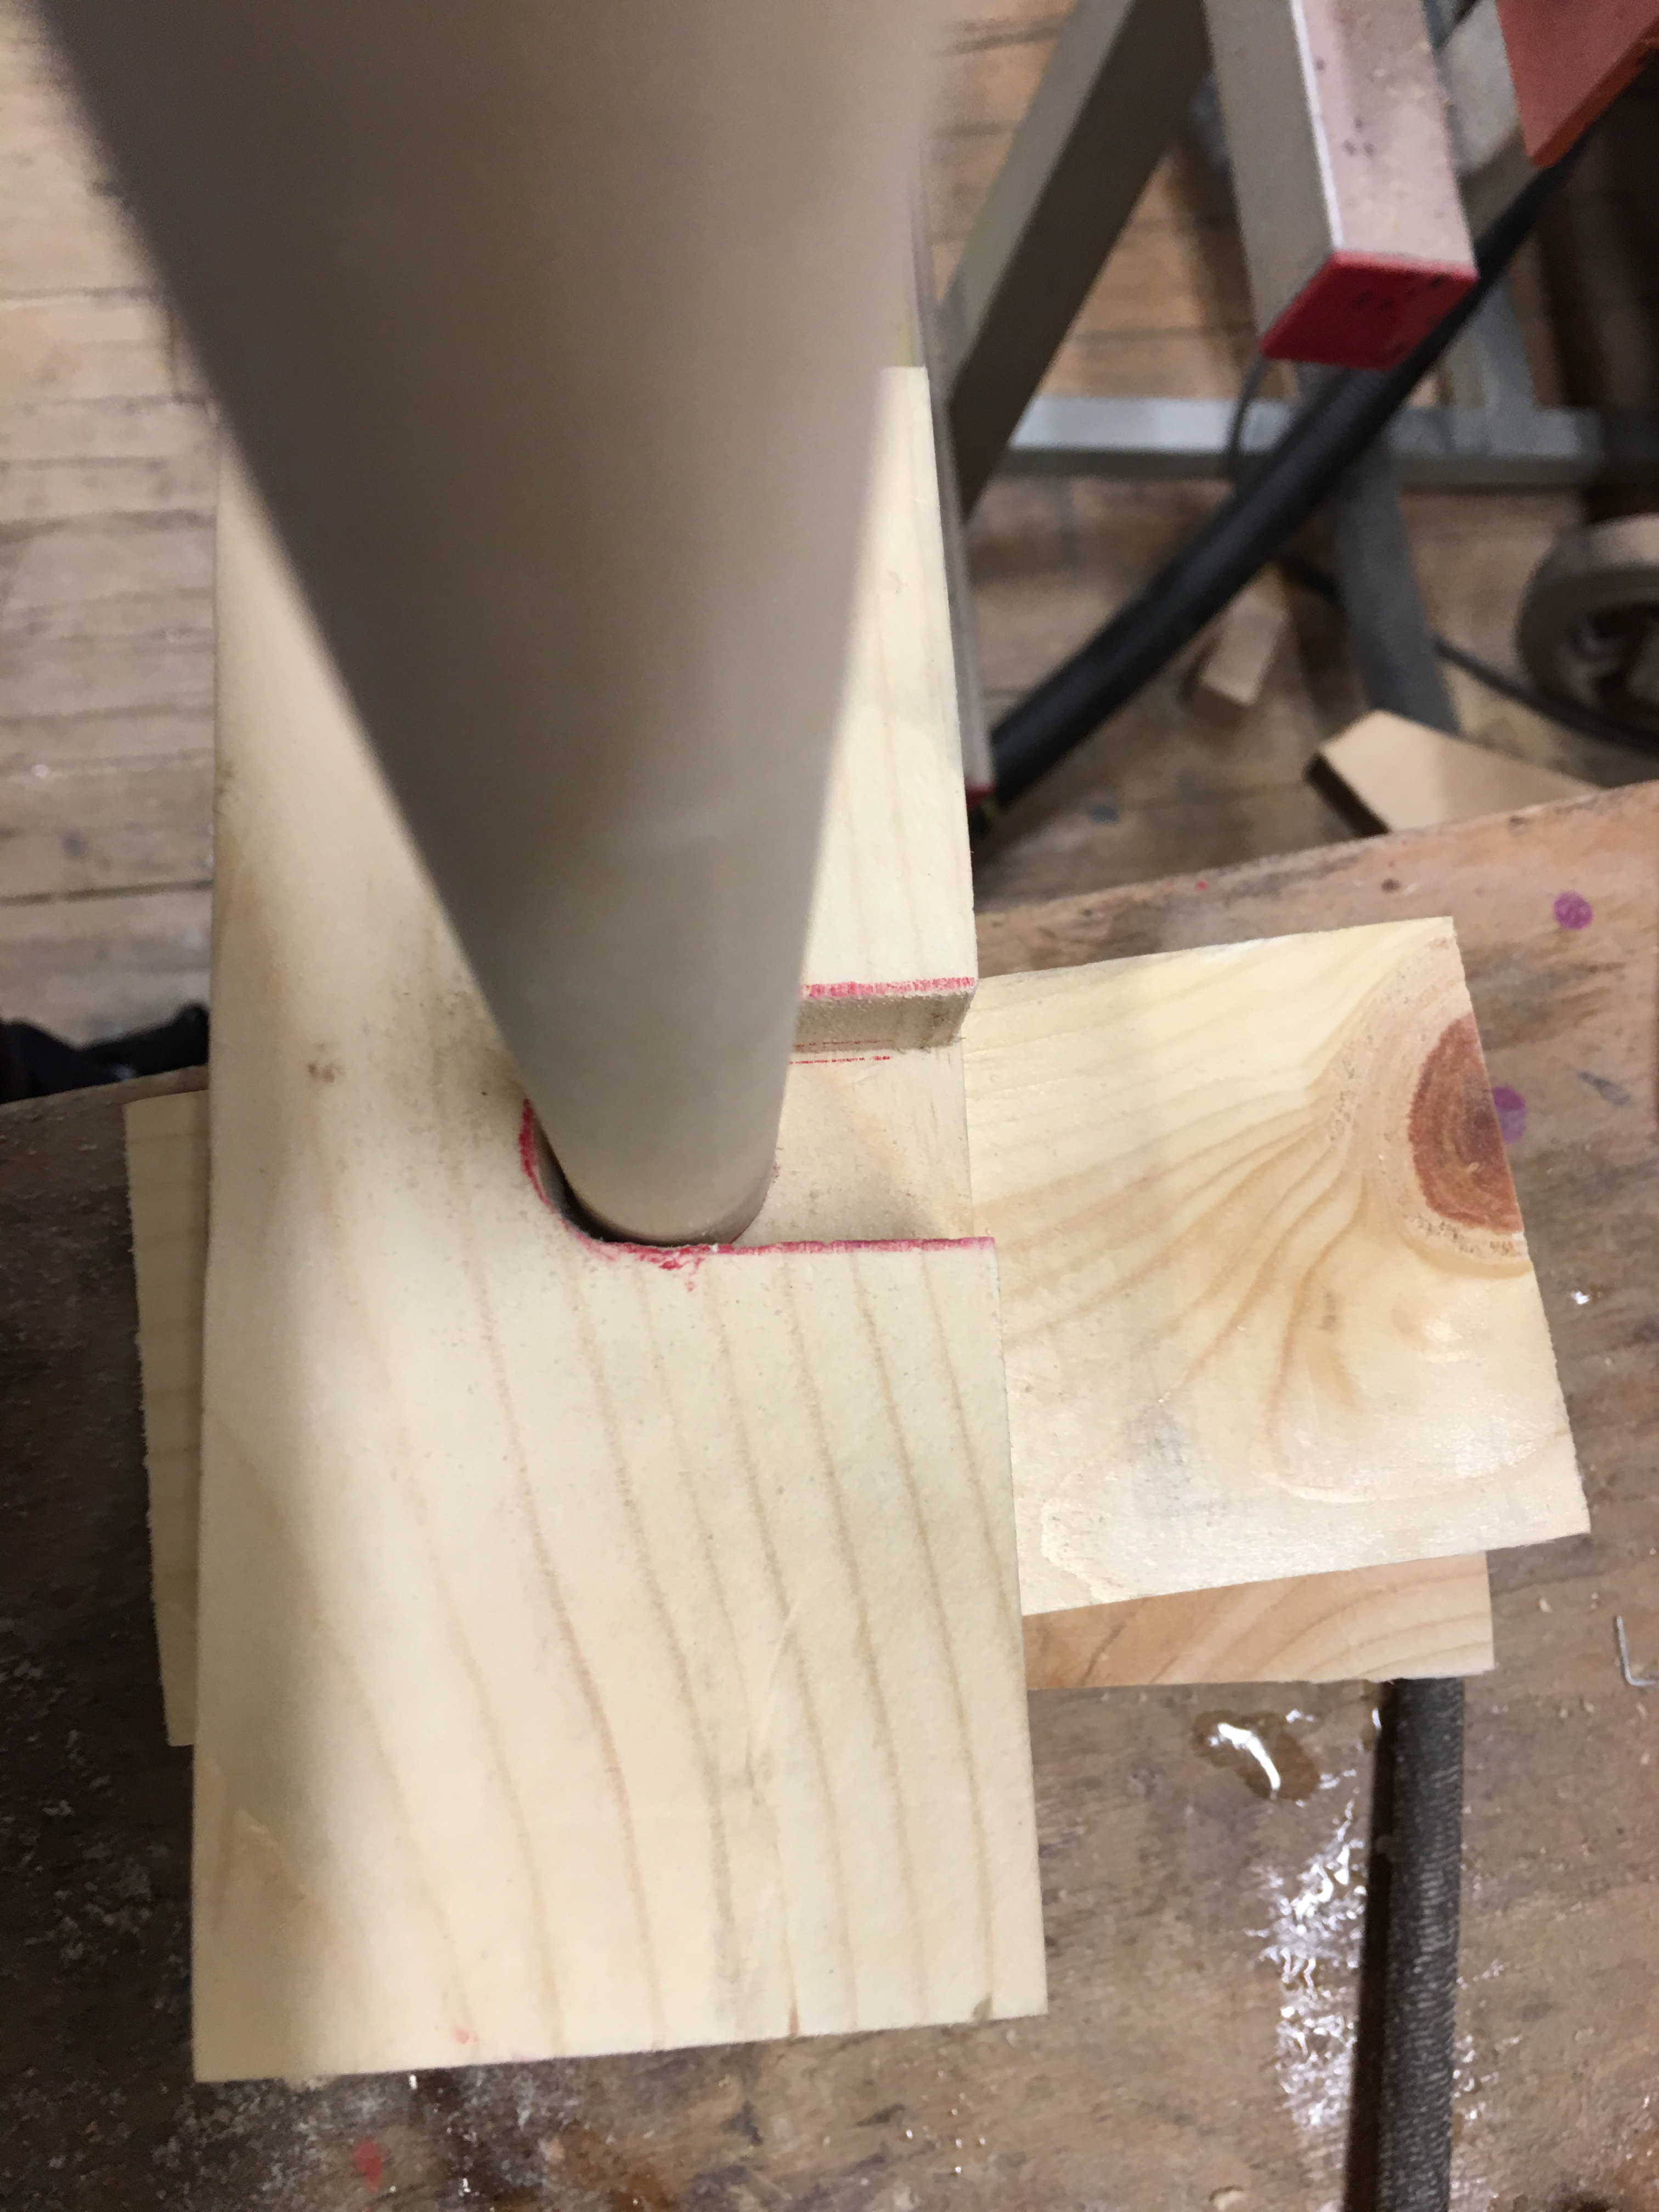
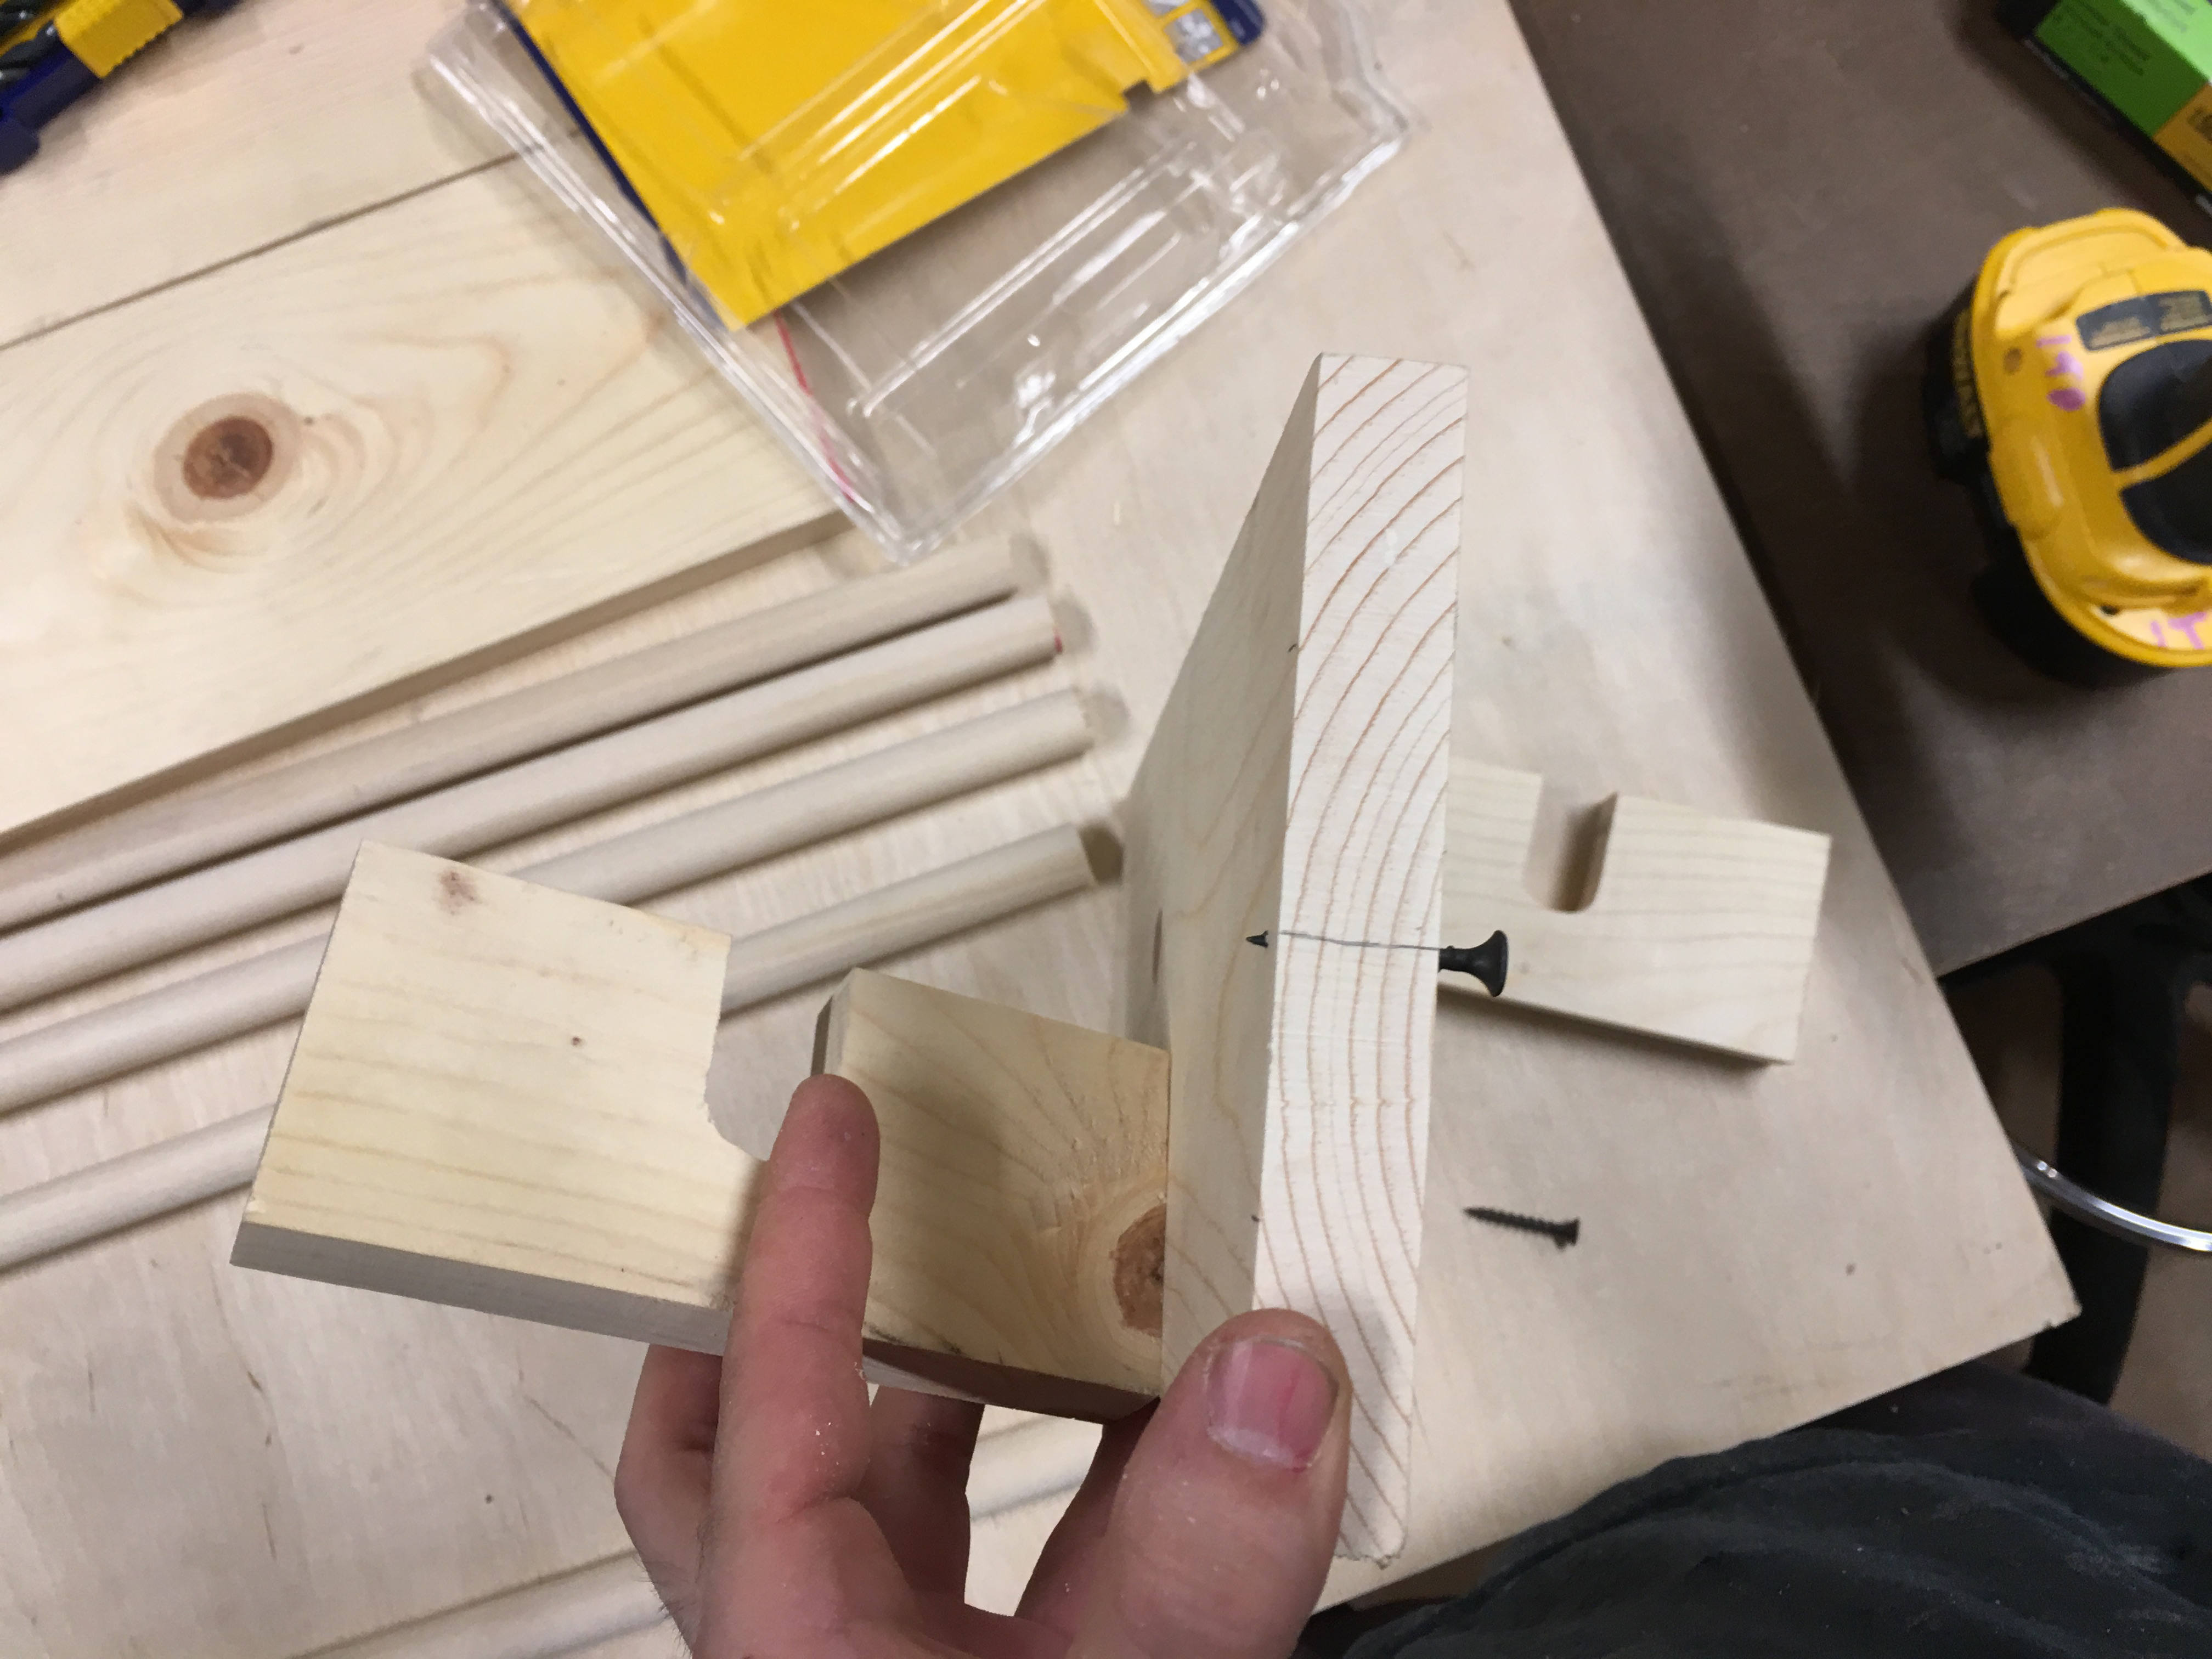
Once the arms were done, I had to make the cuts for the dowel. I simply found the center of the first arm and traced the edges of the dowel. I used the bandsaw to cut as much of the material out, then I used a straight and a round rasp to smooth it as much as possible.
 |
 |
After making the first cut and smoothing it, I made sure the dowel fit properly and then I used that piece to trace onto the remaining arms. I then cut and rasped the rest of the arms. The last four arms were a slightly different size due to the use of scraps for this, but I managed to make it work without looking off from the rest.
 |
 |
After making all the cuts, I sanded all the pieces down just for a smoother finish and then made my way to the drill press.
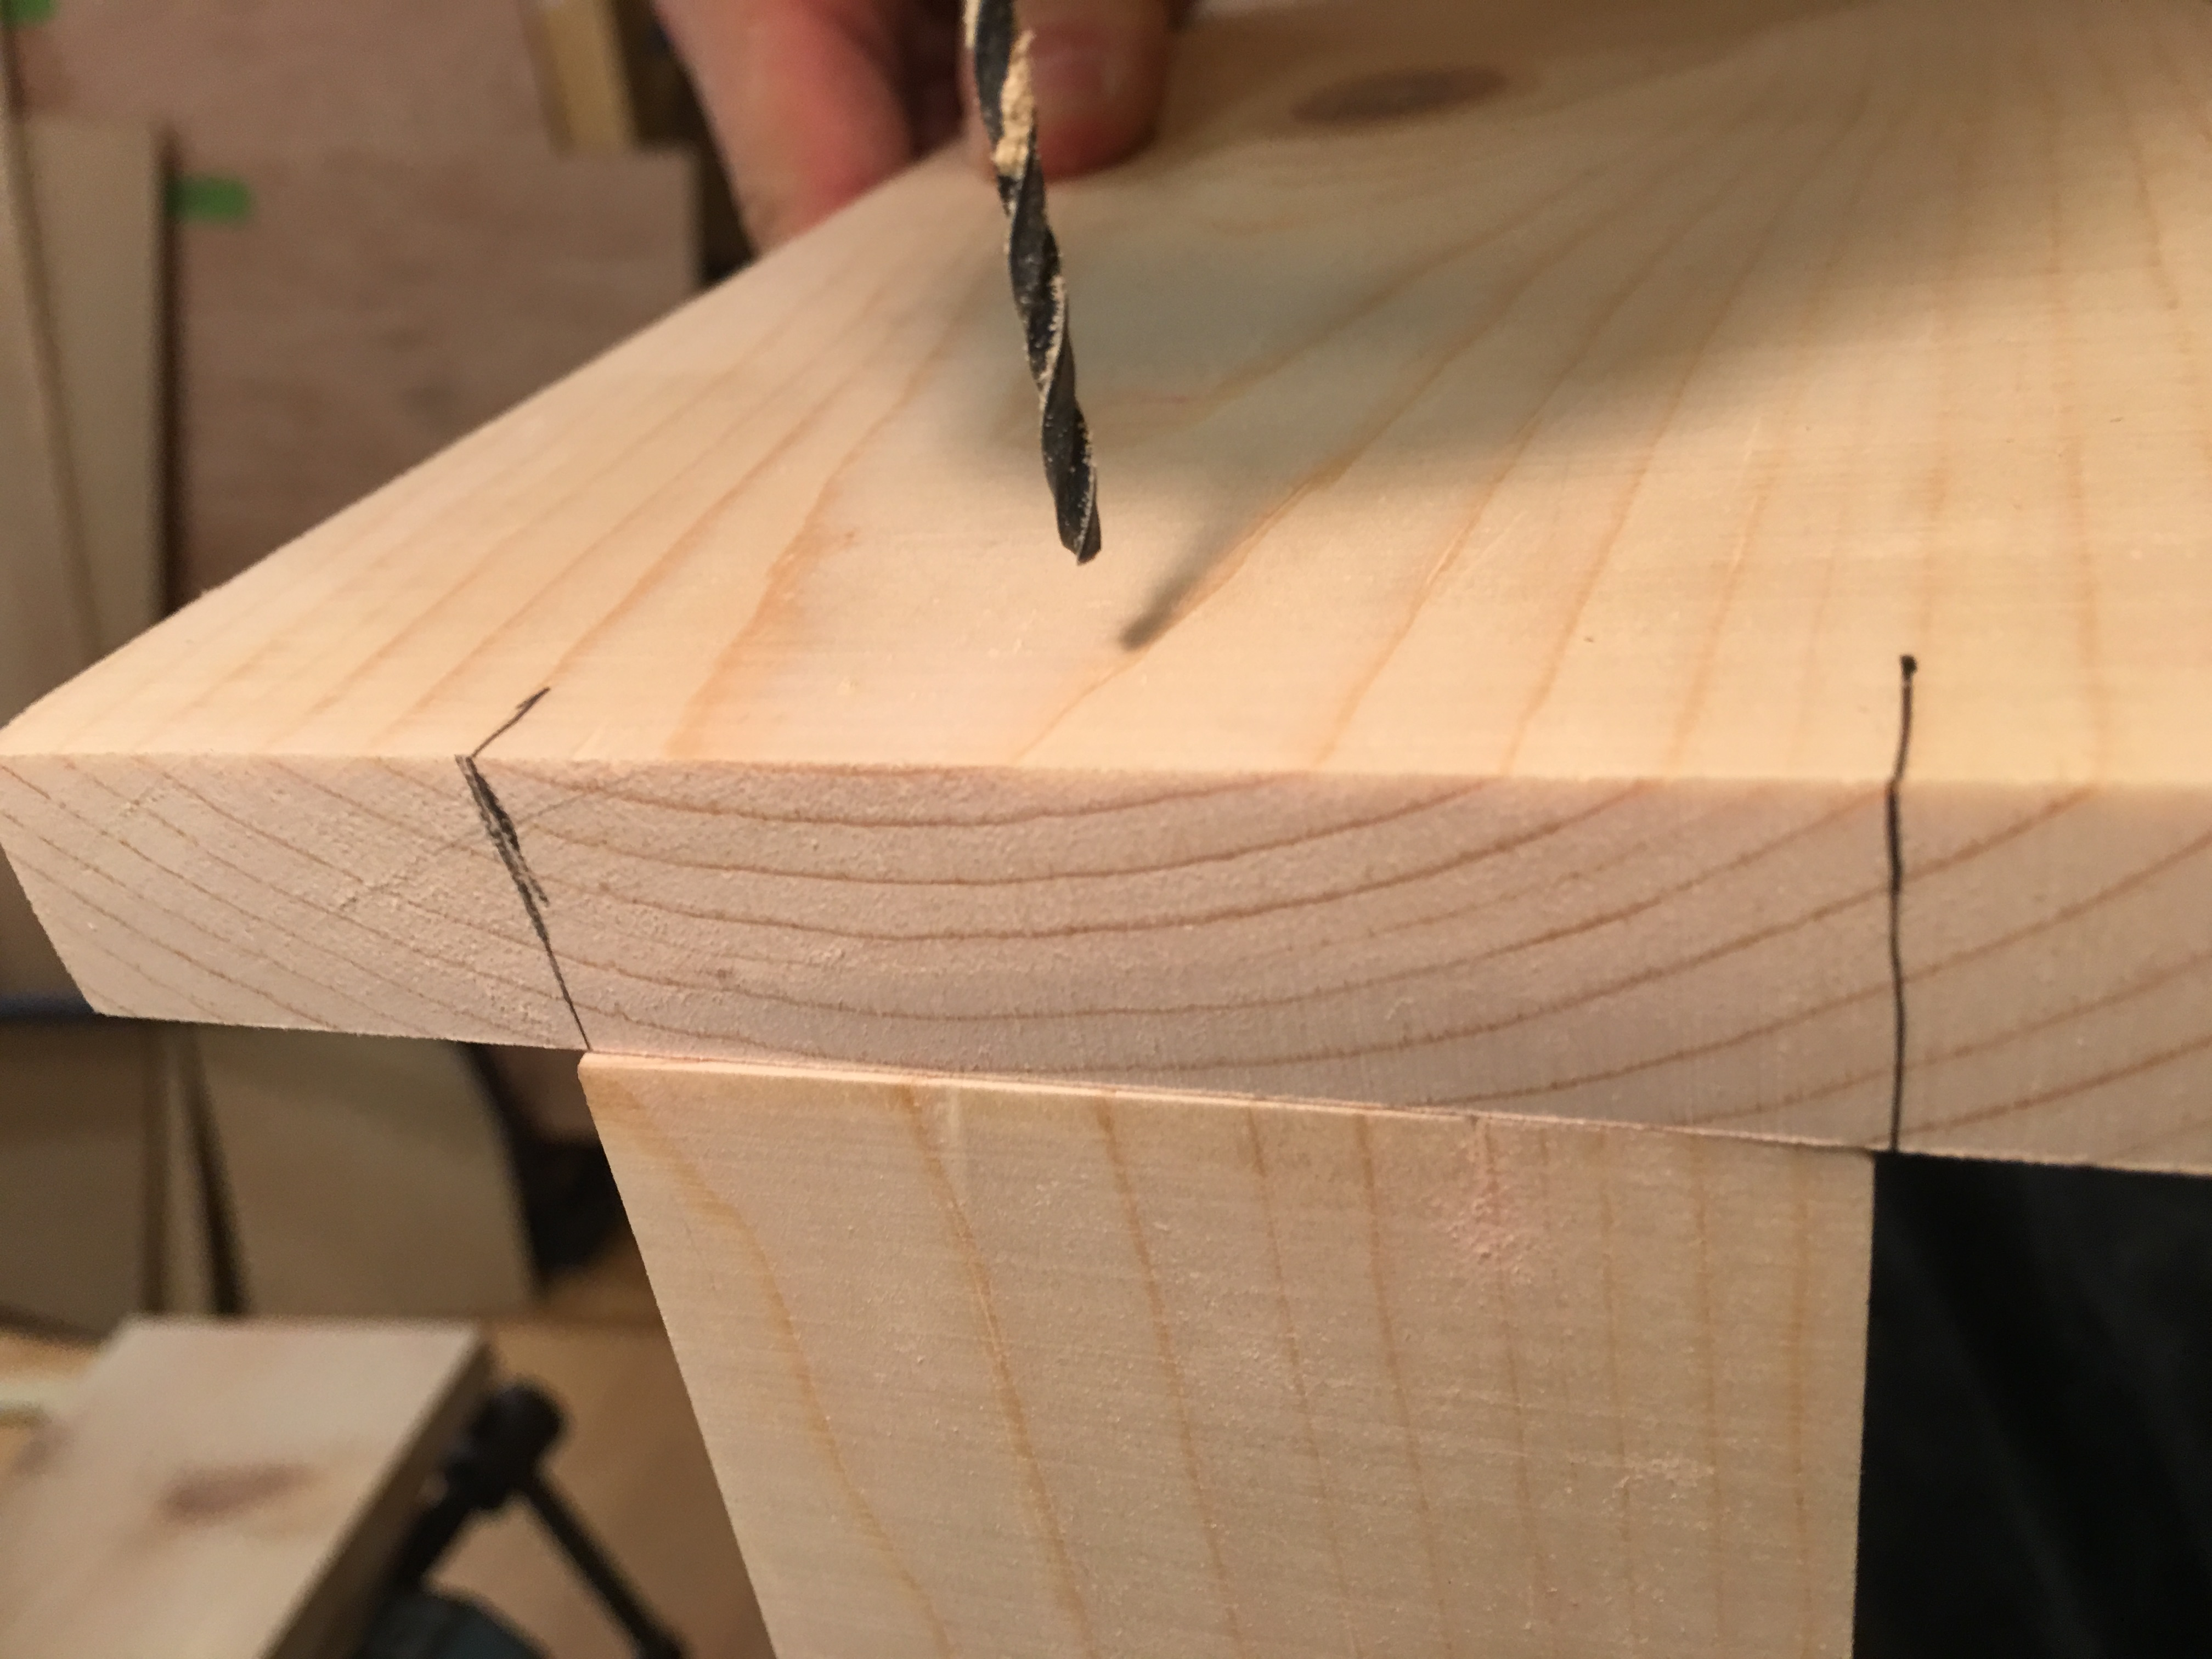
I found a bit that was slightly smaller than my screws and chucked that up. I measured where the arms would sit if centered on the main pieces and marked where those boundaries were.
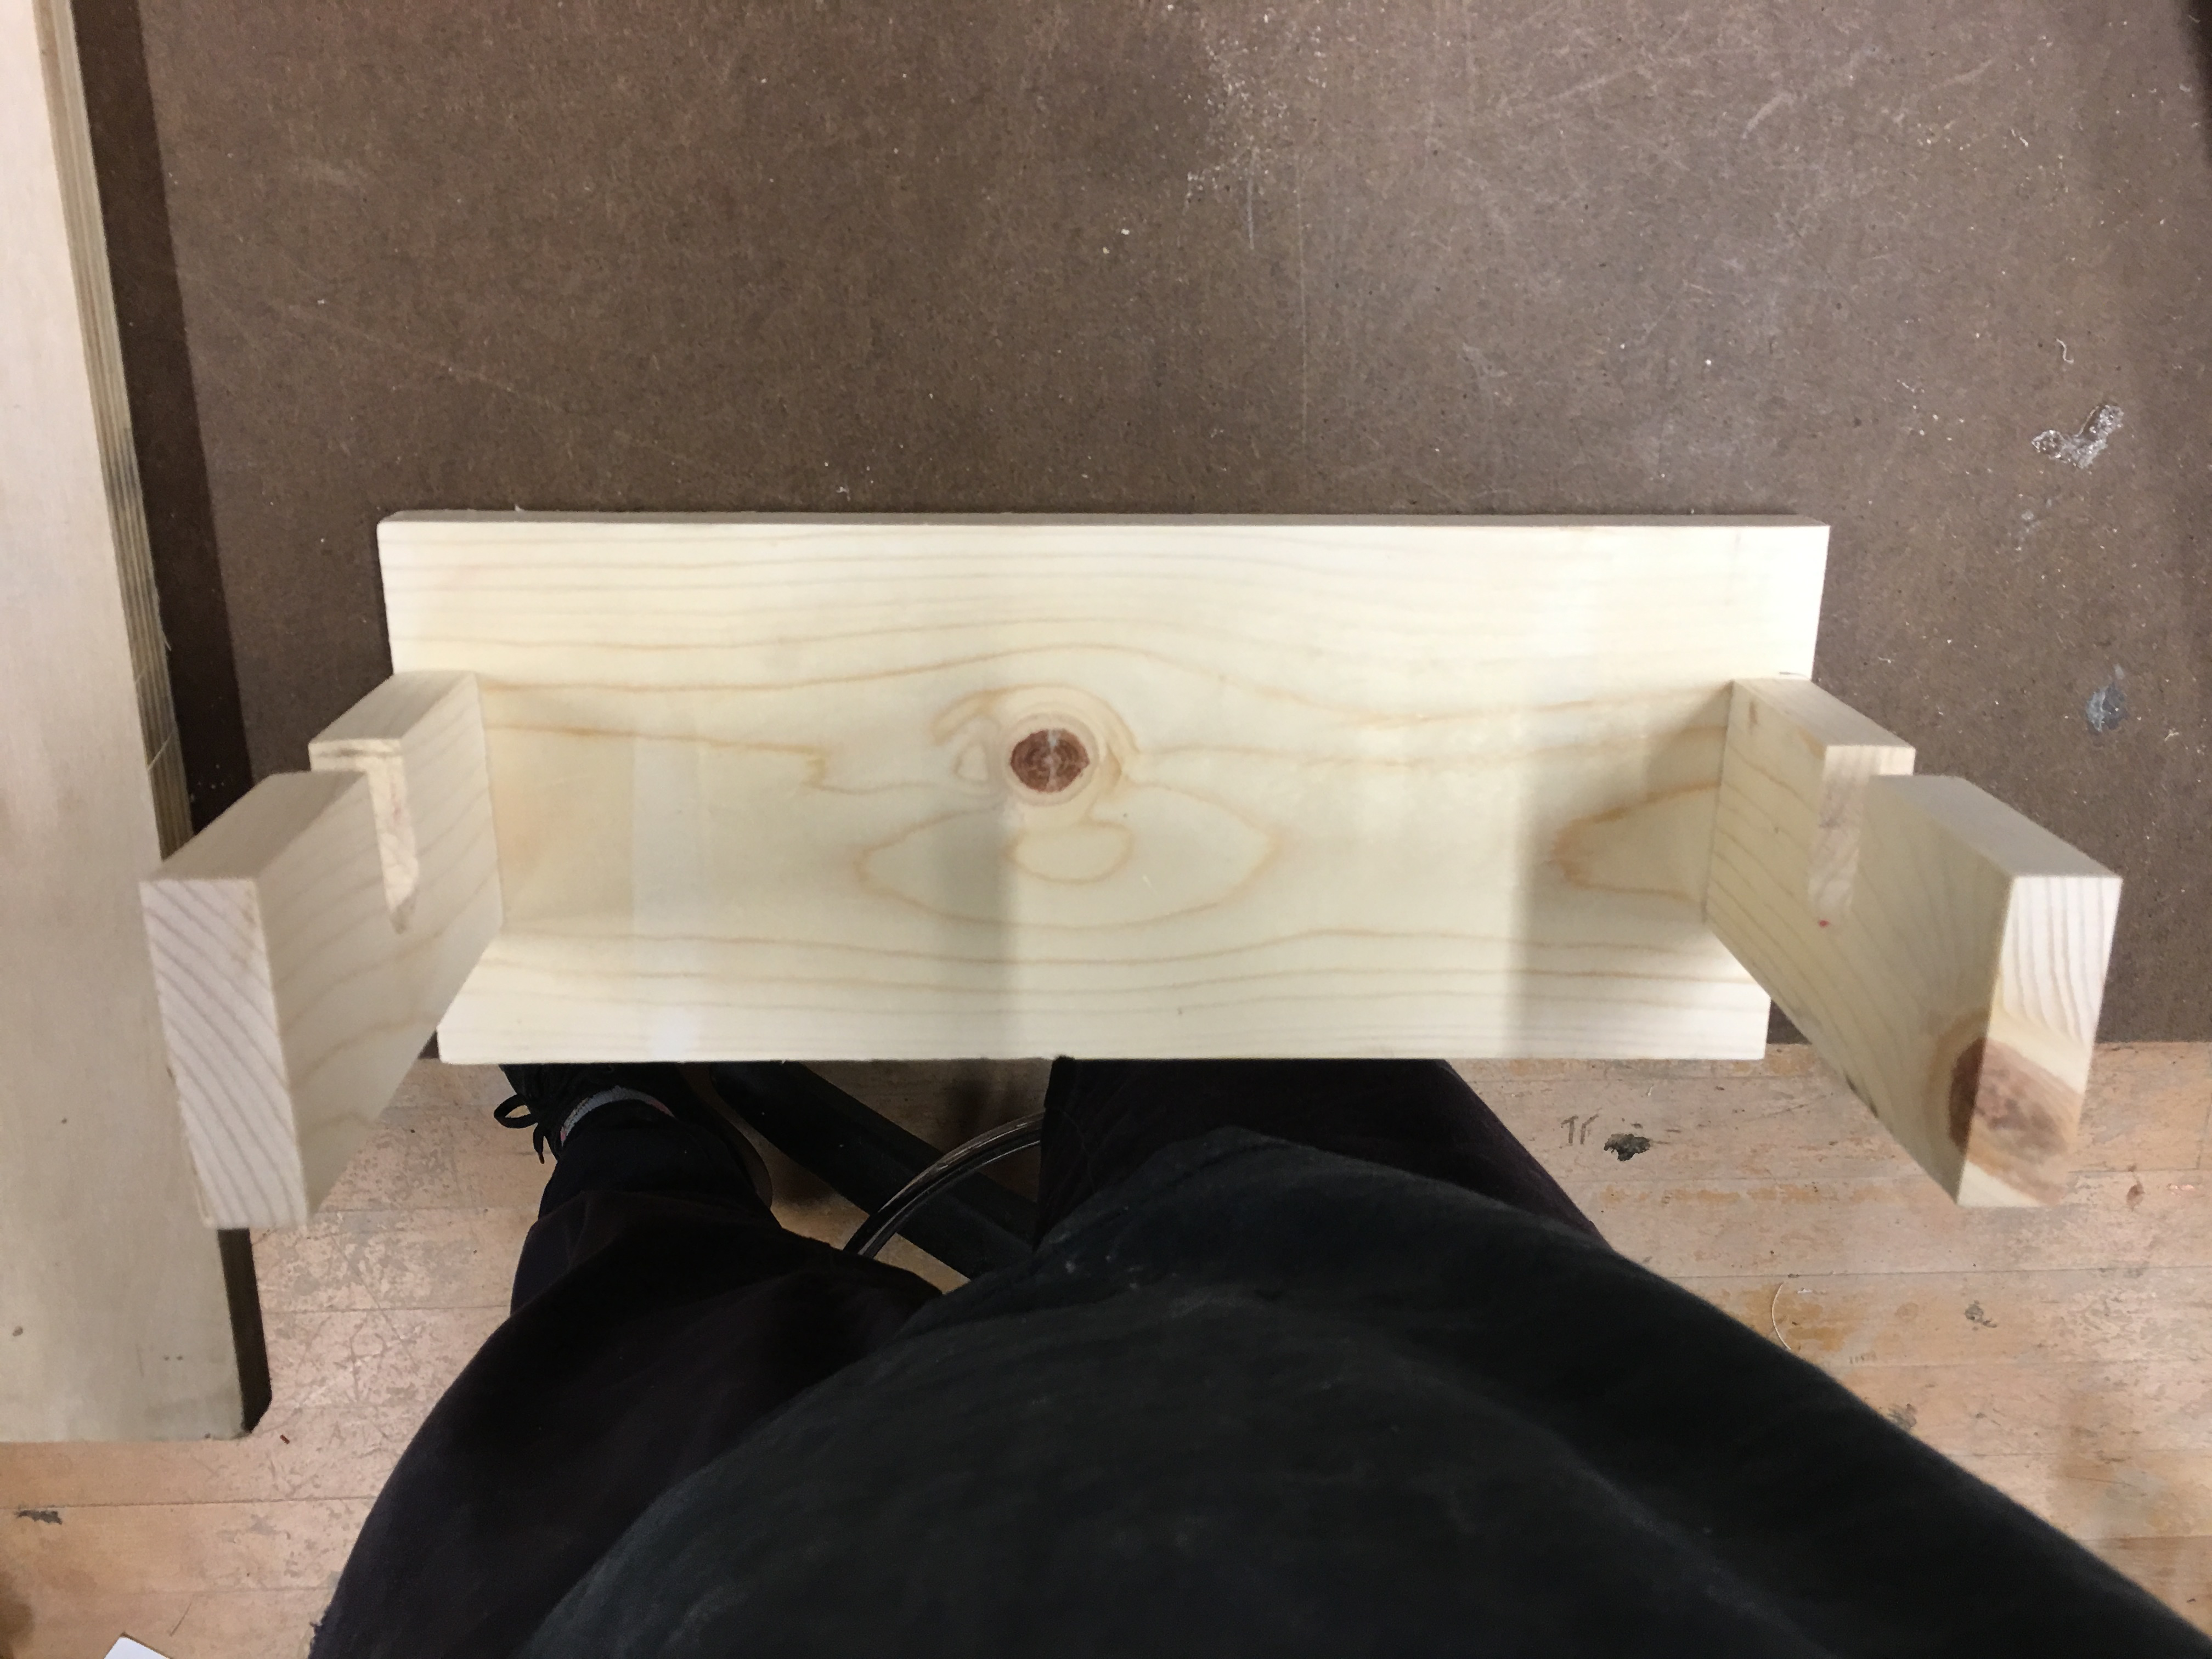
I then set up a clamp so as to consistently align the drill press with centers of the arms, and placed the main pieces on top to align with the marks (as shown in the image below). I did this to create a pilot hole that was properly aligned in both pieces.
Once the holes had all been drilled, I set the screws so as to just peek out through the main pieces.
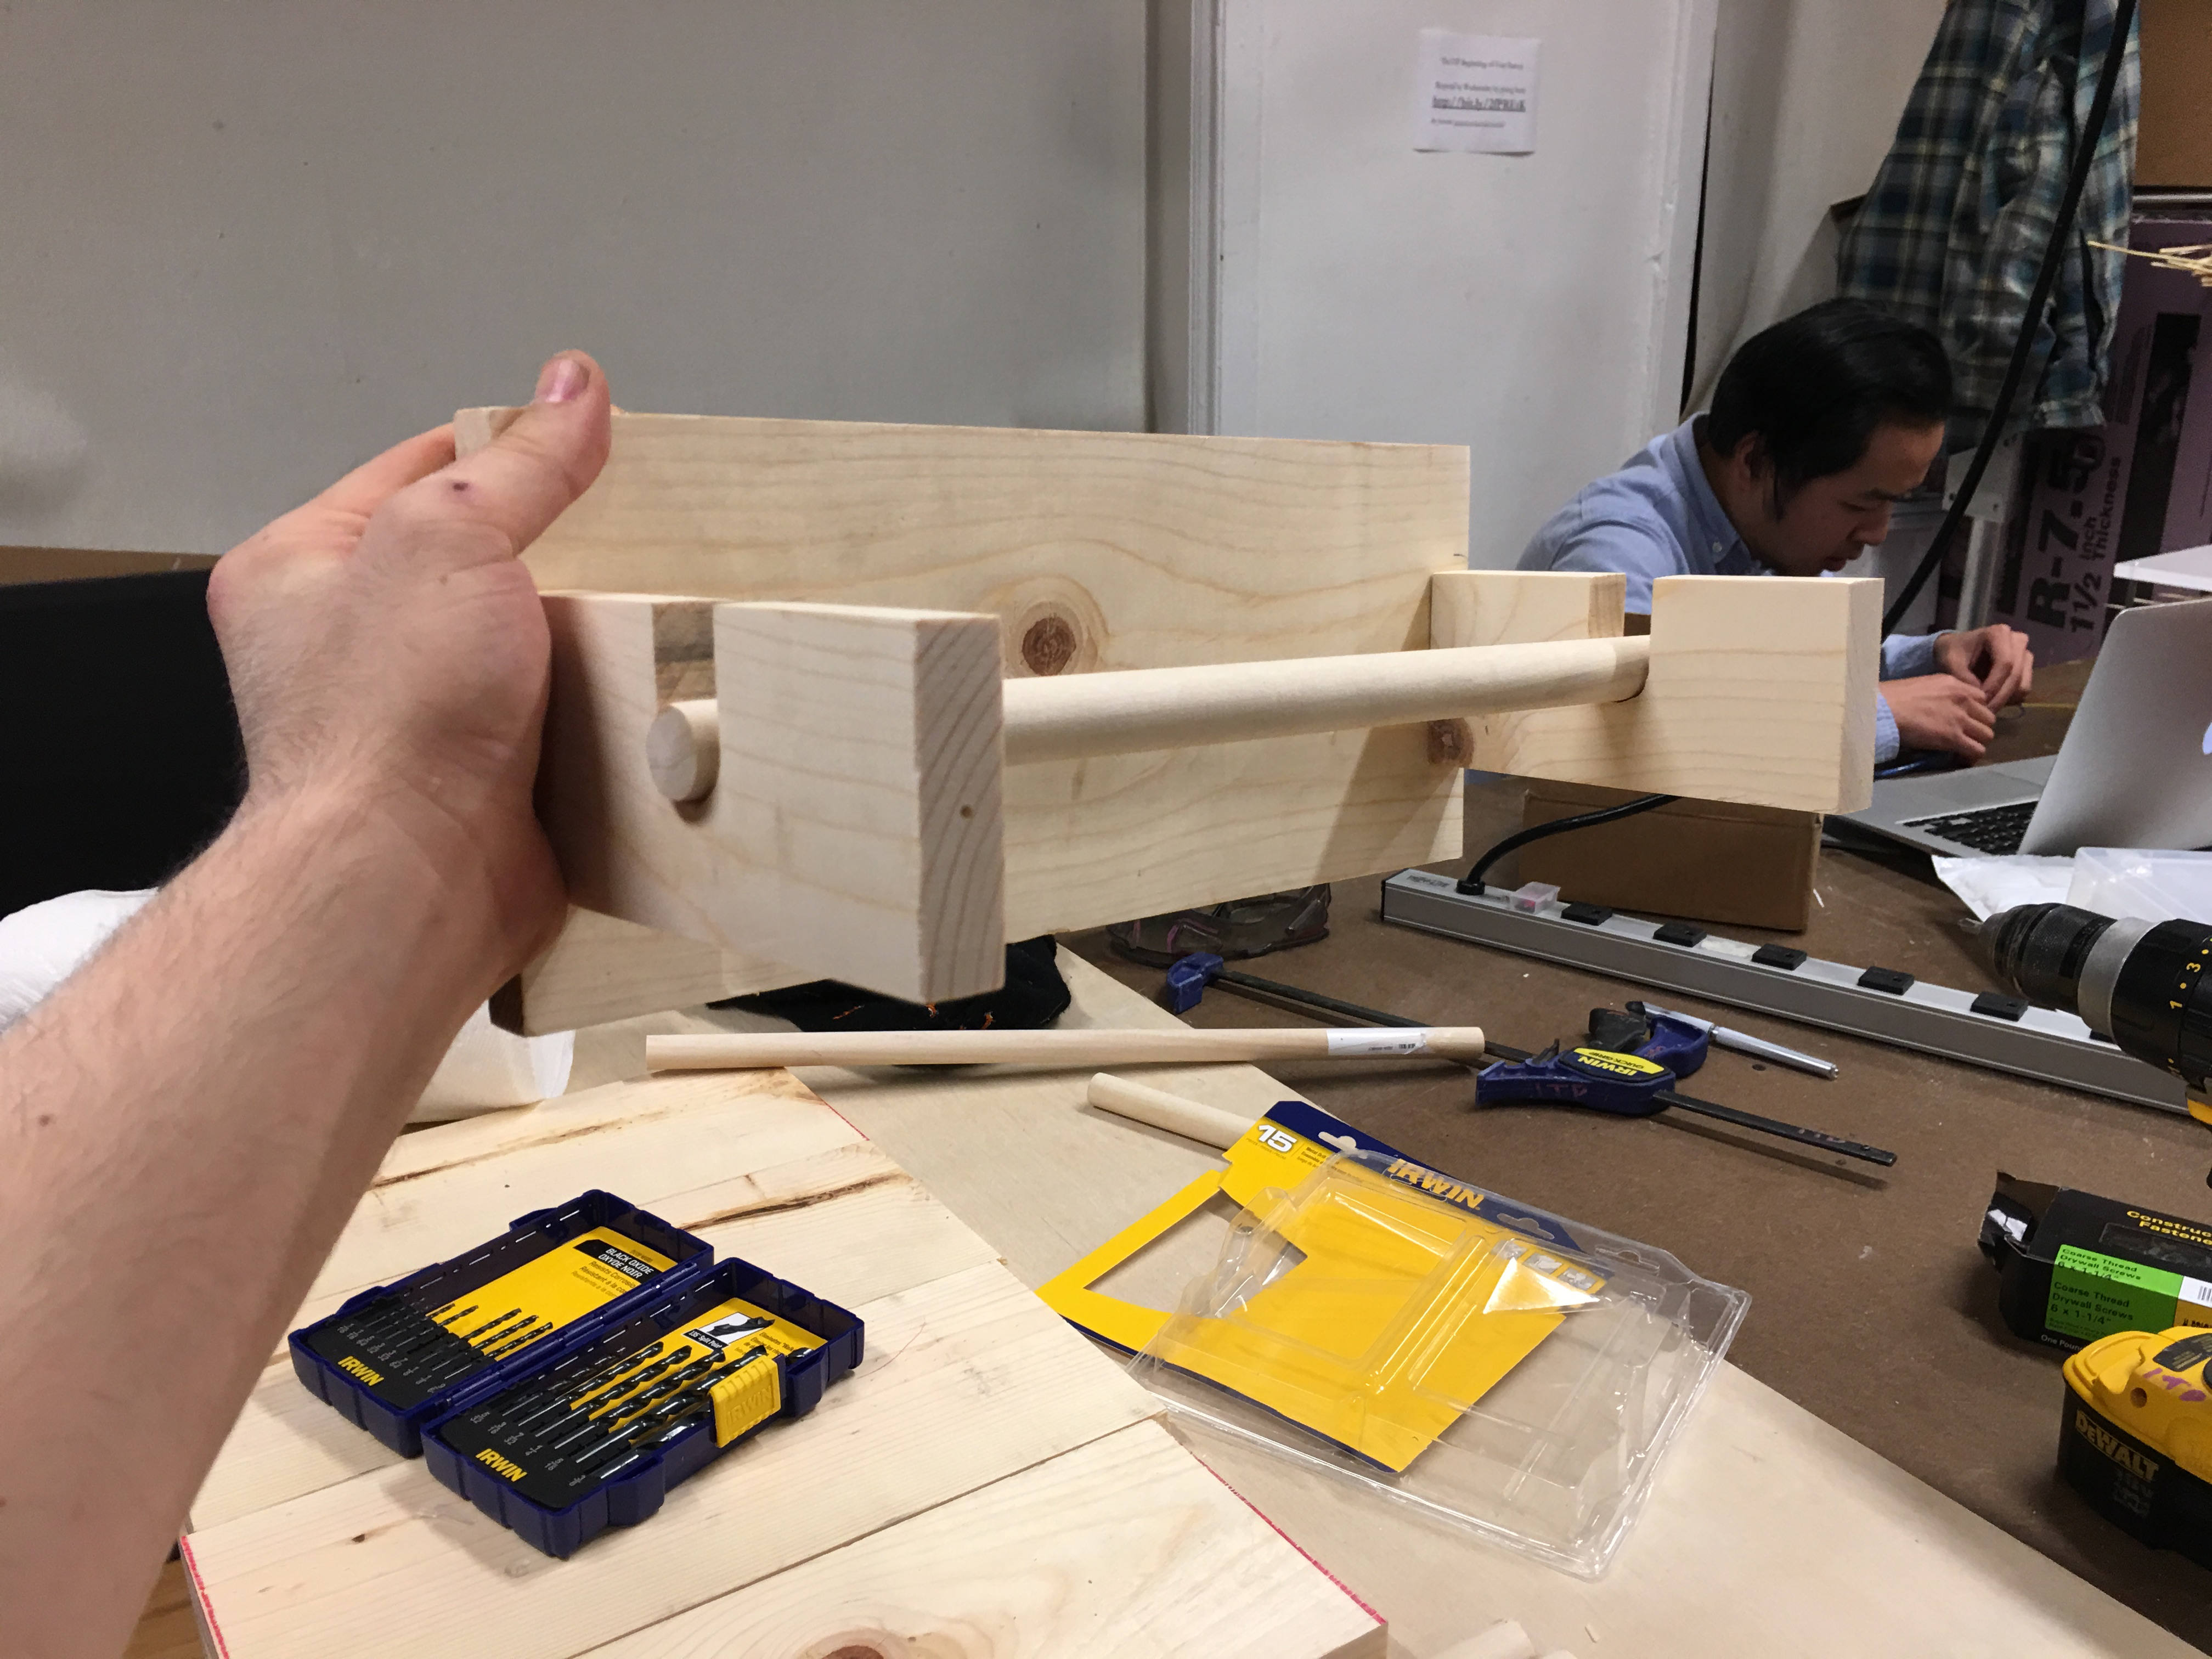
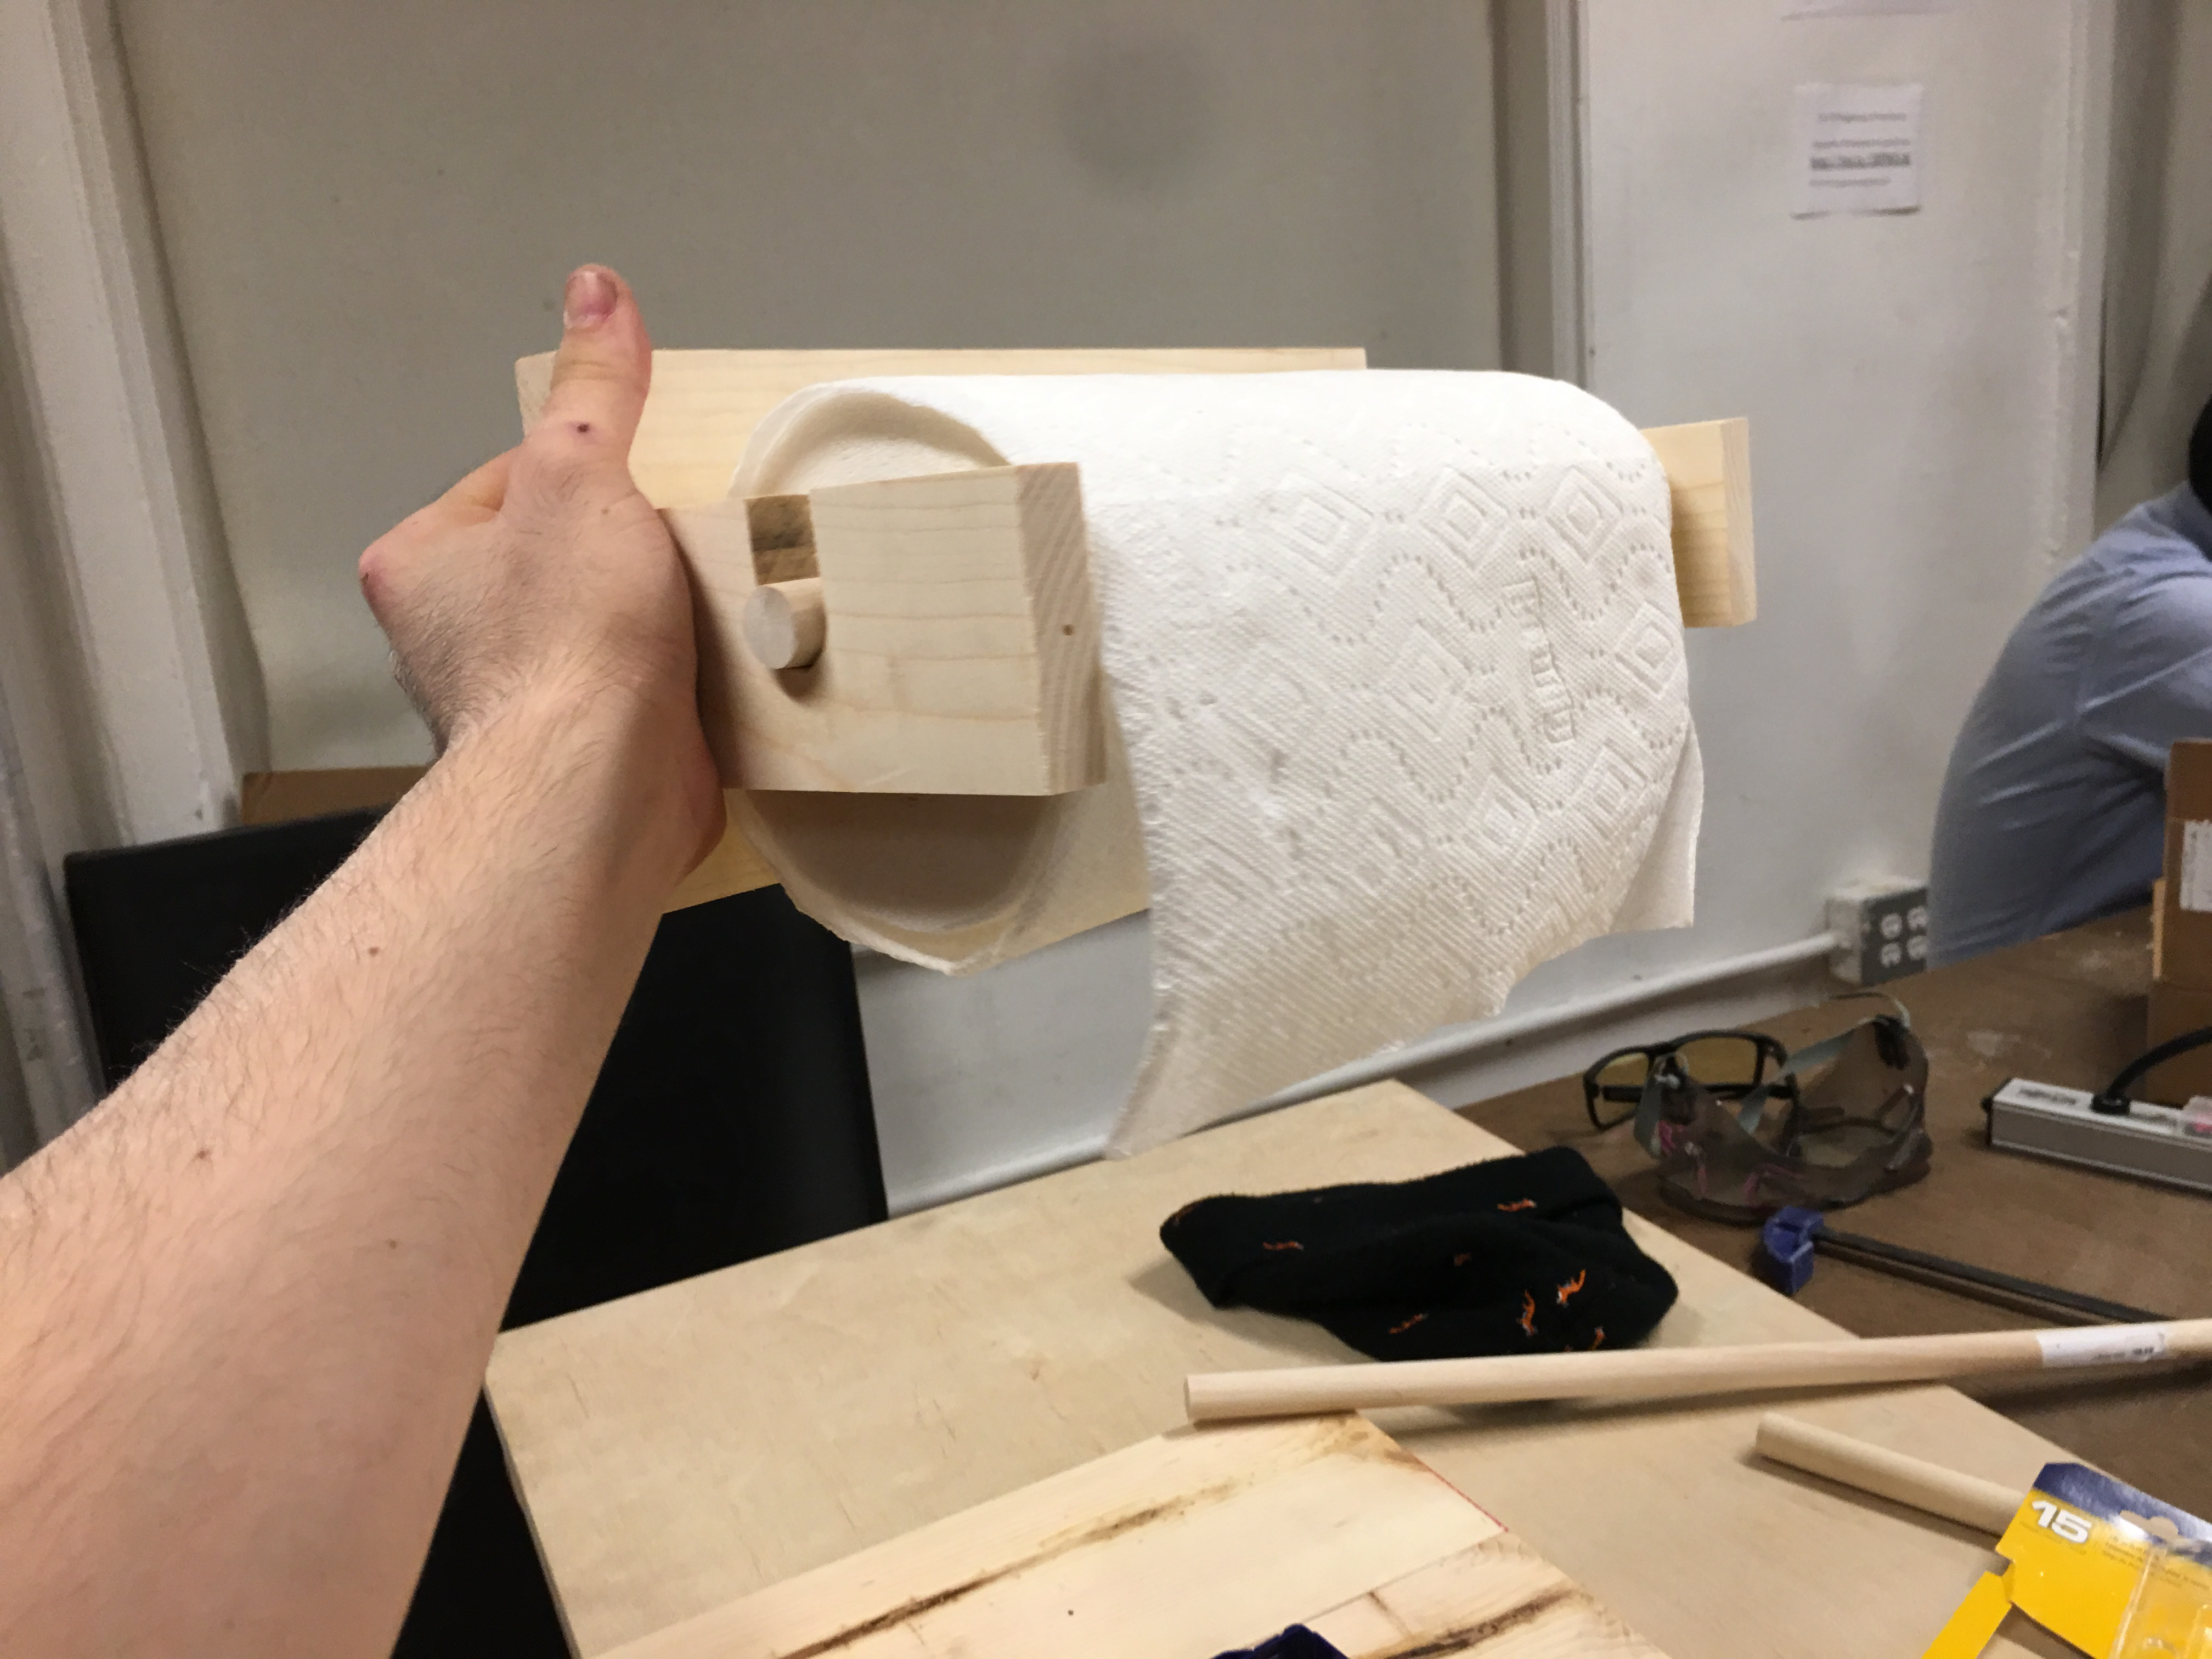
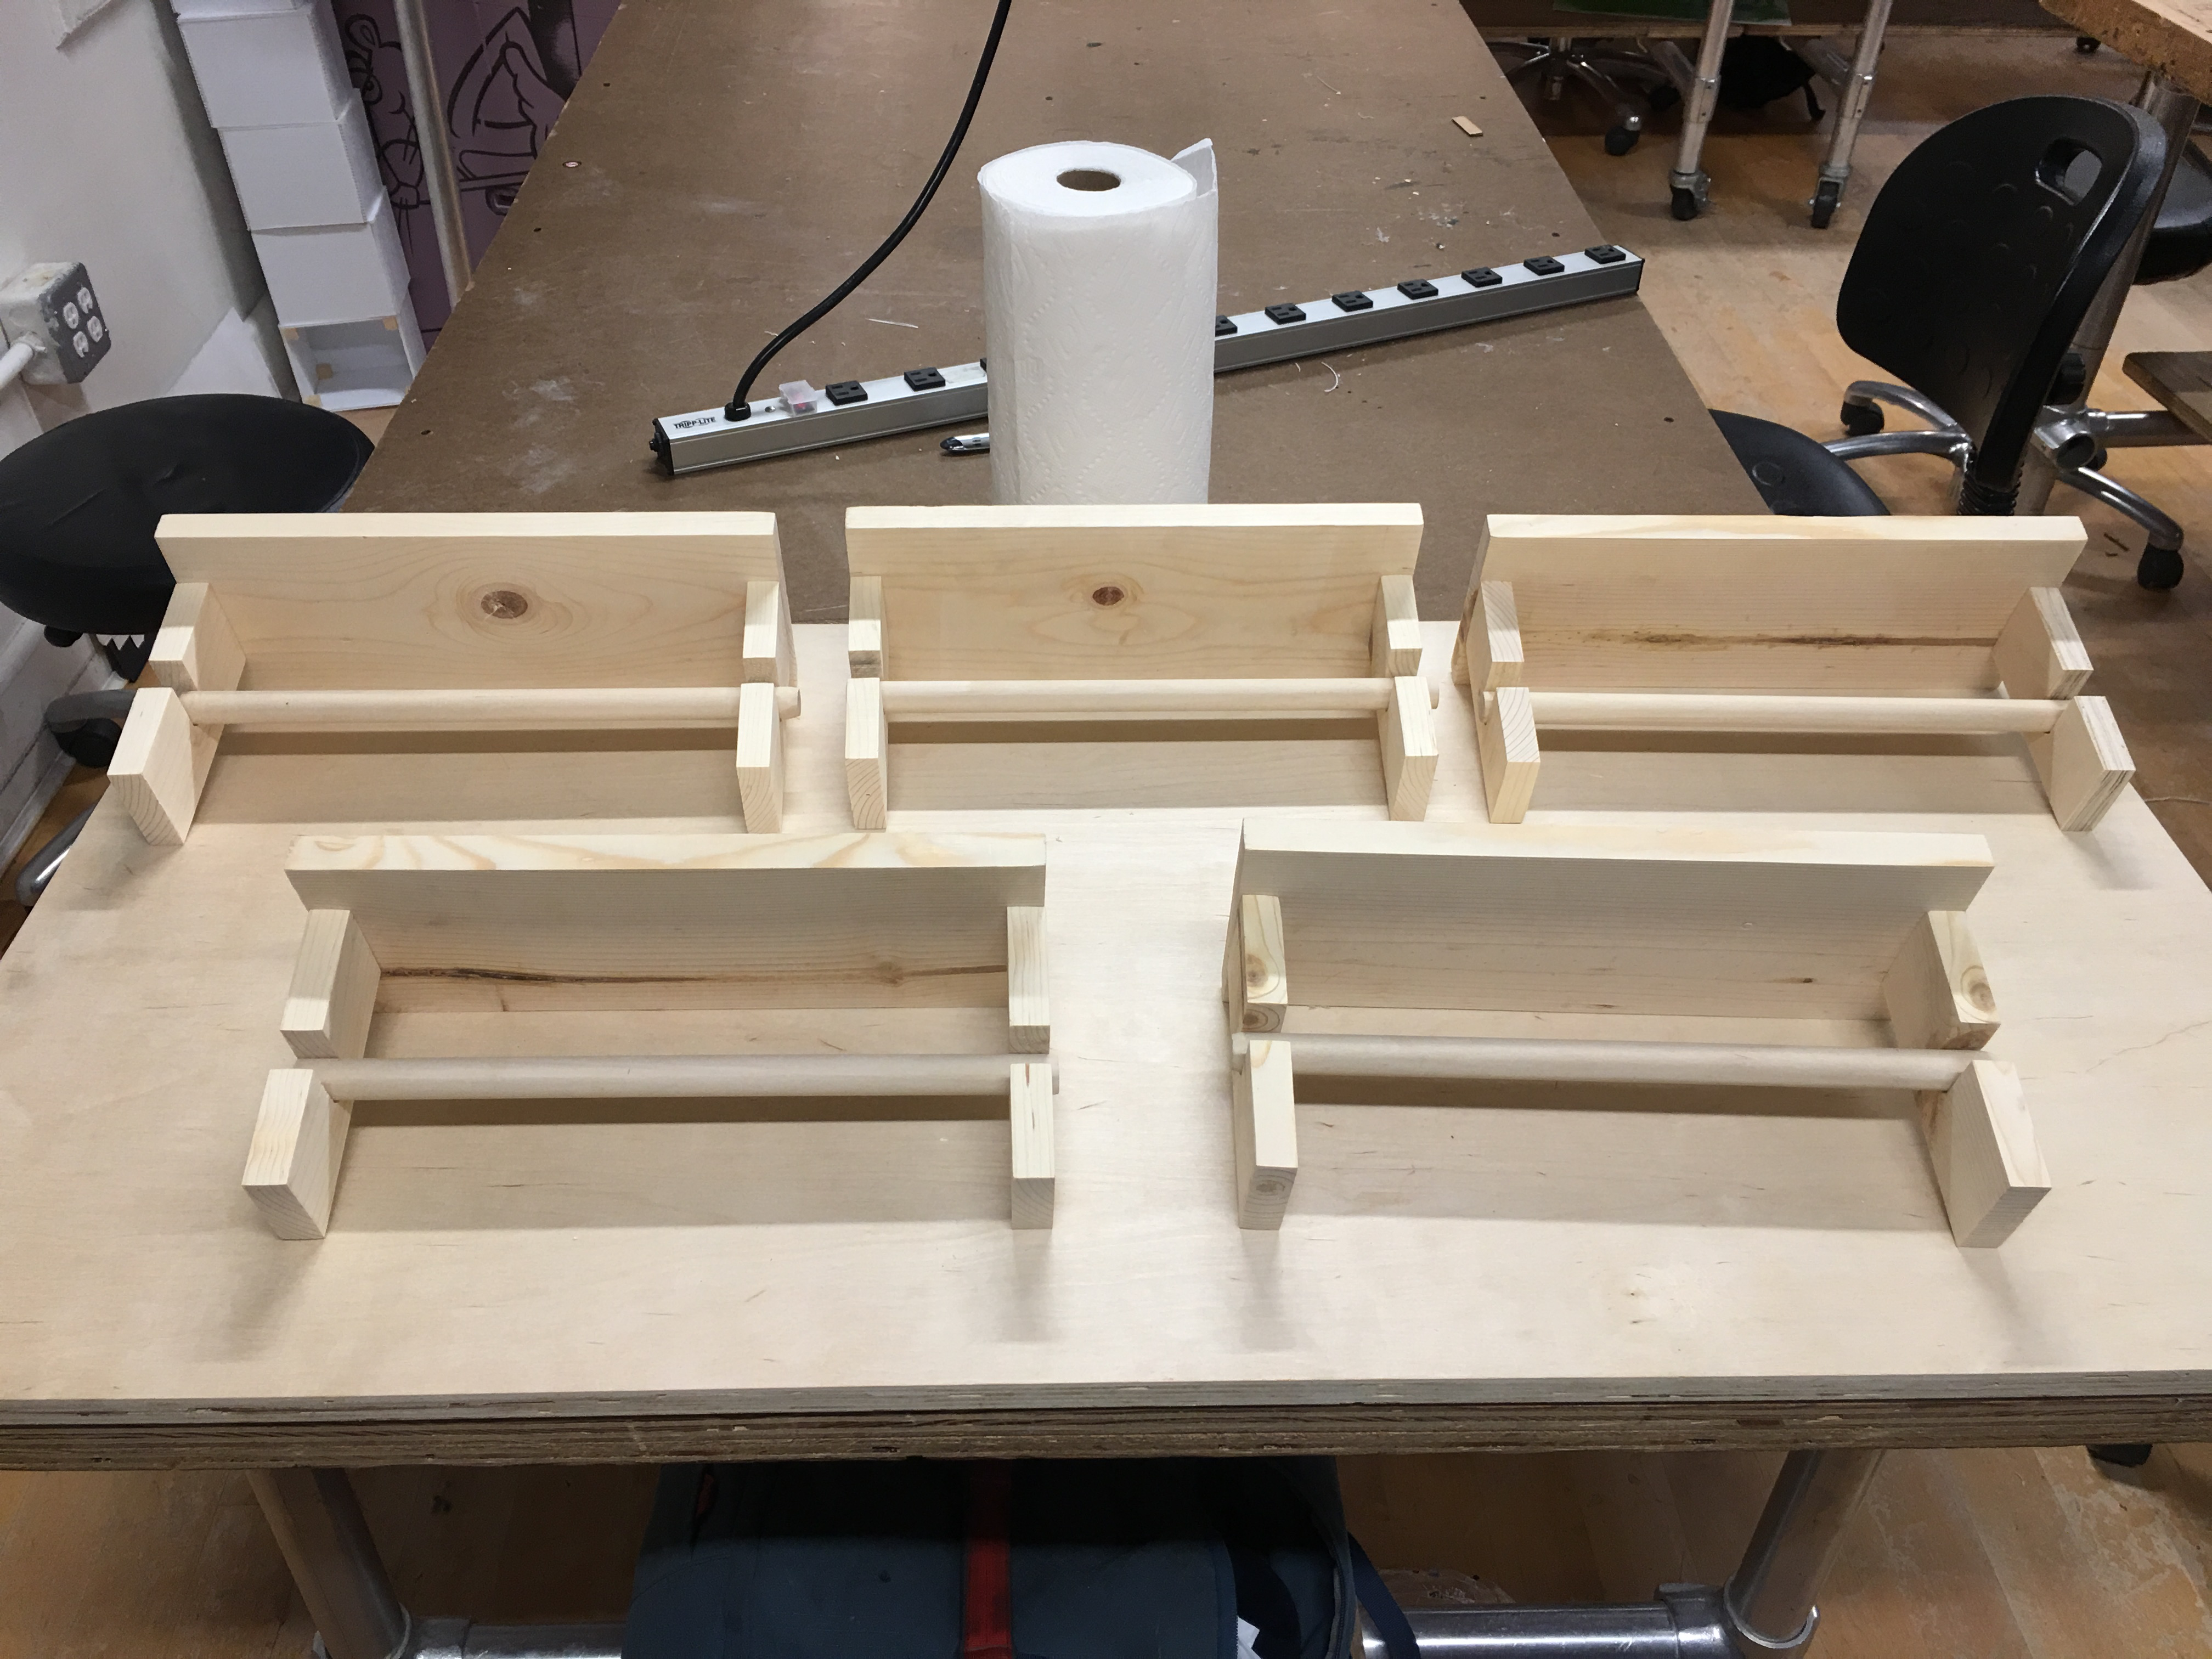
From here on out was pretty smooth sailing. I admit that I had to redrill a few holes as the alignment got slightly off towards the end, but all in all I was pleased with the results. To make a sturdier version of this, I could’ve used dowels or wood glue, but since it only needs to support paper towels, I think it is fairly well built for the job. Here are the final results!