Plant Helper
For our solar project, Sam and I wanted to make a solar-powered device to help look after plants. The concept is straightforward, to use solar energy to slowly rotate a plant and monitor its hydration level. Instead of trying to store large amounts of energy, we will simply store up enough energy to make a slight rotation and to make a measurment of the water level. Our idea for monitoring the water level would be similar to a gas gauge in a car, with a servo rotating according the plant’s hydration. This way, even when the device is not being powered, it can still display the plant’s hydration.
Both the rotation and the water level readings will be done in regular intervals, with the measurements for the water level made less frequently. We have currently ordered the parts we need and will begin testing later this week.
Update 1
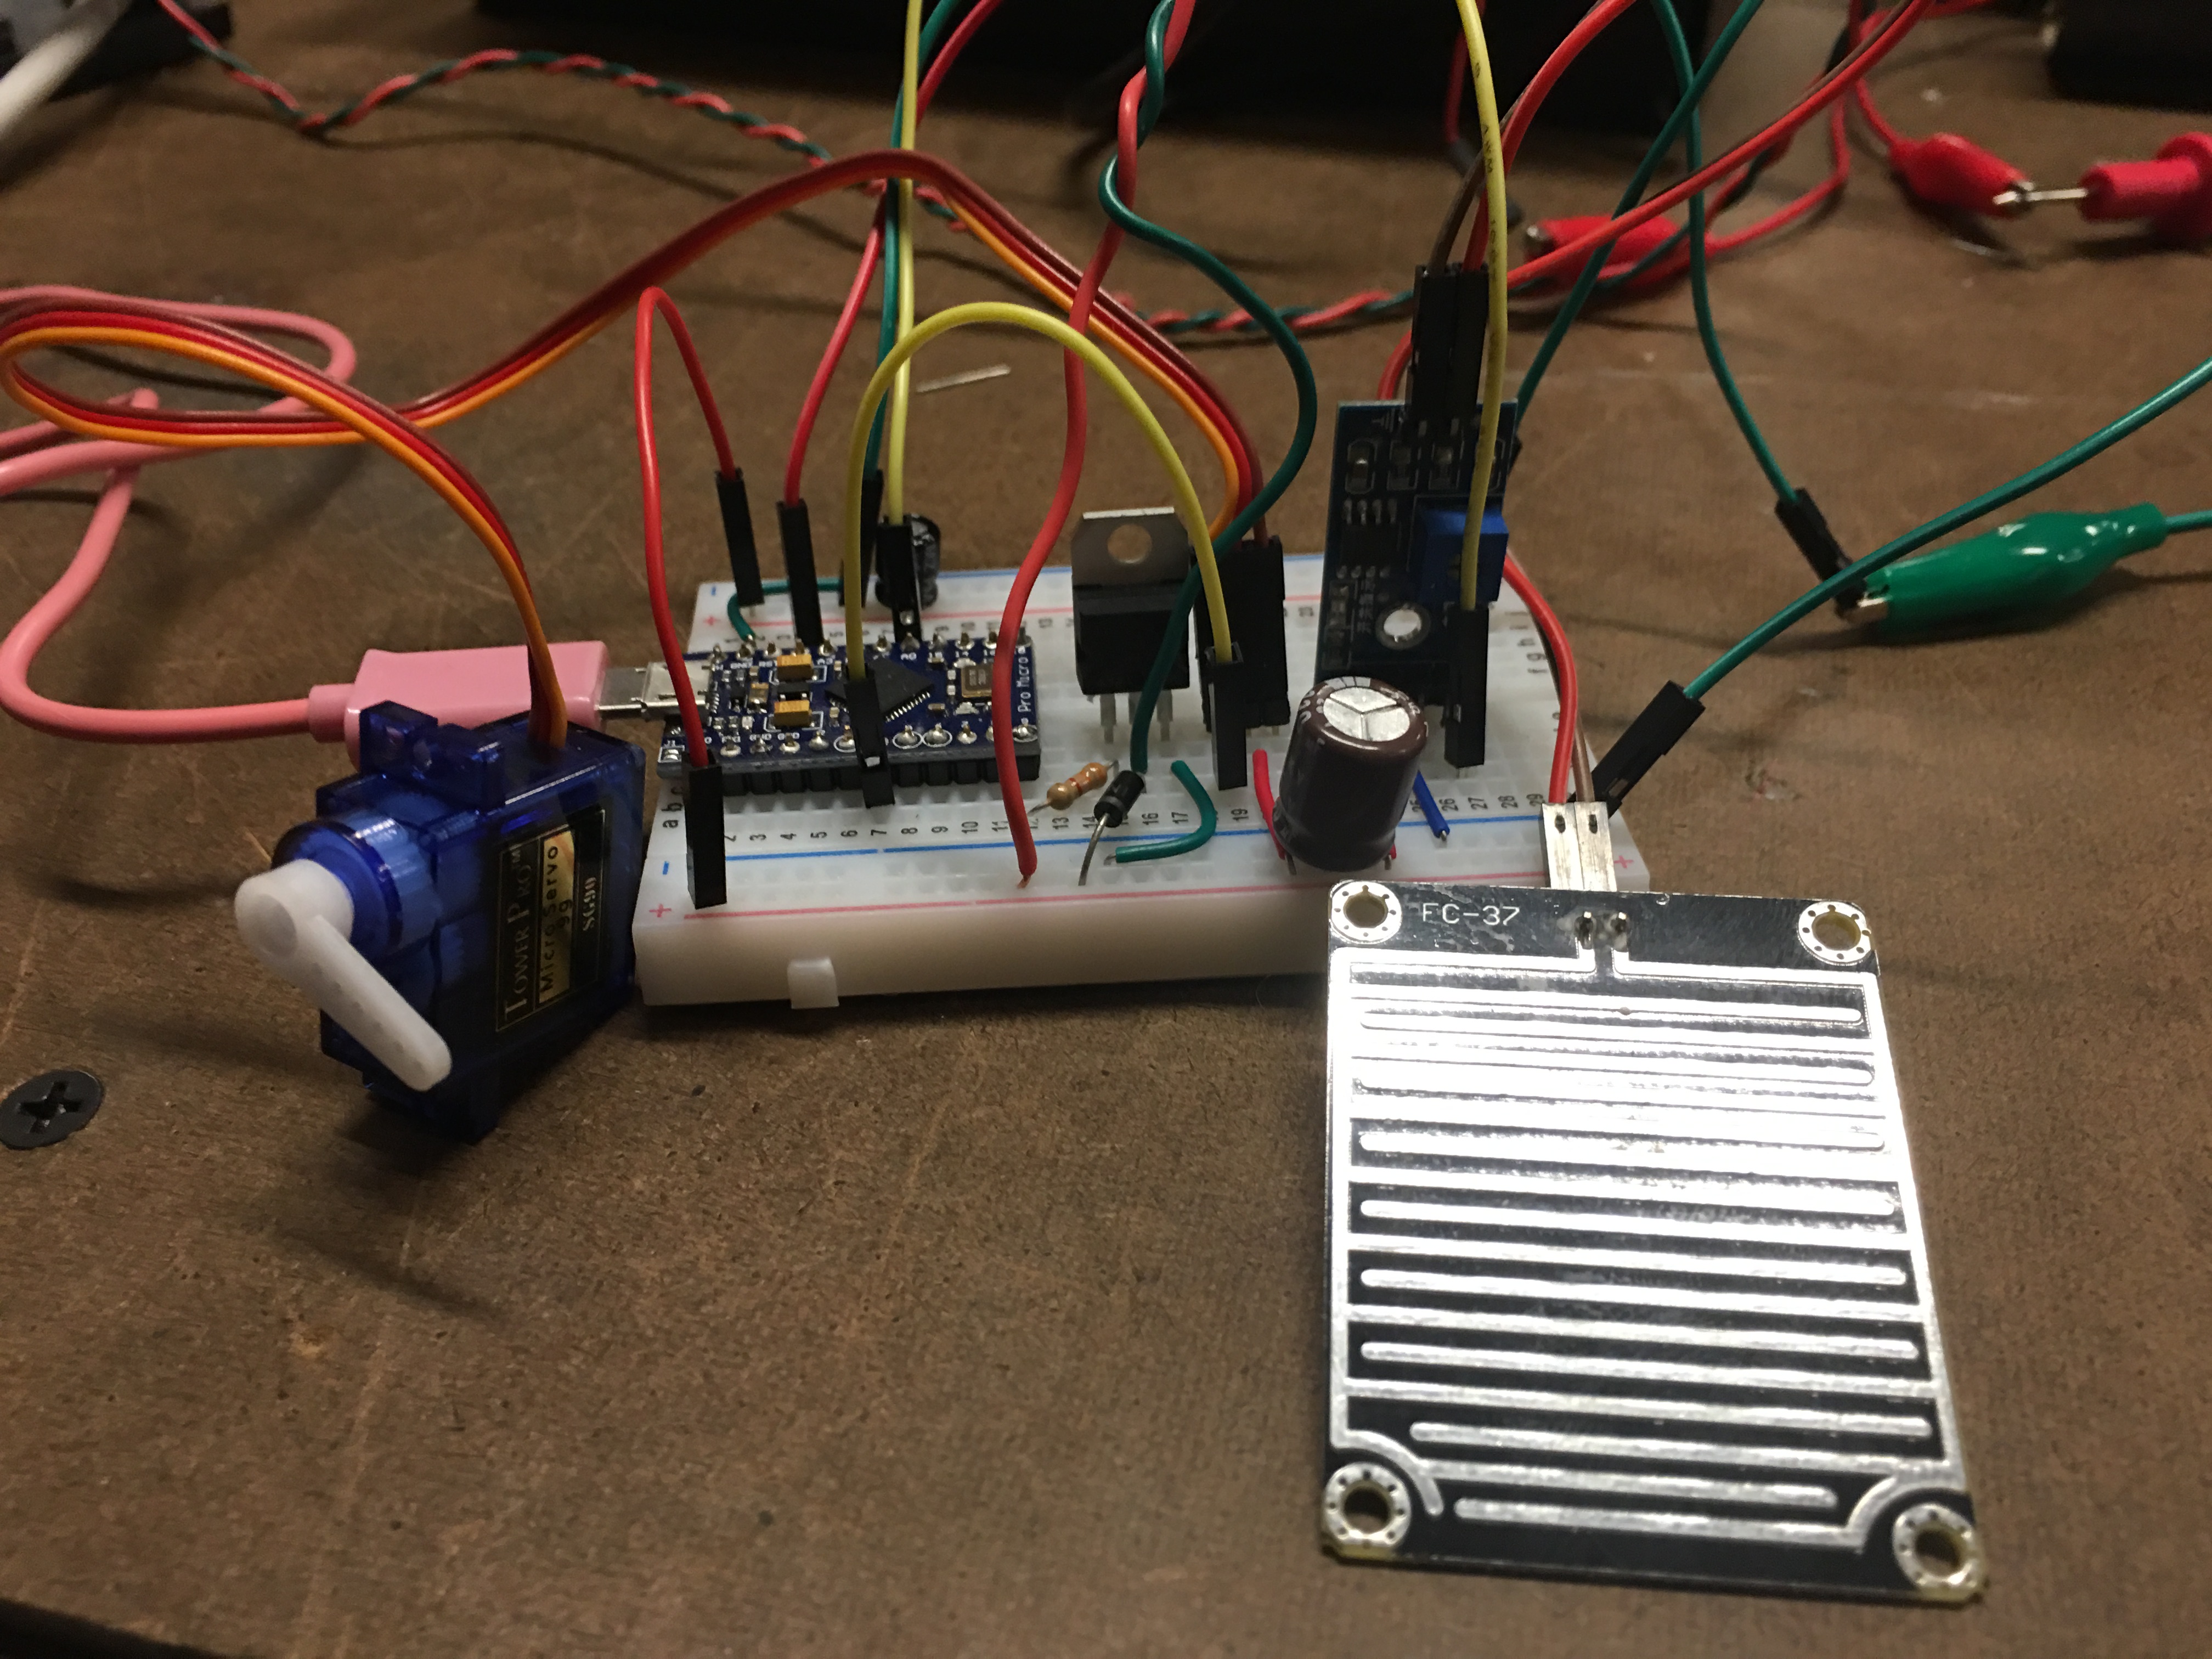
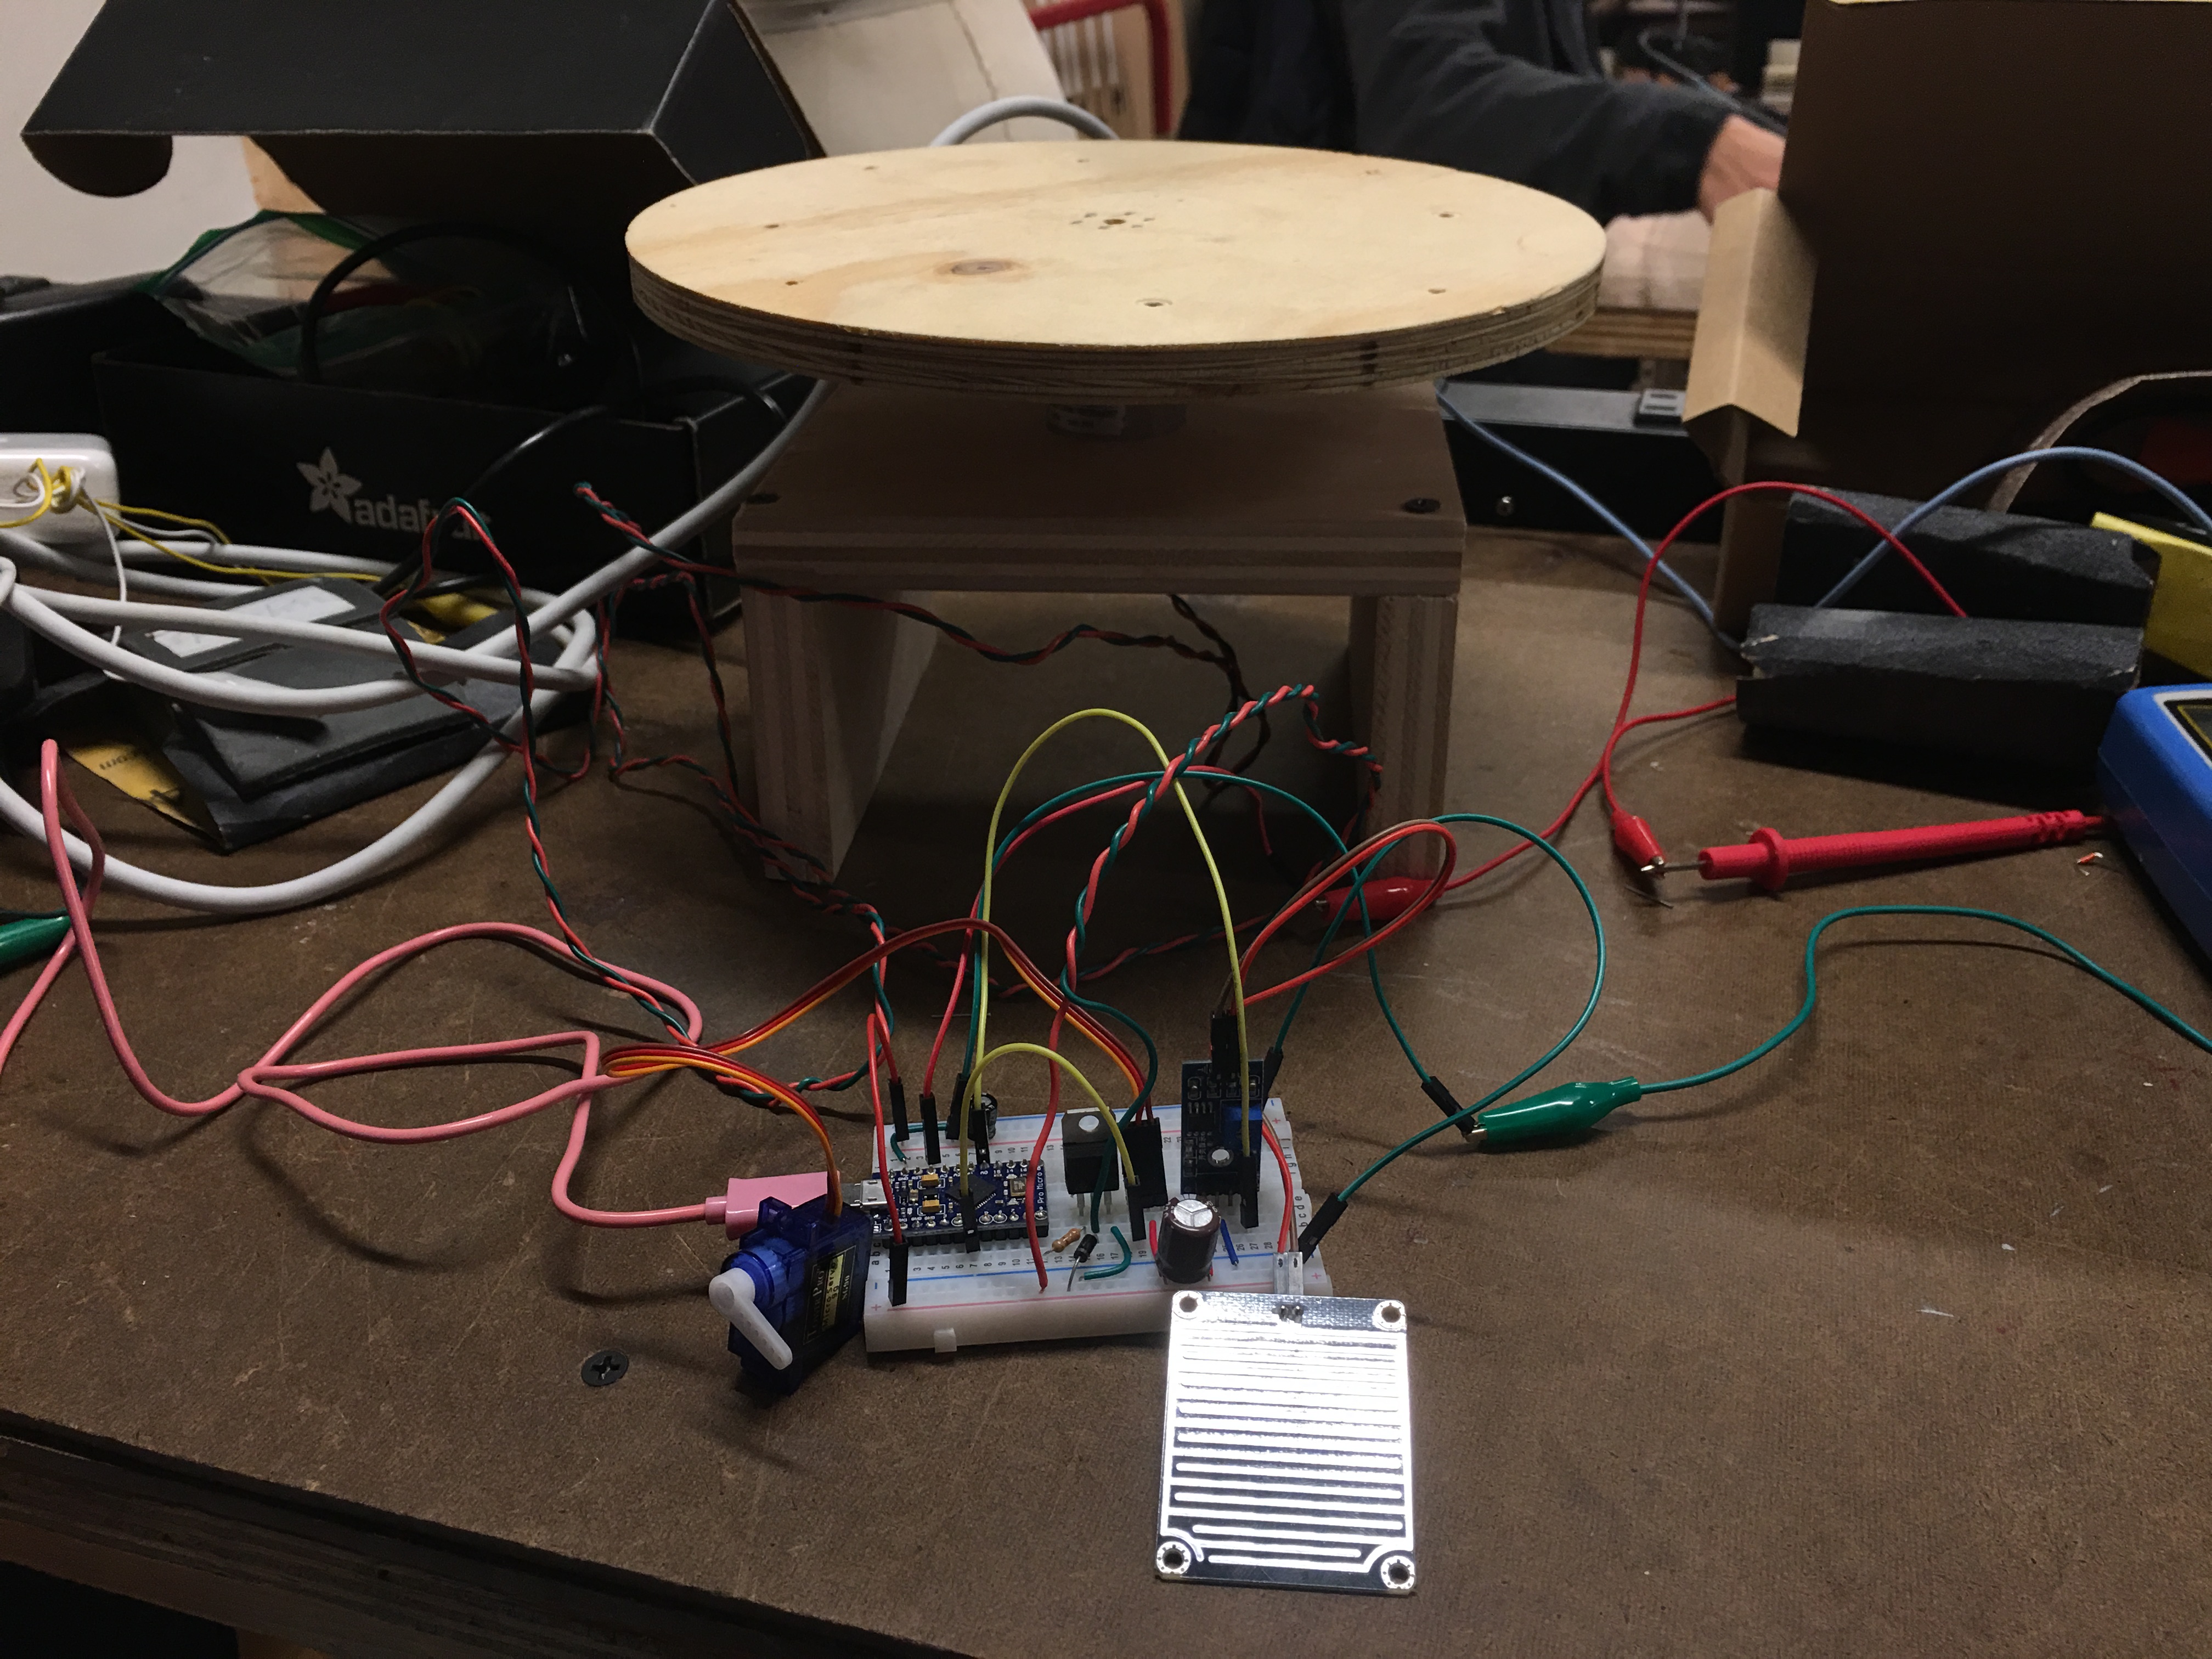
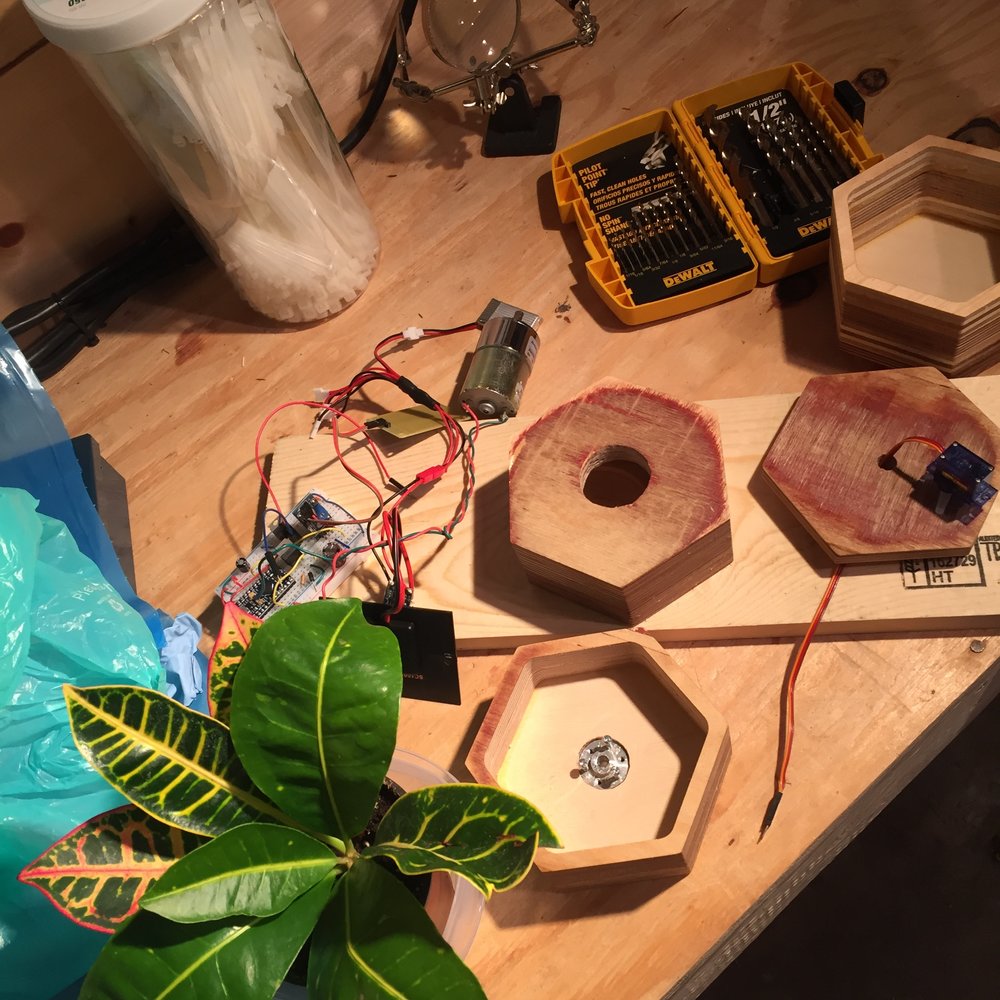
Sam and I finally have a working circuit with all the functions that we had originally intended. We are using an Arduino Pro Micro, an analog moisture sensor, a micro servo, and a 12V DC motor. The Arduino intermittently measures the moisture level and updates the servo position, the servo here is acting as a moisture gauge. The Arduino also sends a momentary HIGH signal to a transistor, effectively stepping our DC motor to create small, consistent movements. At rest the circuit draws around 10 mA, when the circuit is making a measurement and moving the DC motor it draws around 80 mA, and if the servo needs to move the draw can reach 110 mA. Here are some images of our current progress.

While we had originally wanted to create a BEAM circuit and not use batteries, we realized that in order to keep the timing of the rotation and measurements regular, a battery would be a better option. We had experimented with creating some osciallating / timer circuit, but they quickly became overly complicated and was not providing any benefits. We are currently figuring out our mounting options, but we realized that we may need a slip-ring since the plant is going to be rotating.
Final Remarks
Sam decided to make an enclosure for our project as his mid-term for Subtraction. Instead of mounting the motor in the stationary base, he mounted the motor in the part that rotates, getting rid of the need for a slip ring. He made the enclosure out of stacked hexagons, as shown below:

Arnav helped figure out how to replace the charge controller and connect it with the battery that was available to us. Once everything was soldered up, it was connected to the rest of the circuit. Here’s a gif of Sam testing the moisture sensor and the new charge controller / battery setup:
Once everything was assured to be working, it was time to assemble it. Here are all the loose components:
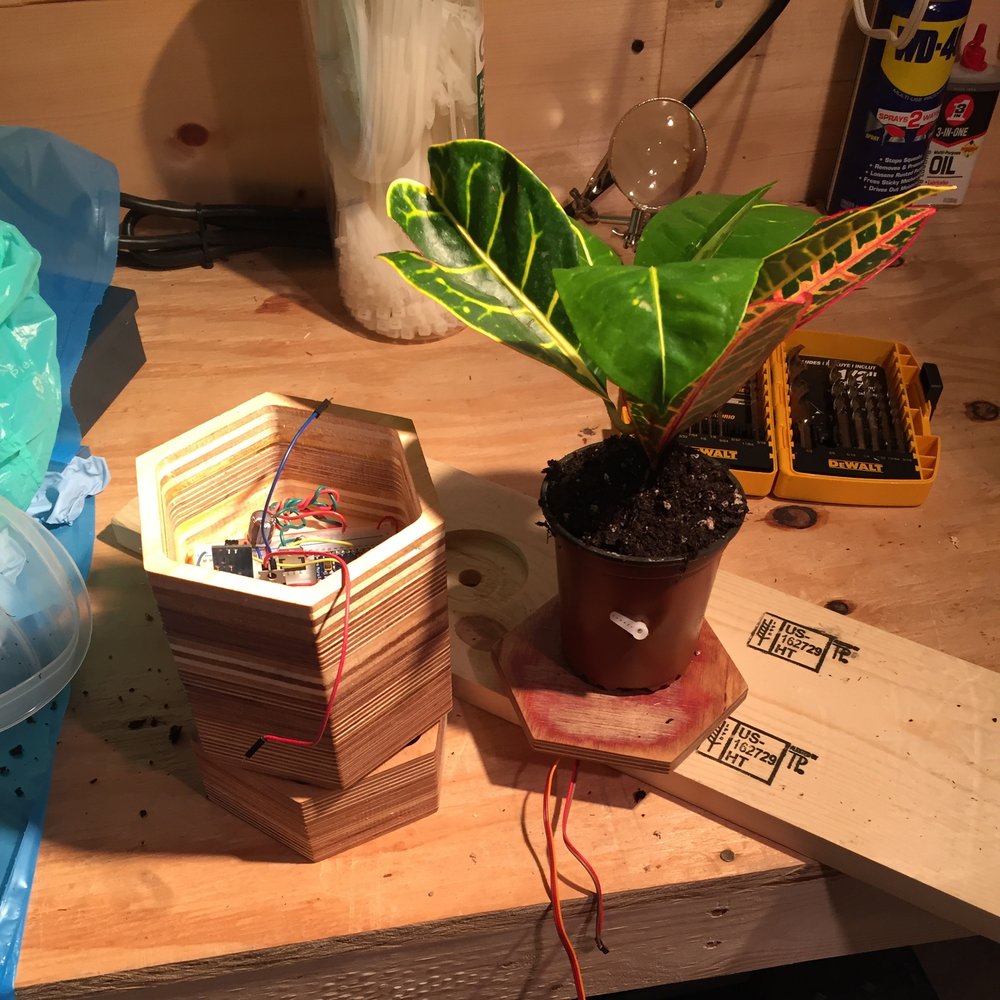
The motor and circuit are installed, and only the lid and plant remain to go on top. You can see the moisture sensor mounted into the pot itself.
And here it is all stacked up!
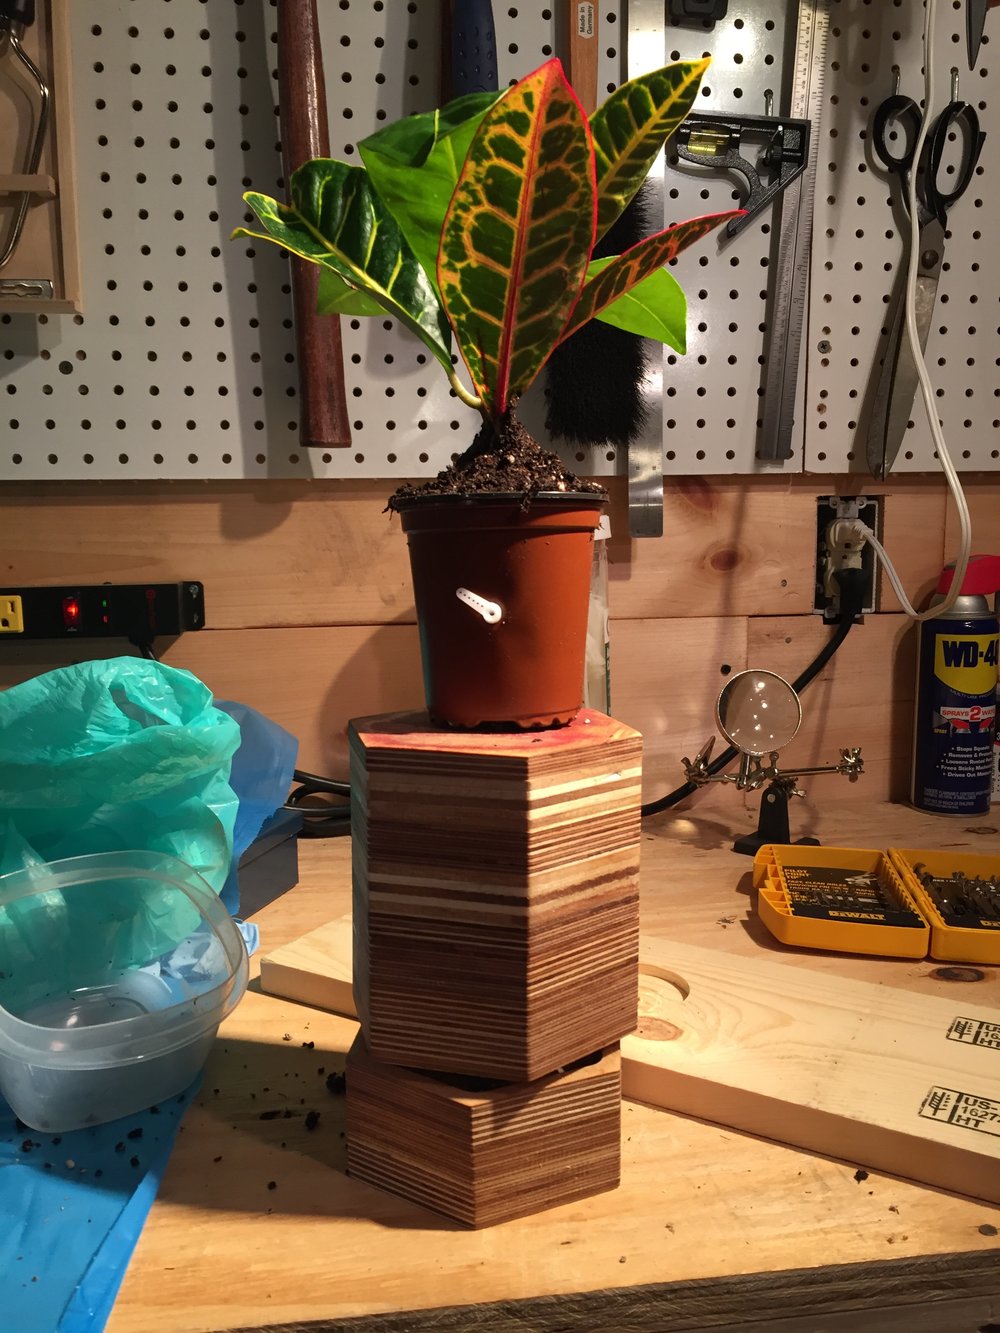
In situ and alive: